Build Work Table
Materials List:
My KR2S build table was excessive in terms of effort, weight and structure. I decided this time around to have a bit more foresight and set a few goals up front.
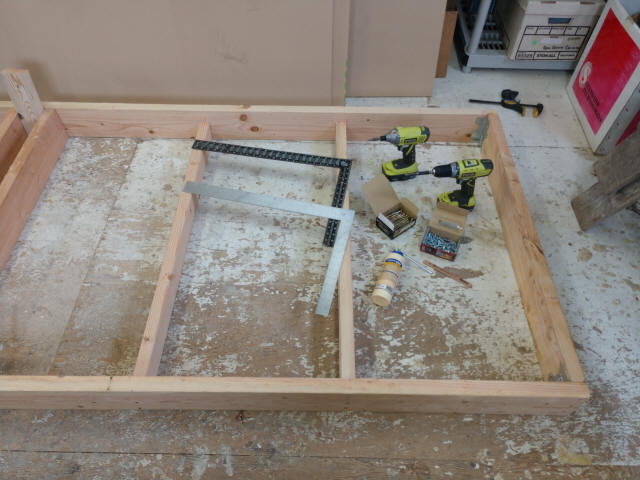
A minimum of tools are required. Chop saw not shown.

I used 2 x 6 x 12' stretcher boards, 2 x 6 x 4' rails on both ends and
through the middle. I used 2 x 4 x 4' rails to support the middle sections. I
built the supporting framework upside down of course. I pre-drilled, glued and
screwed the rails to the first 12' stretcher closest in this photo. Ok, that was
excessive. I also marked the position of the rails against the other stretcher.
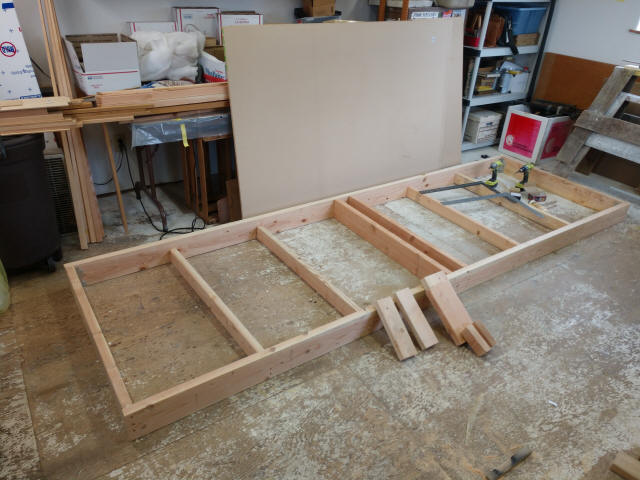
After I finished the first stretcher and rails I stood it up on to apply more
glue and screws. Using the alignment marks I predrilled the other stretcher and
started the screws into place.
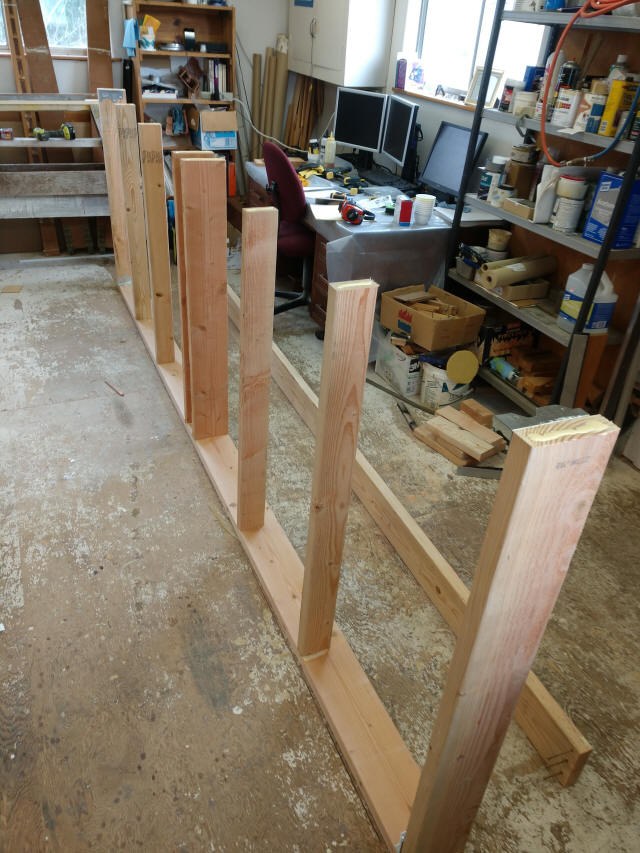
I then laid it back onto the (relatively flat) floor. I used the top surface
cutoffs 2' x 4' with the factory edges as alignment squares to ensure the frame
was square.
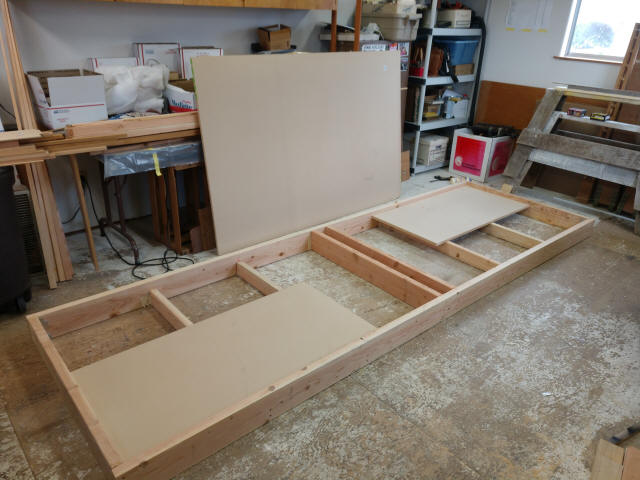
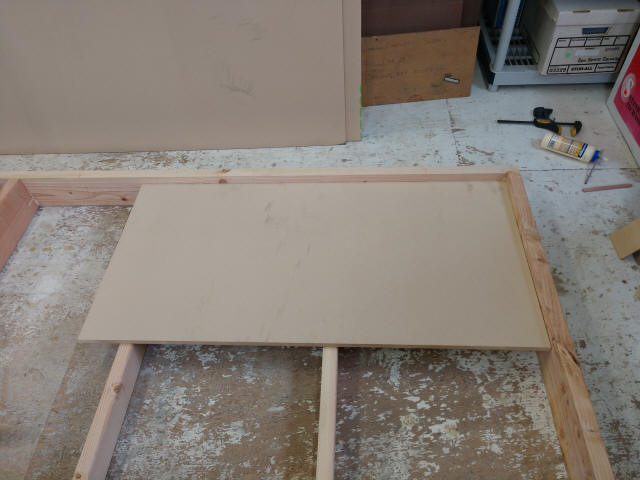
Then I laid the work surface onto the frame. This weight helped make
everything lay flat. I drove the screws home with the impact driver. Then I
painted the exposed surface and edges. This will become the bottom of the work
surface.
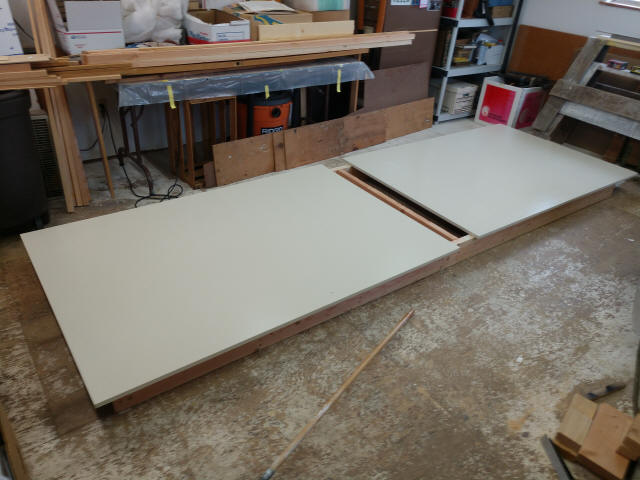
After the paint dried, I removed the work surface and alignment squaring
sheets. I installed a temporary shear panel to make positive the frame didn't
rack out of square. I flipped it over to top-side up, propped the frame up on
saw horses and cut 32" legs and installed them to be flush with the top of the
rails and stretchers. At this point, I leveled the table with a 4' spirit level.
You can see the shim under the right leg in this photo. The far end required 2
strips of cardboard side-to-side and 2 1/8" plywood shims. So far, so good.
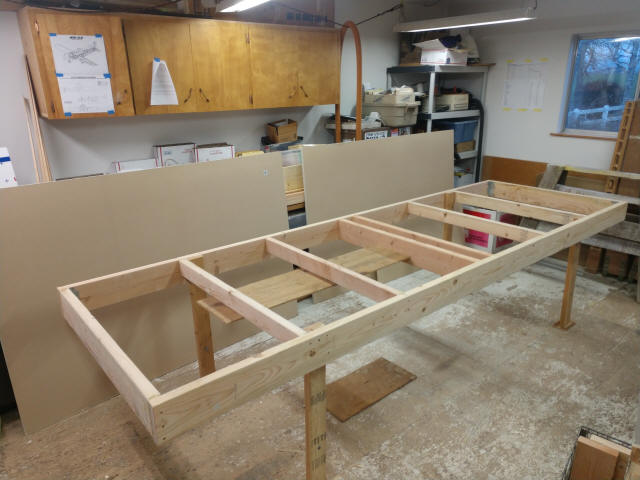
I got the work surfaces up on the table, bottom-side coating down.
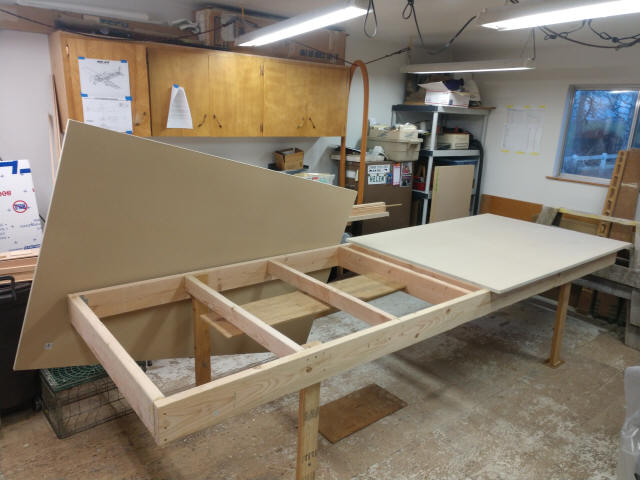
Another coat of paint so the MDF doesn't absorb moisture and swell up. I let
it dry overnight.
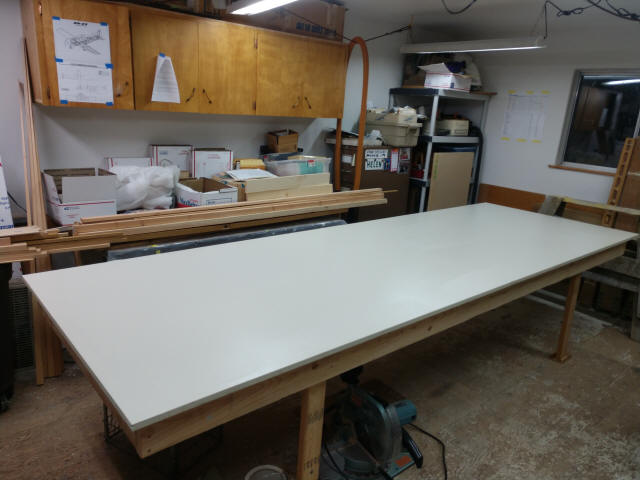
Finally, the moment of truth. I forgot who taught me. Use a length of .020 or
finer safety wire, fix it on one end, place a solid shim at both extremes and
pull it taught. It should sing like a guitar string.
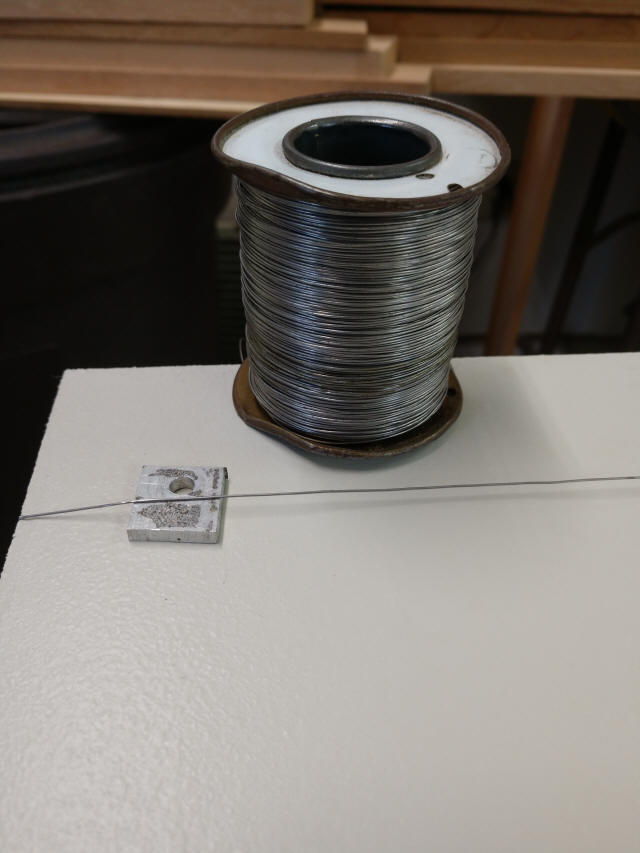
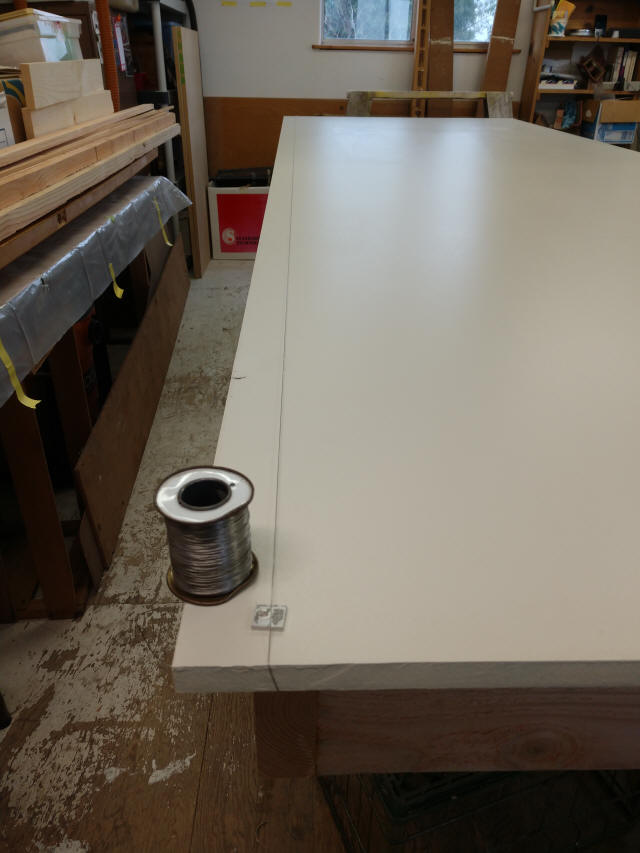
Tap the wire over the entire length. What you are looking for is a consistent
travel distance down to the table. You can use AN washers to check for
consistent height of the wire. Shortest distance between 2 points is your
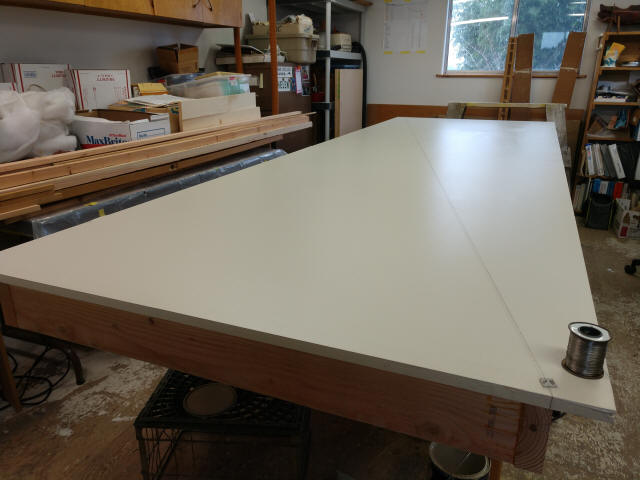
straight line; high and low points become very evident. Now string the wire for
both diagonals and check those lines too.
Install the plastic sheet. I used 3' x 50' x 4mil material with a 10"
overlap. Lay it out, stretch it taught with spring clamps, seal the seam with
packing tape and staple it into position.
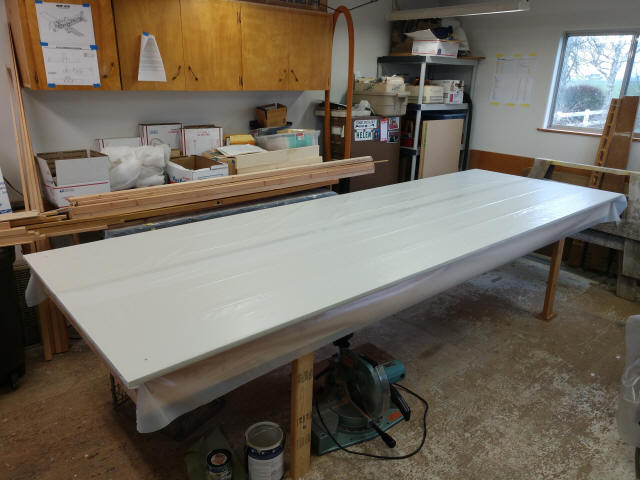
Now, build your airplane!