Hot Wire Rib Cutting
20200406- spend way too long web-reading about hot wire to cut XPS foam;
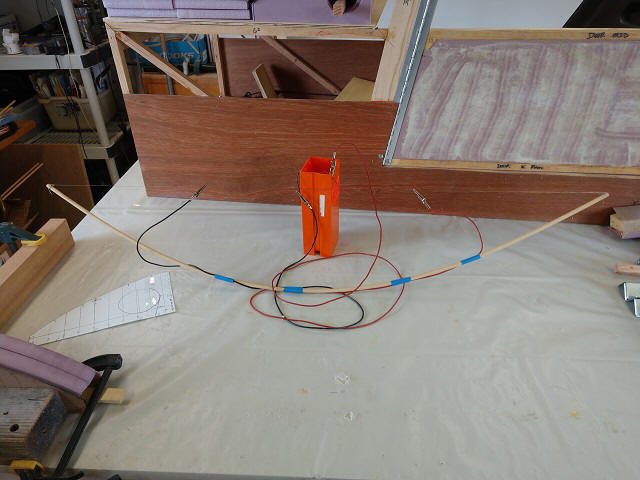
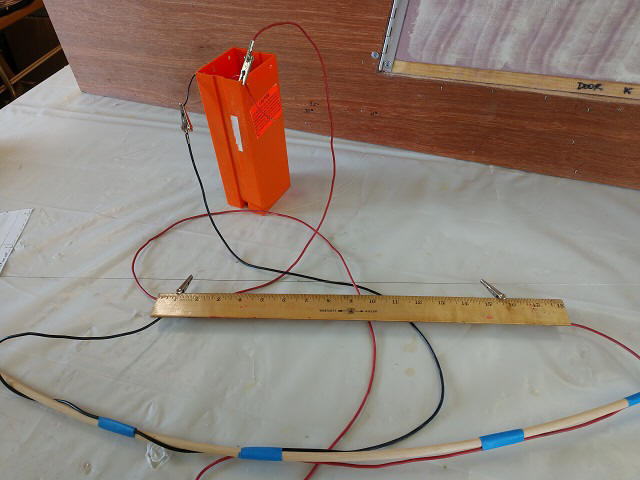
decide to just whack something together & try it; Hmmn, .020 SS wire, check;
expired transponder battery, check; 1/4" 36" long dowel, check; alligator clip
electrical test leads, check; masking tape, of course; 1st pass with clips on
the wire about 15" apart, cut 2 @ 1" XPS foam blanks, check! Moron in the shop,
or maybe not, check...
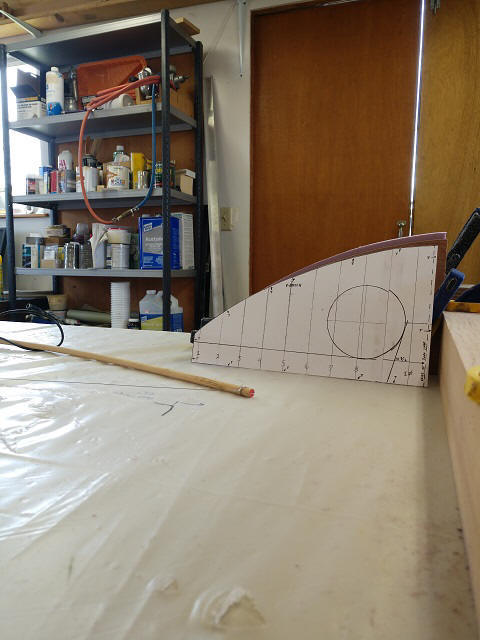
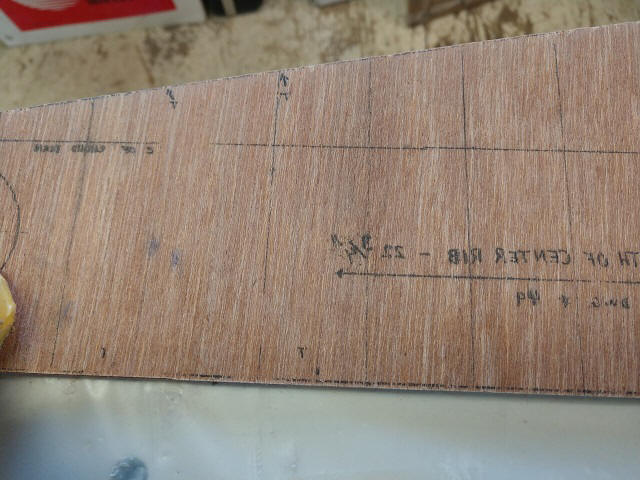
These views show the templates on both sides of the target XPS foam as well as
the upcoming cut depth.
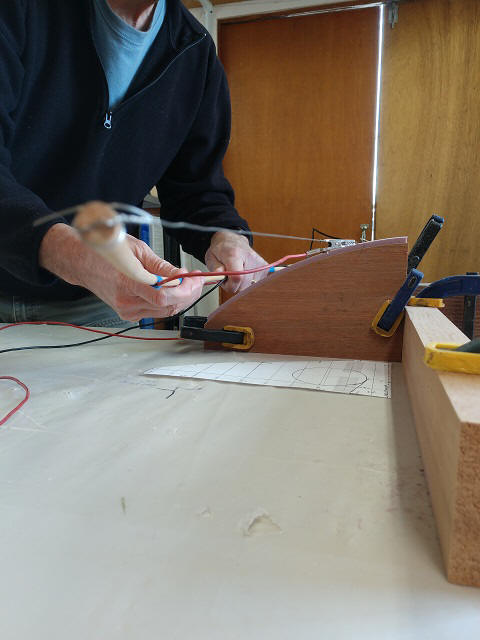
Cut in progress...

Resulting first cut shows some wavers and skippers...
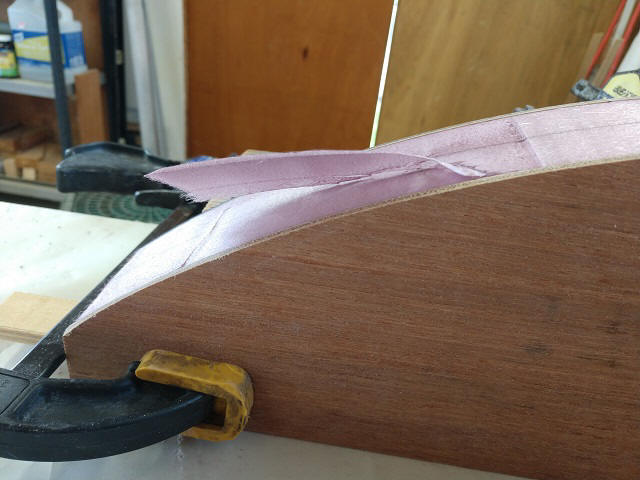
A follow-on pass removed the worst of the "lumps" I missed following the
template accurately.
The tiny irregularities seen above sand away with less than 4 strokes of a
sanding block with 80 grit; it opens the XPS foam pores too (should give better
epoxy penetration.)
With a few more cuts I'll figure out the speed for the cutting pass. I may even
look to replace the battery with a constant DC power source.
For me, the bottom line comes down to having an
accurate cutting profile template. THAT'S where I'm going to spend my time to
ensure the rib center & trailing edge templates are also "nuts-on" to the air foil
pattern templates that Marvin put in the manual. Rock on.
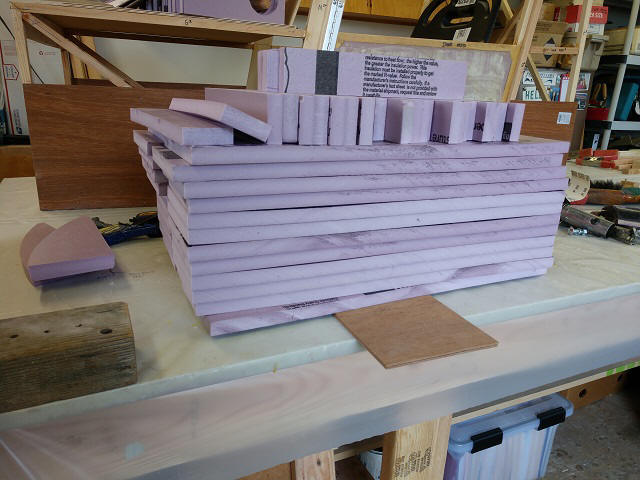
20200407- Time to get on to the center & trailing rib templates so to get
through this stack of raw XPS blocks...
Finished pairs of center & trailing rib pattern templates for hotwiring parts;
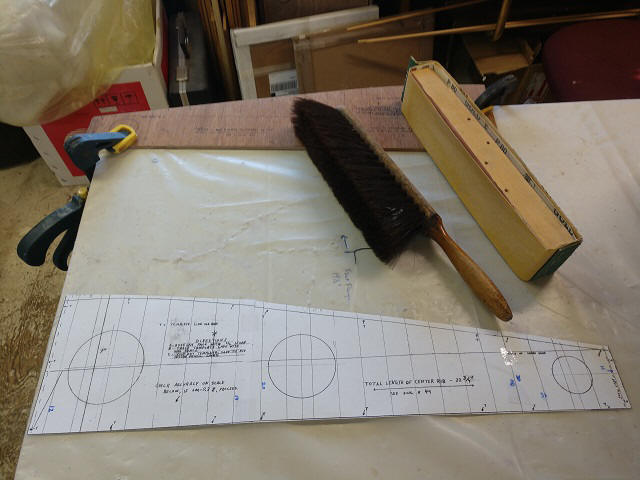
Tools for fine-tuning the templates to match Marvin's patterns
Just a whisper of the top airfoil guide line remains
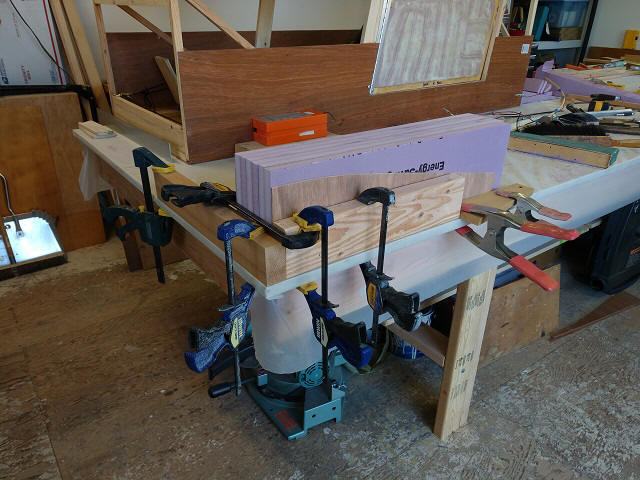
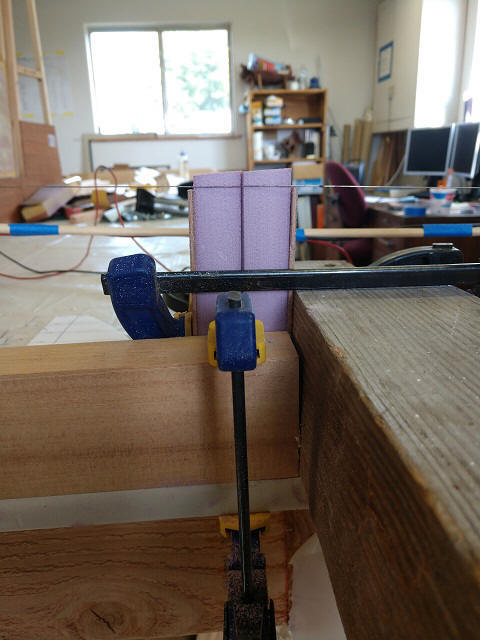
Using the corner of my table to jig up a rack to hold the templates on both
sides of the raw XPS blocks
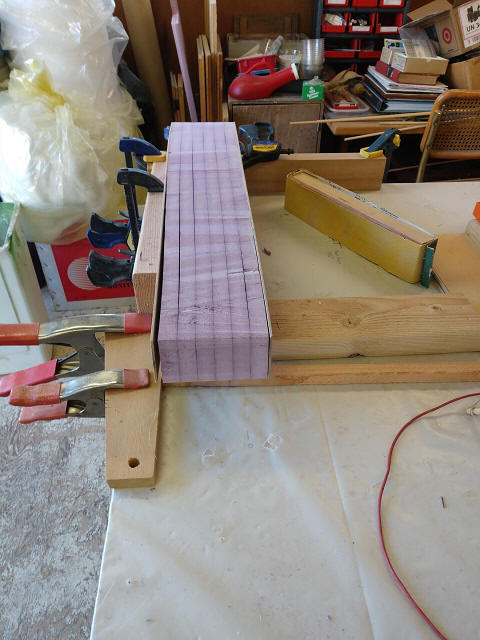
About 90 seconds from connecting the power to the hot-wire bow to completing the
cut. A touch with 80 grit paper again and 6 more ribs are ready for the hole
saw.
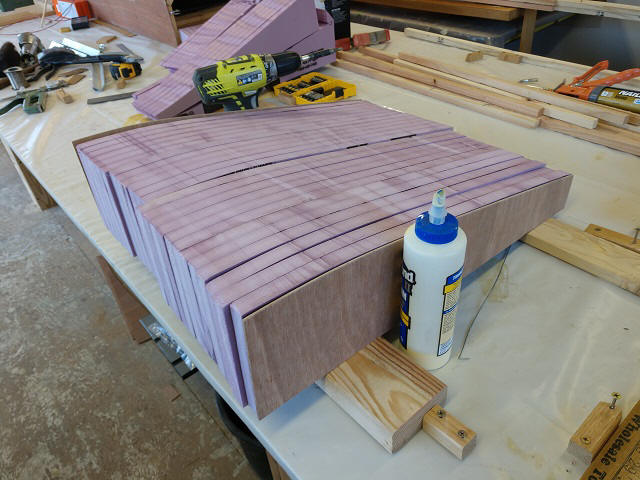
It's beautiful thing; 24 identical ribs. I knocked out the trailing rib sections
today too. It was a good day!