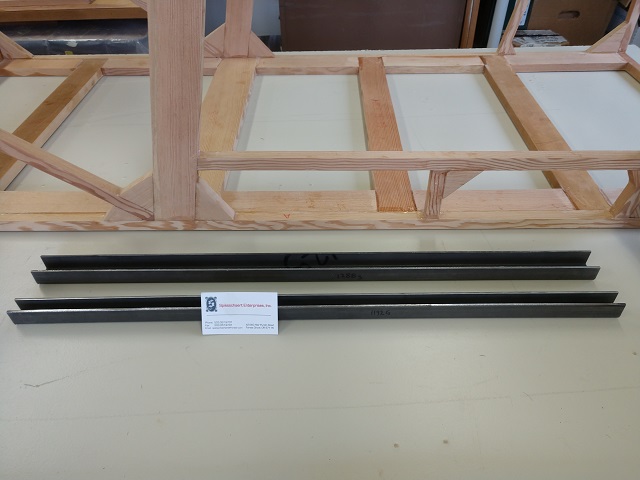
On the side, I've been working to get materials on hand and formed. Some
parts are a bit tricky to do at home. I live surrounded by big farms. Where
there are farms there are big machines that need repair. So we have people who
can form just about anything. Including the U-channels that tie in the wing lift
struts and part of the landing gear.
So it looks like a lot of time has passed and it has. I've been learning CAD, LibreCAD specifically. My metal working skills are not strong. I have a neighbour who owns a machine shop. One of their tools is a water jet, actually multiple machines. My idea was to convert the metal drawings Marvin created into CAD files. Then we could cut the parts out with much closer precision than I could manually. So I spent a lot of time with some basic instruction from another neighbour who does know CAD.
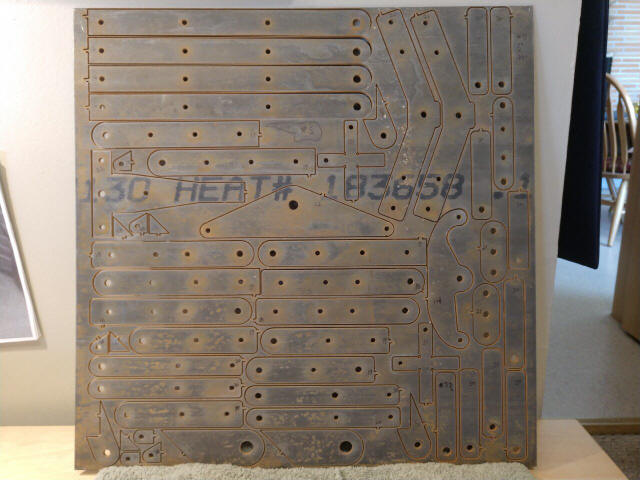
And DWG02_RudderPedal.pdf turned into Drawing02-RudderPedal.dxf. There are approximately 31 metal parts in the original construction plans, some with multiple pieces. With help from Neal & Pete, all the drawings are now complete. To save metal, I found DeepNest, an industrial nesting program that fits the components onto a single sheet of metal, minimizing waste. See Cut125-b.pdf
Very cool. What does the FAA say about the reason for Homebuilding; Education & Recreation. LOTS of both!
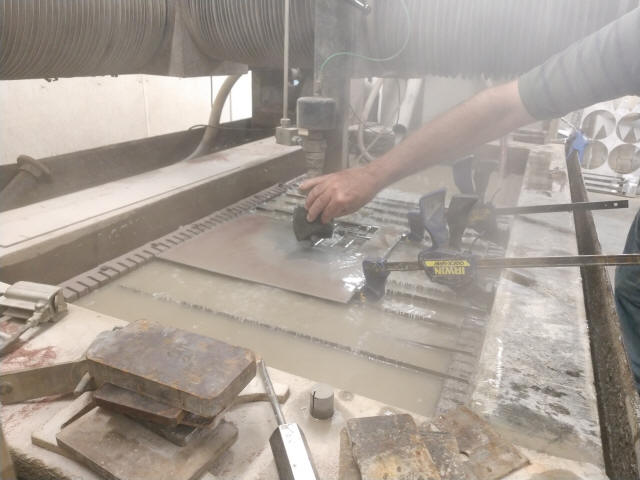
20200613- Next step is cutting out the parts. Off to the machine shop to cut
the plate. Check out the scrap thicknesses in the foreground! my .063 sheet of
4130 was no match...
The misty nature of the photo gives you an idea of the water spray coming from
this machine with the water level below the material surface. That's 50,000 PSI
at work. Awesome. Kind of scary too...
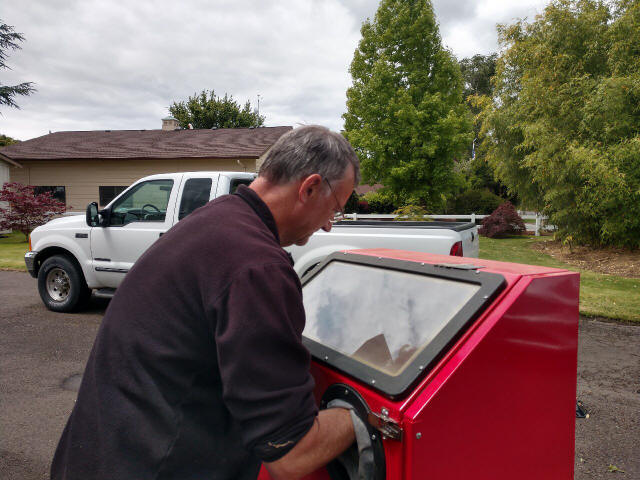
Getting things back home, I blasted the rust off with walnut shells and then
coated everything with Dye-Kem to layout the bend lines.
Another return trip to the machine shop and we cut the .125" plate.
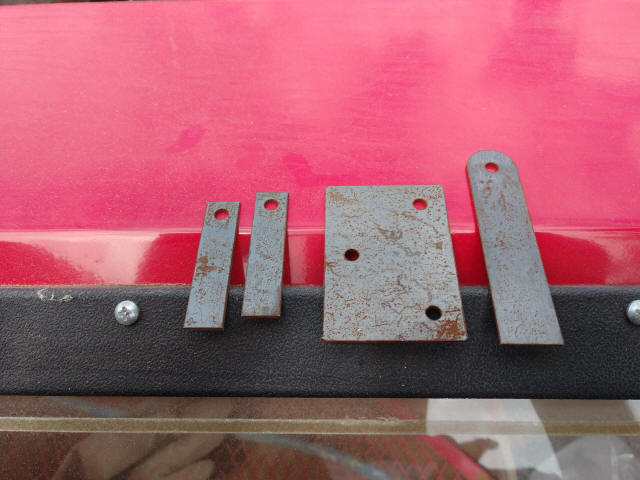
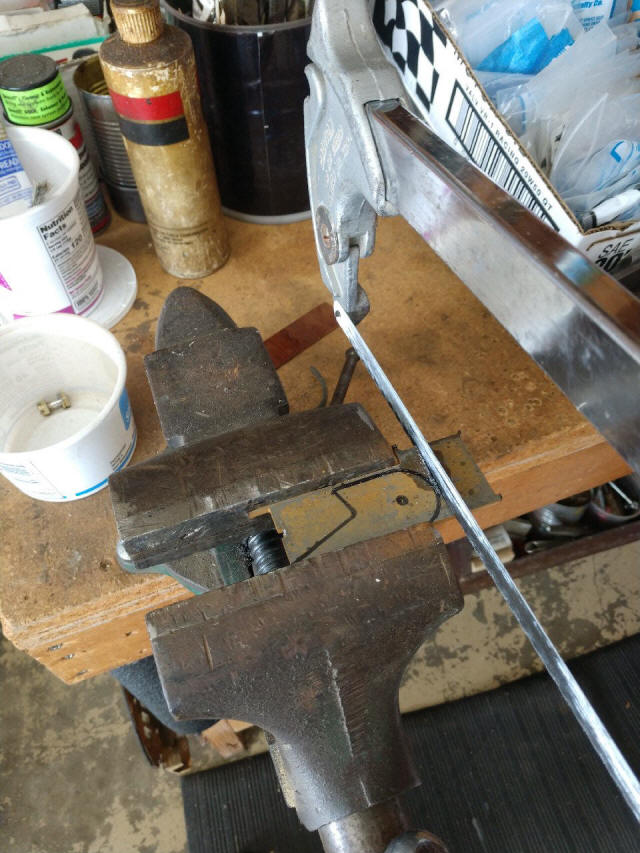
SO I missed laying out all 4 pieces required for the Main Landing Gear
bracket. I got to fabricate one from 1/8" 4130 steel plate. It wasn't as hard as
I thought.
Trace the existing part onto some scrap, rough cut to shape with a hacksaw while
dropping cutting oil, drill the bolt hole to align things and the 1/4" diameter
inner dimension, then scribe the actual dimensions onto the new part. Finish
cutting the major straight lines and grind to fit the scribe lines. I'm happy
with the result; I think it is close enough to weld into the MLG bracket.
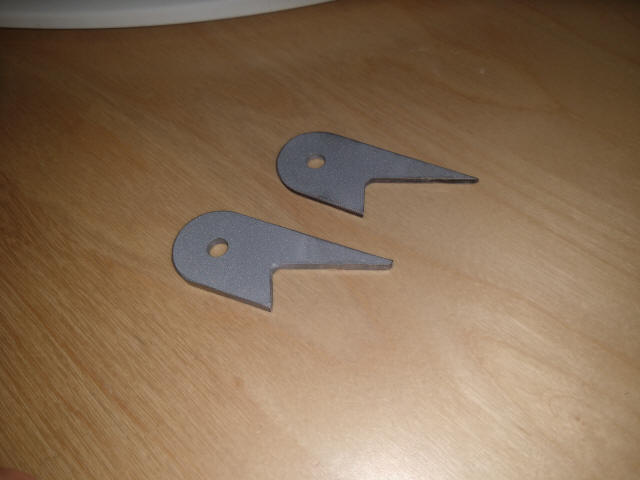
Getting the drag spar hinges completed by bending and reaming the 4130 parts
from the water jet (Thank you Mr. Diller!); check
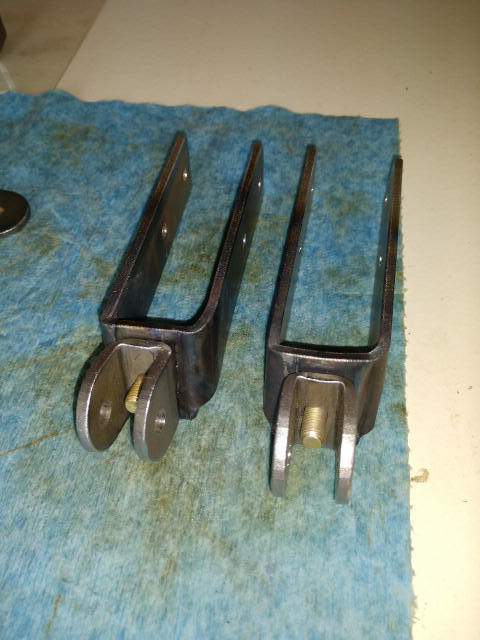
Polishing the Wing Attach Fittings in preparation for primer & paint; check
Not much to stand in the way now of being ready to start foam and glass on the
cabin!
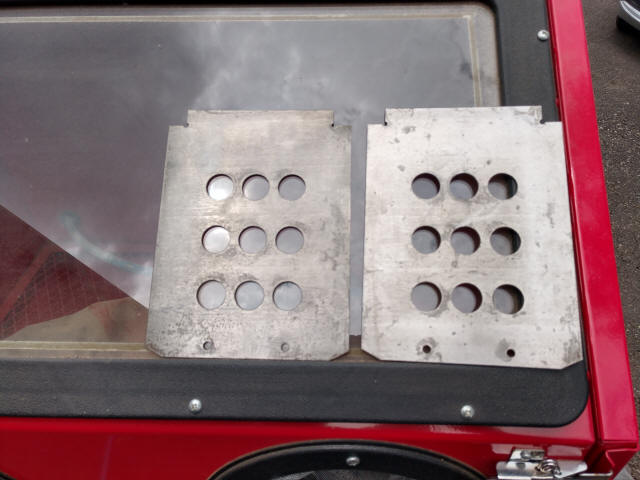
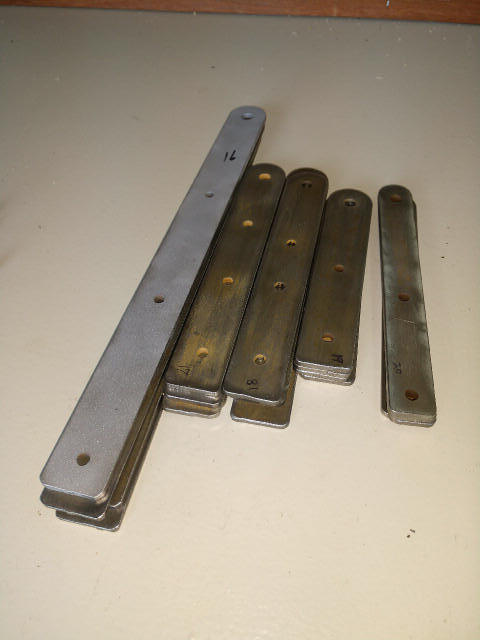
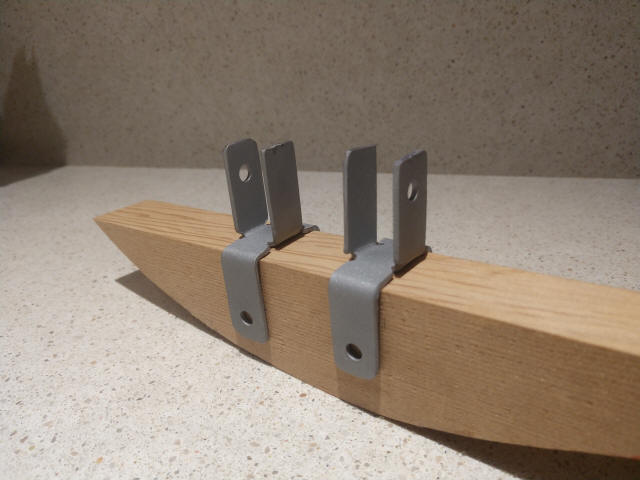
20200625- Fabricated top aileron pulley bracket from .063" material as .125"
just seems like way too much.
Began researching pulley specifications to ensure proper application usage...

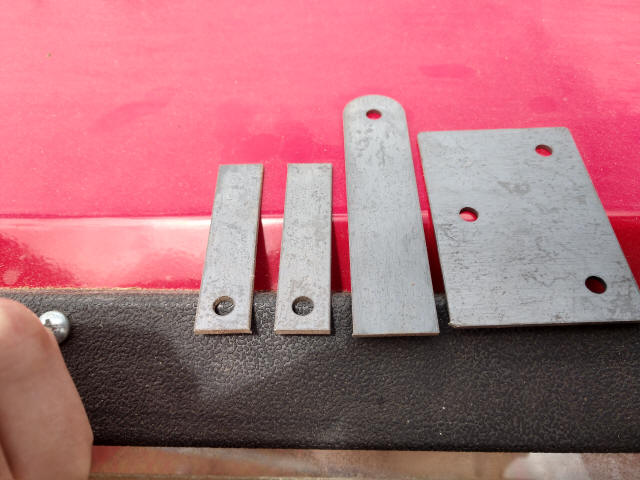
That's .125" from the water jet on the left and .063" fabbed by hand on the
right...
20200626- Oscar's analysis says .063" is much stronger than the 2 weakest
elements in the aileron control loop; the mounting wood through holes and the
pulleys themselves so I'm going forward with the thinner and easier to work
material. Done. And tomorrow, paint!
20200627- Finish prep on all the fittings; ream holes, catalog parts to be sure I'm not missing anything. Now I can paint tomorrow...
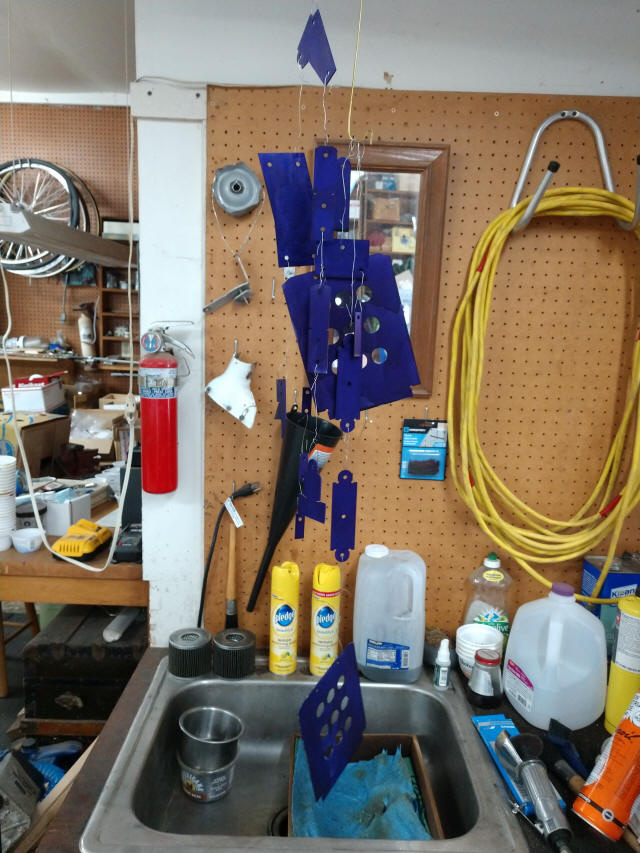
20200628- Holy moly what a bunch of wasted time today. The first 2 rattle
cans of paint were defective. That didn't stop me from trying to use them. The
paint just wouldn't apply smoothly; kept throwing bubbles after it initially
laid down flat.
Prep, spray, paint bubbled, strip while still wet
Prep again, rinse with acetone, air dry, spray, paint bubbled, strip while still
wet
Prep again, rinse with prescribed mineral spirits, air dry, spray, paint
bubbled, strip while still wet
Prep again, wash with soap & water, towel dry with clean linen, air dry, spray
different product, paint bubbled, strip while still wet, air dry.
At this point I was sure somebody had to be kidding me.
Into the car & return paint, exchange for different brand [Krylon
Primer & Paint "Piston Gray"].
Spray. Beautiful.
Next 4 coats. Beautiful.
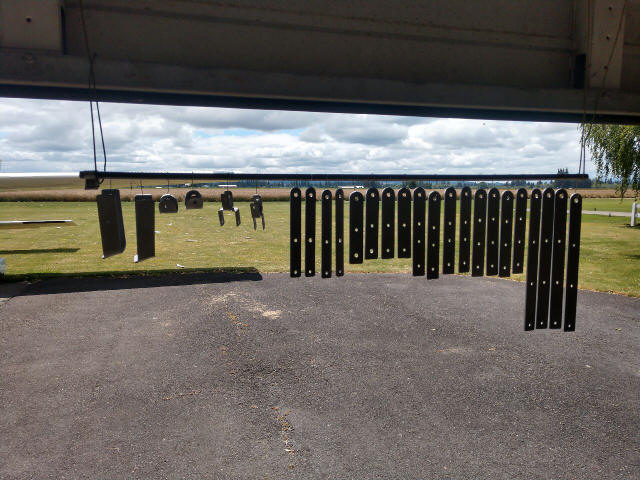
Move hanging parts into shed to dry & hands off for 24 hours for sure at this
point.
What an epic. 45 minute job took 5 hours...
Over the next several days the paint cured, I finished up the welding prep
for fabrication and;
20200705- delivered the 4130 parts to Dennis to weld...