
Dan Heath asked about making my cowl. Here goes...
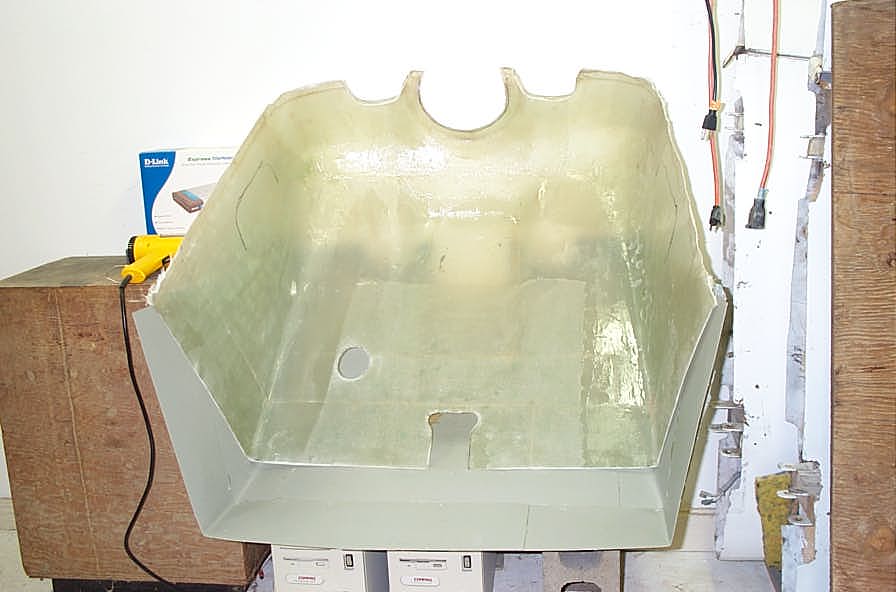
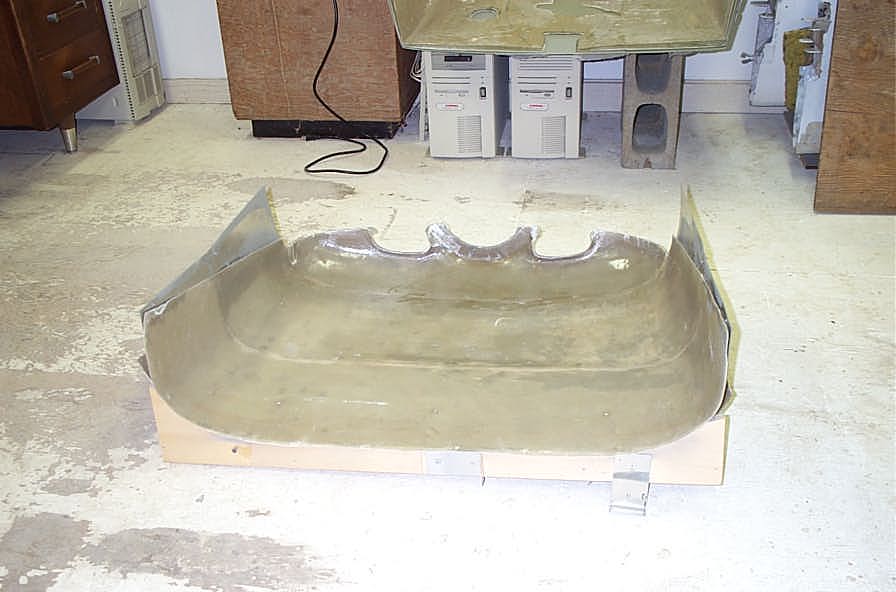
I only have images of the finished mold and parts. I had a KR2 Hapi cowl from RR. I stood the cowl up so the rear edge contacted a flat piece of 3/4" plywood to serve as a base to stabilize the cowl for the molding process. I marked the inside dimension and screwed some 3/4" square oak strips along the rear edges of the part. I affixed the cowl by screwing through the fiberglass into the oak strips. Instantly, everything became very rigid.
I waxed the lower cowl as a male mold and started with KR glass cloth and Vinyl Ester resin. Stinko! I had a bunch of the cloth on hand and the resin was the cheapest I could find.
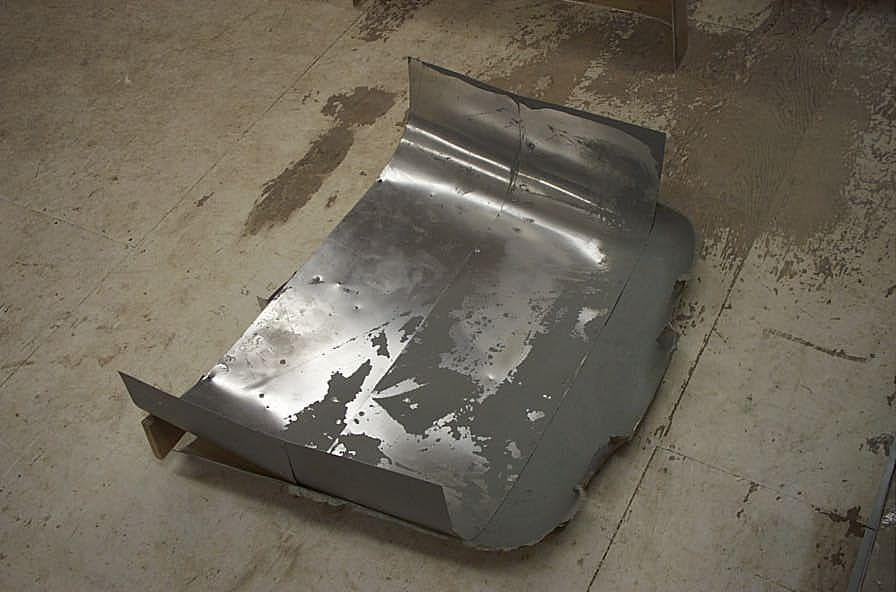
After I got one layer smoothly applied, I worked another layer on at a 45% angle. I wanted still more strength so I put on a layer of fiberglass matt material. It seemed really stiff until the resin soaked in when it became very compliant to the shape. When the resin curing process cooled down, I popped the new female mold off the source part. Since my Revmaster engine mount is almost 3" longer than the cowl I had, I "stretched the mold by bending thin 2024 to fit and pop riveted it into place.
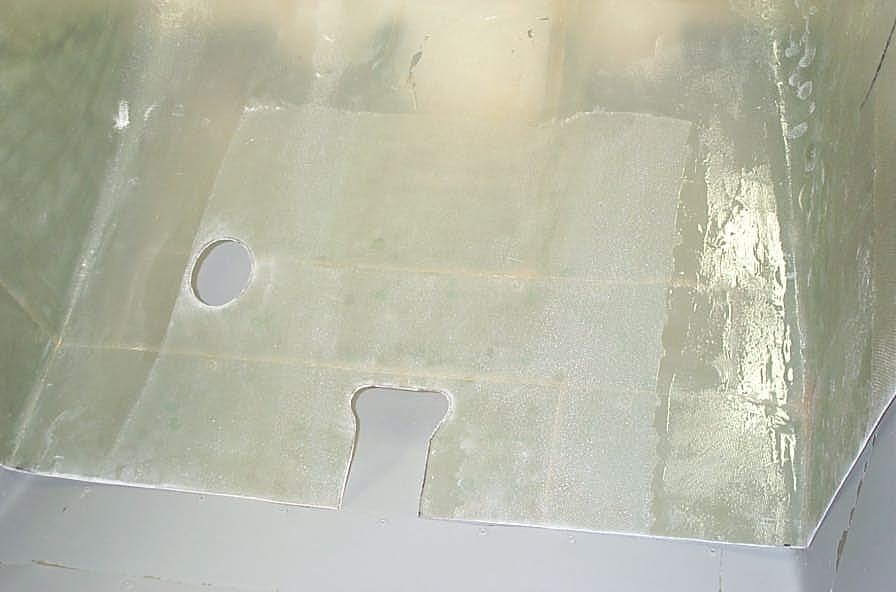
Now that I had a mold, I cut glass and fit everything dry, marking the layers as I went. The lower surface and vertical sides were cut as single pieces of glass cloth. I overlapped the corners by about 2" for more strength. I used 2 layers of cloth. The areas around the air inlets required some fancy cutting. I bought 1", 1.5" and 2" fiberglass tapes to help build areas where there are complex curves. This worked well when sandwiched in between larger pieces of glass cloth.
I waxed the mold MANY times and when it was smooth and shiny, I shot a coat of PVA to aid the separation process.
Now that everything was ready, I started mixed more vinyl ester resin and hardener. Did I tell you that stuff stinks! This time I used vinyl ester because the guy at TAP Plastics said it has the best high temp properties. A common destination for me is flying to work. The engine gets to temp for about 15 minutes and it's time to land and shut down. This cowl is going to get a lot of heat/cooling cycles.
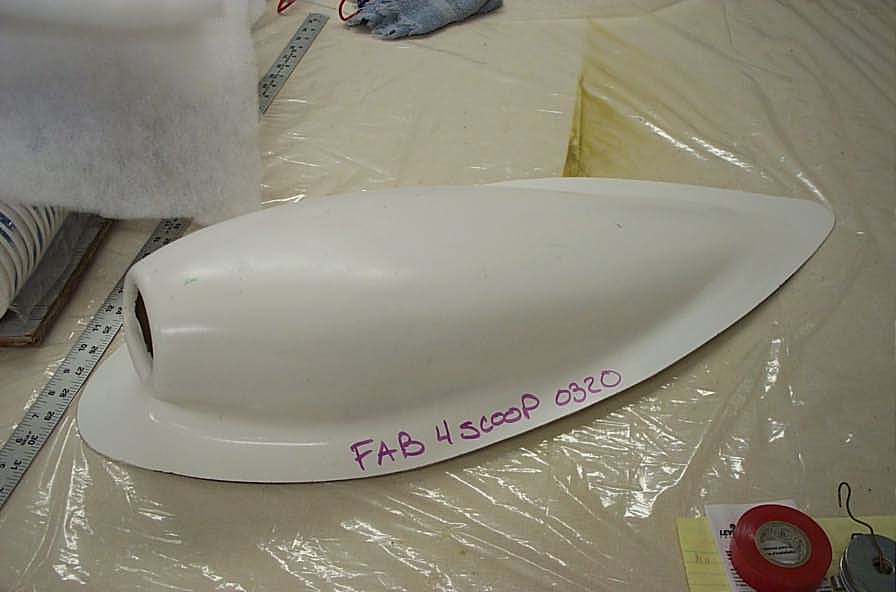
Anyhow, I brushed the resin completely into the mold and started laying in the precut glass cloth. I'm installing a tri-gear so I put on a 3rd layer to reinforce the bottom surface. Then you wait to pop it out of the mold. You know the rest, "trim to fit."
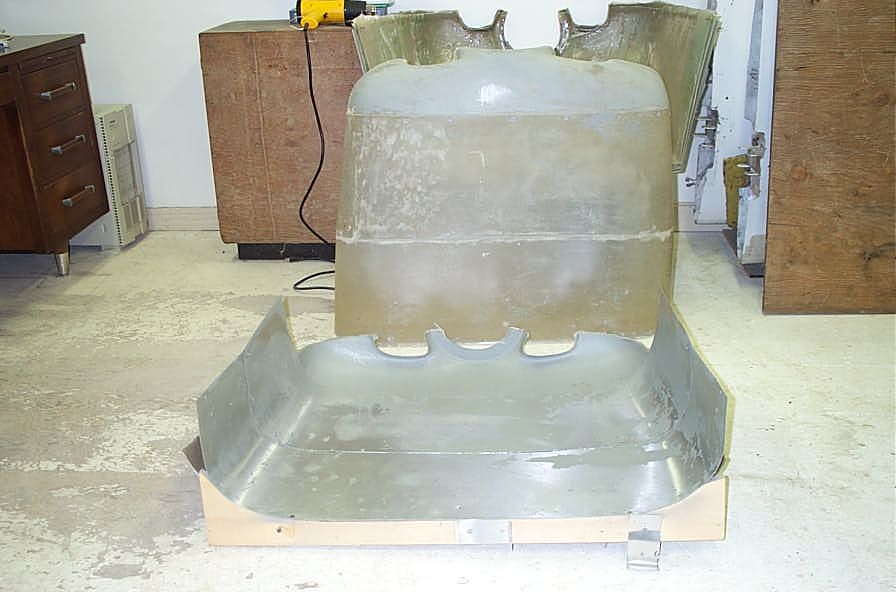
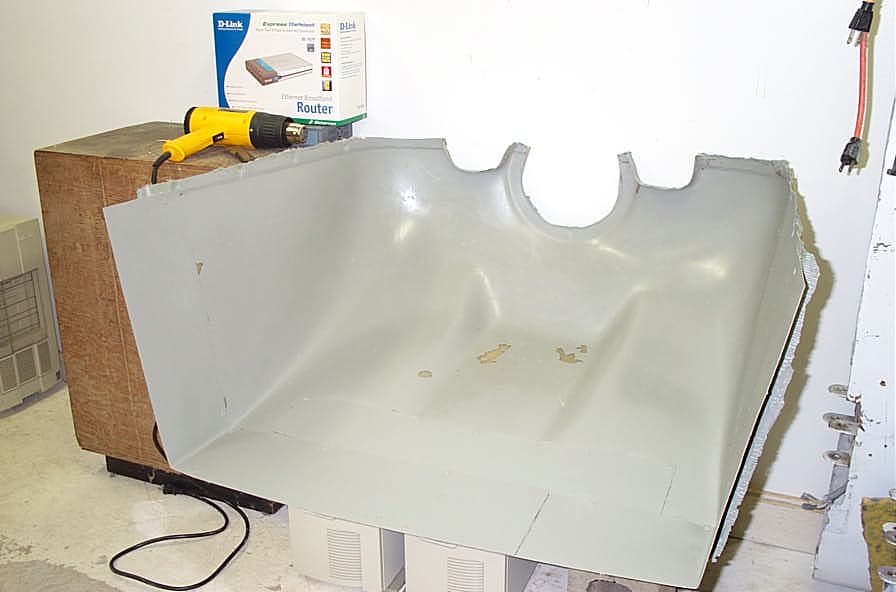
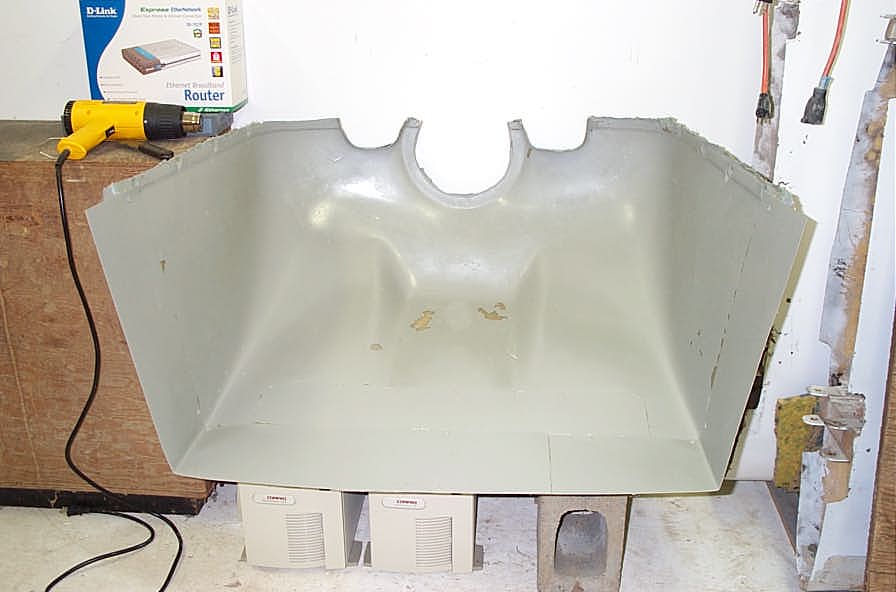
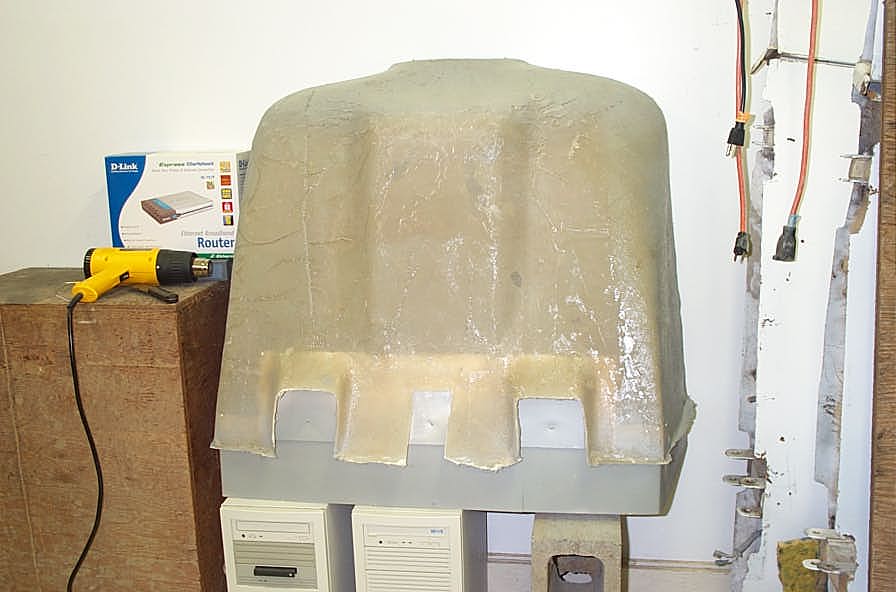
One cool thing about having your own mold is can use the first part you build as a fitting template. I hacked it up pretty well to determine where the Revflo injector would go and the nose gear brackets. Once I had that figured out, I built another cowl. Experience paid off for me as the second part was much better in quality and actually lighter to boot. The whole thing without fasteners is about 4 1/2 pounds, maybe less.
Here are images of the parts and molds.