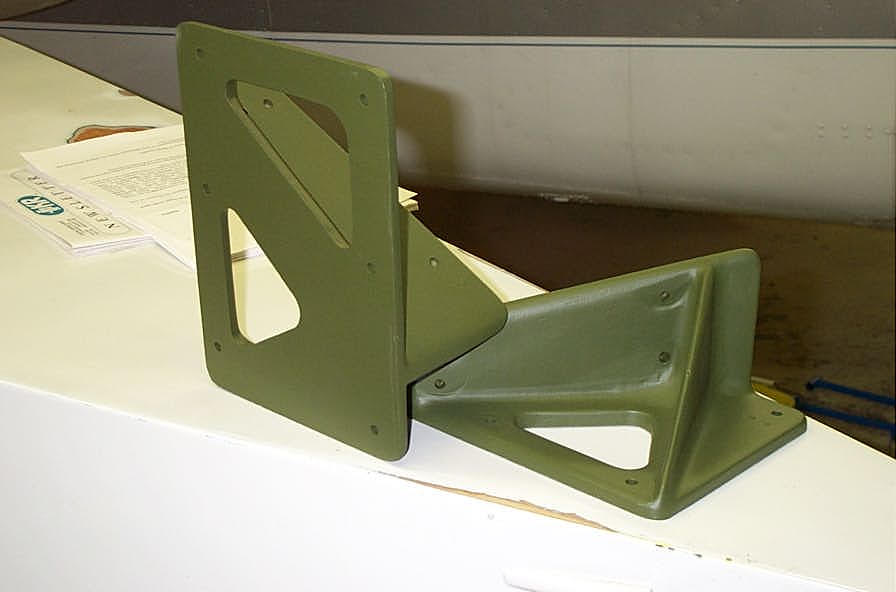
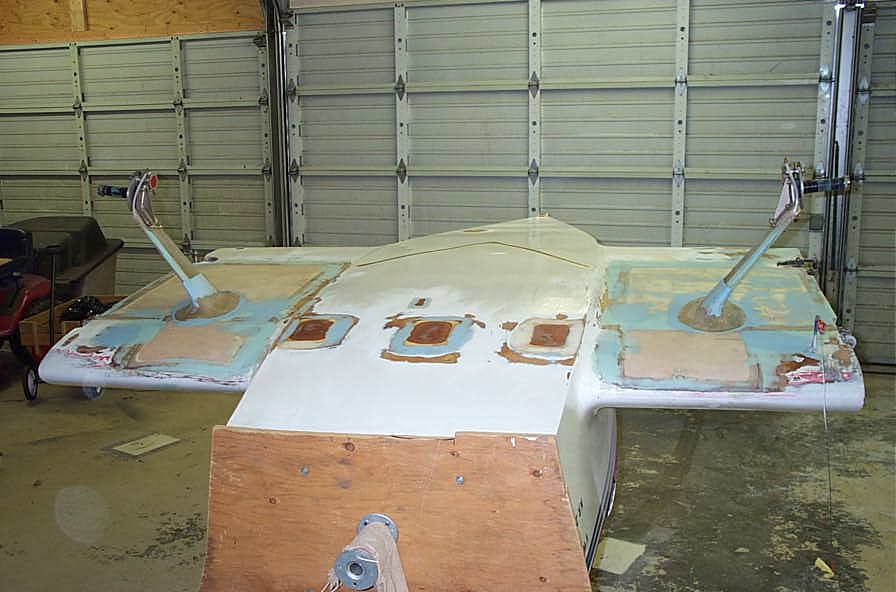
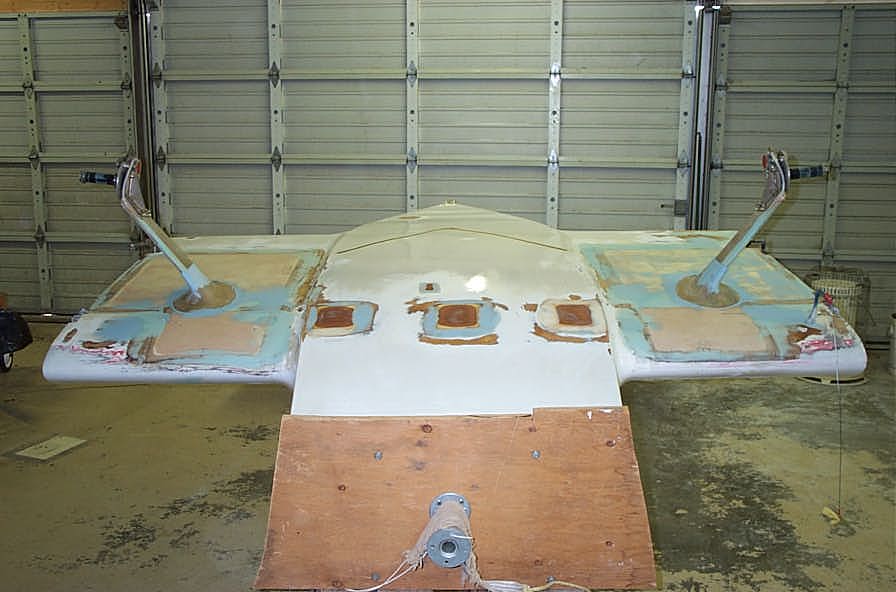
The airplane came with a formed aluminum landing gear mounted to brackets bolted through the spar in the original retract gear positions. I taxied it around for enough passes to be uncomfortable with the forward visibility. Over on it's back, remove the existing gear, and get ready to mount Diehl fixed tri-gear..
.
I had to enlarge the original holes behind the spar to fit the brackets and clearance out some of the airfoil shape foam.

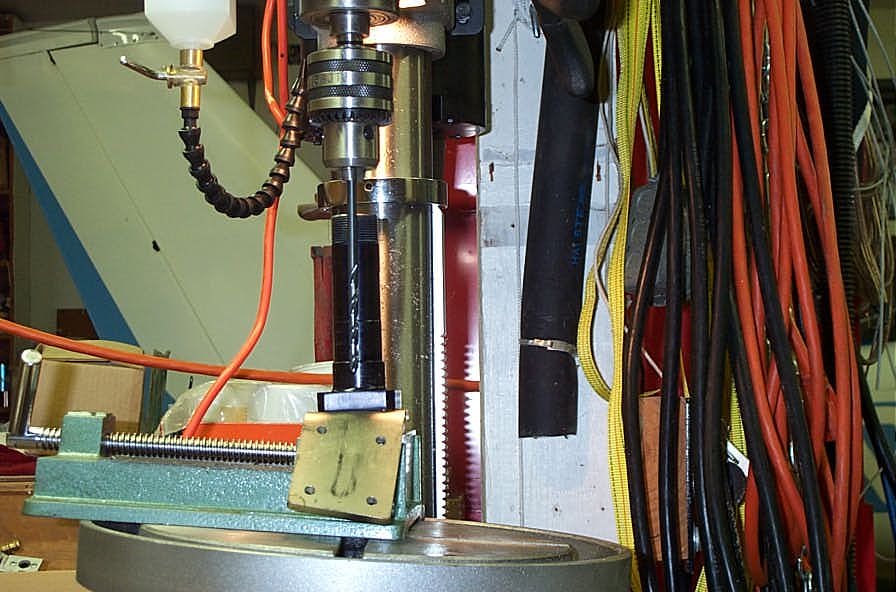
Next came building the spar drilling jig. I used 3/4" pine and 1/4" I.D. aluminum tubing. When I do it again, I'll use brass tubing as the jig became a bit loose by the end of the 12 holes...

I bought a Milwaukee 1/4" x 18" "bell hanger" bit at the local tool store.
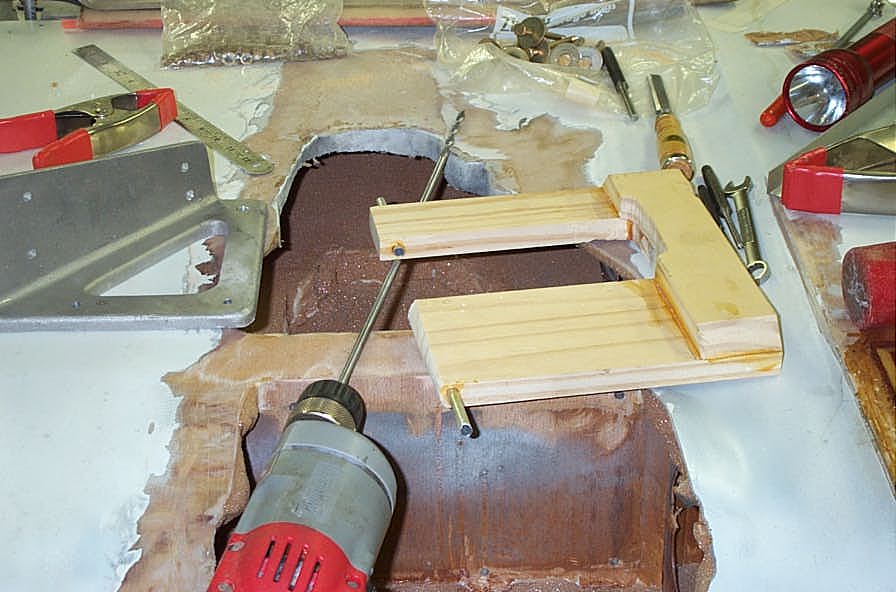
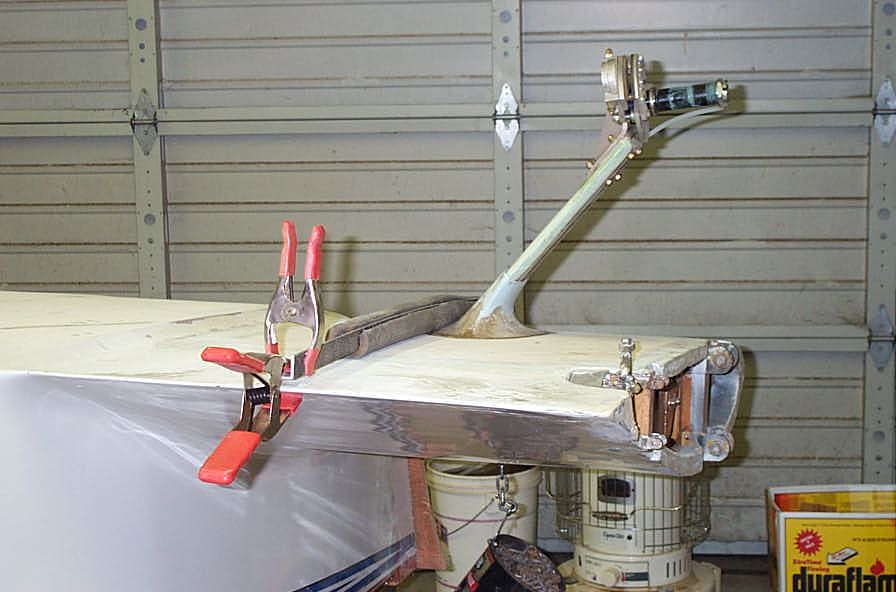
As you can see, drill the bracket using the pattern provided with the gear kit. Then clamp the bracket to the spar loosely, measure to align it, and tighten up the clamps. Using a 1/4" rod or drill bit in the end of the drill jig, slip it into the holes in the bracket. This will locate the "far end" of the hole you're aiming to hit.
Then start drilling through the long end of the jig. The first 2 are a bit un-nerving. Once you see how accurately the holes line up, your confidence and speed increase.

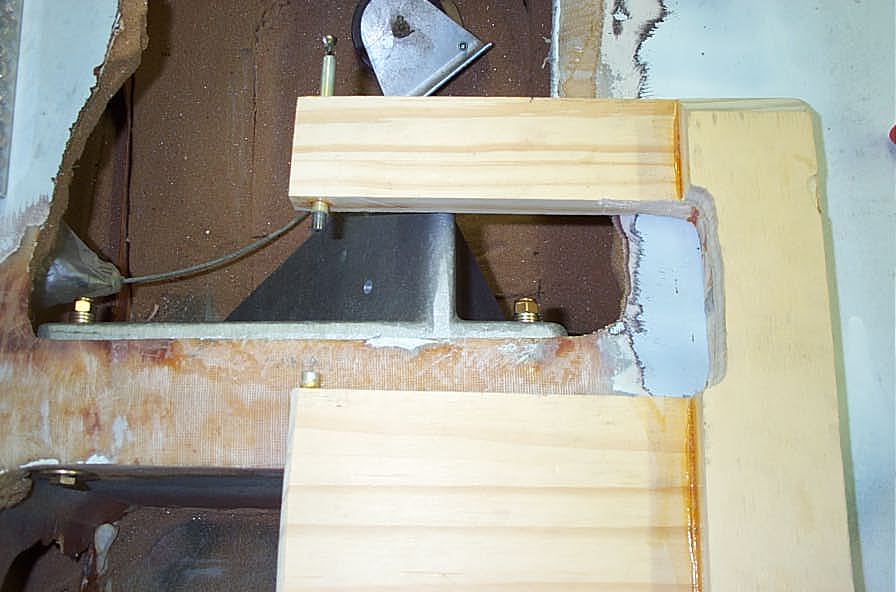
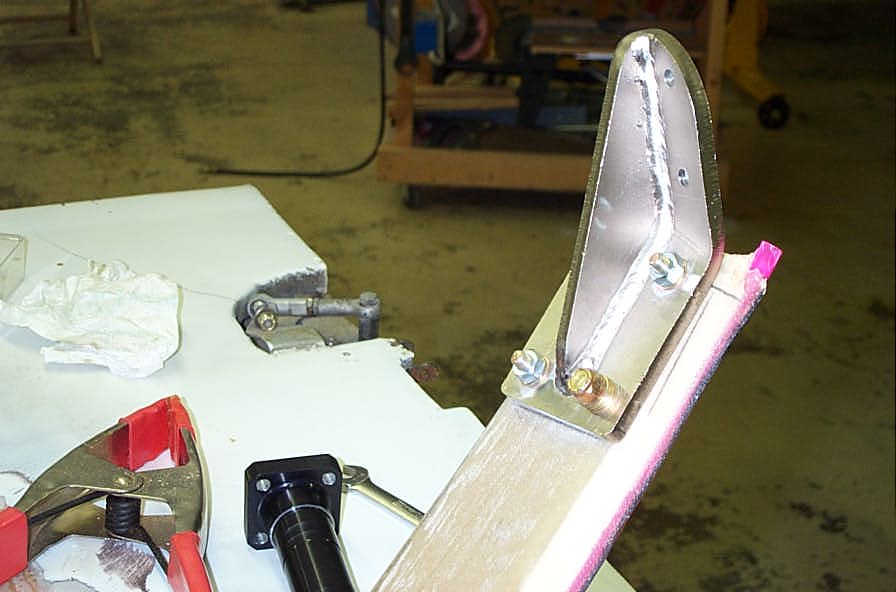
Before you know it, you're sinking the bolts through the AN-970 washer and spar!
Here is the reason I spent $14 on an 18" long drill bit. I think it will be easier to repair these holes rather than rebuild the leading edge!
After I had the brackets drilled for the spars, I laid up the BID cloth as per the instructions.

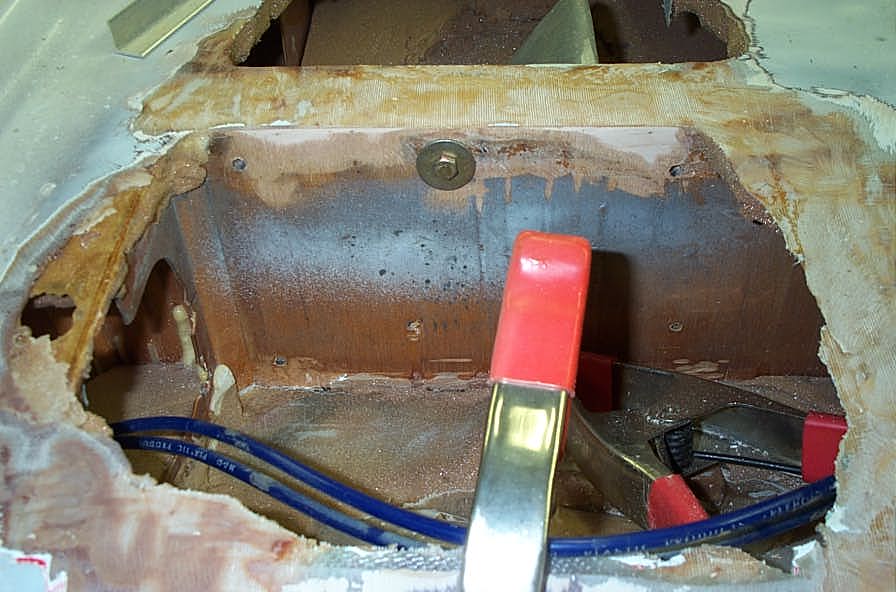
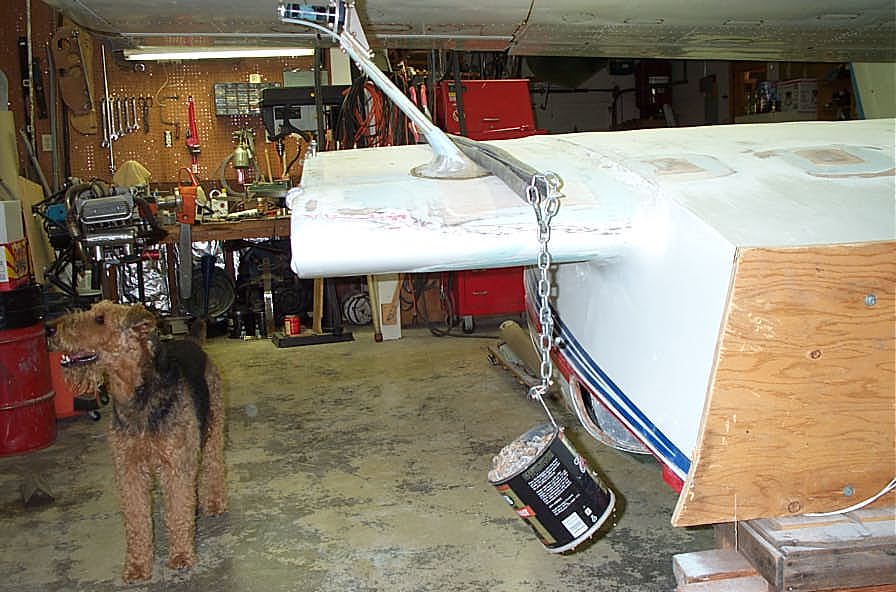
Here's photo of aligning and drilling the gear legs and lower axle brackets. I fit everything up dry.
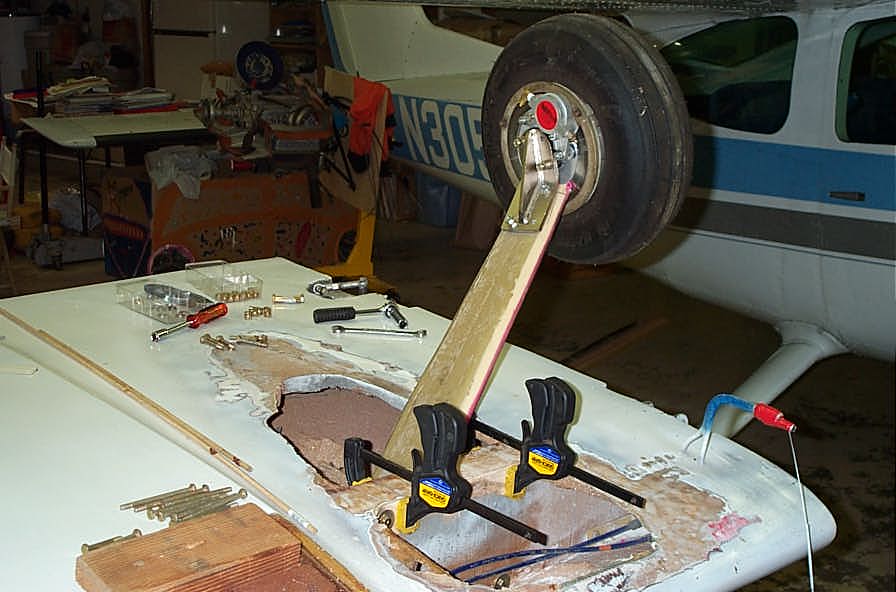
When you're satisfied, it's time to mix up some flox to bond and bolt the assemblies to the spar. I built a tent or "hot box" over the brackets and gear legs after I glued and bolted them to the spar. It maintained the OAT between 20 and 35 degrees C and that really helped the curing process!
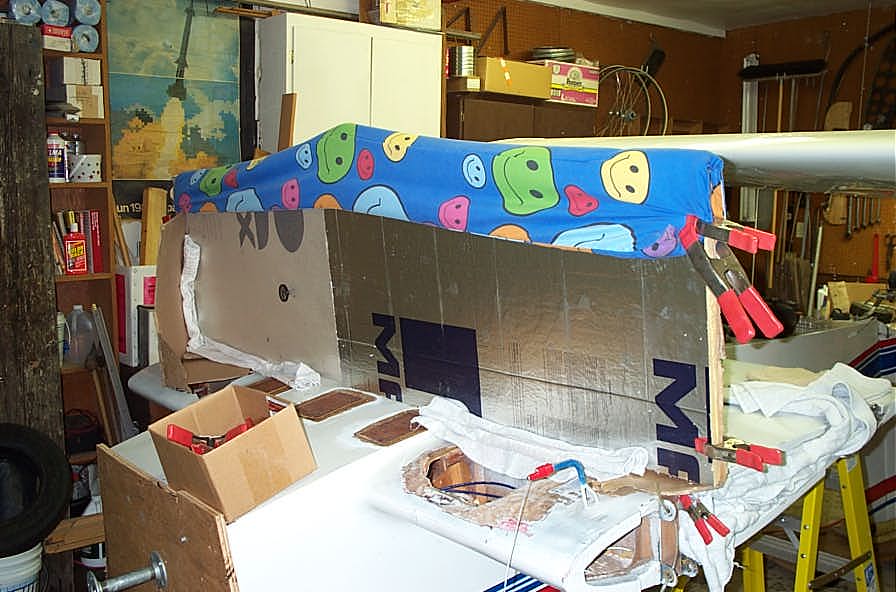

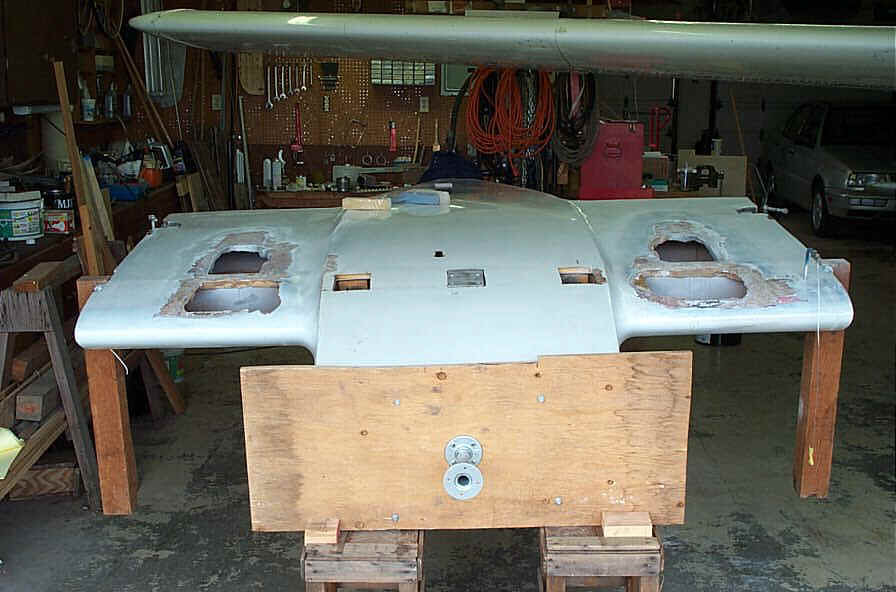
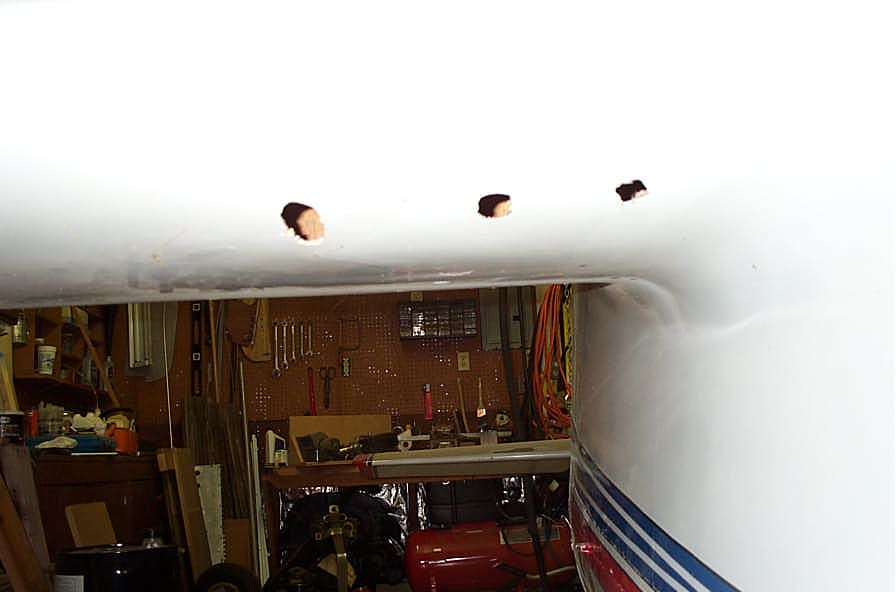
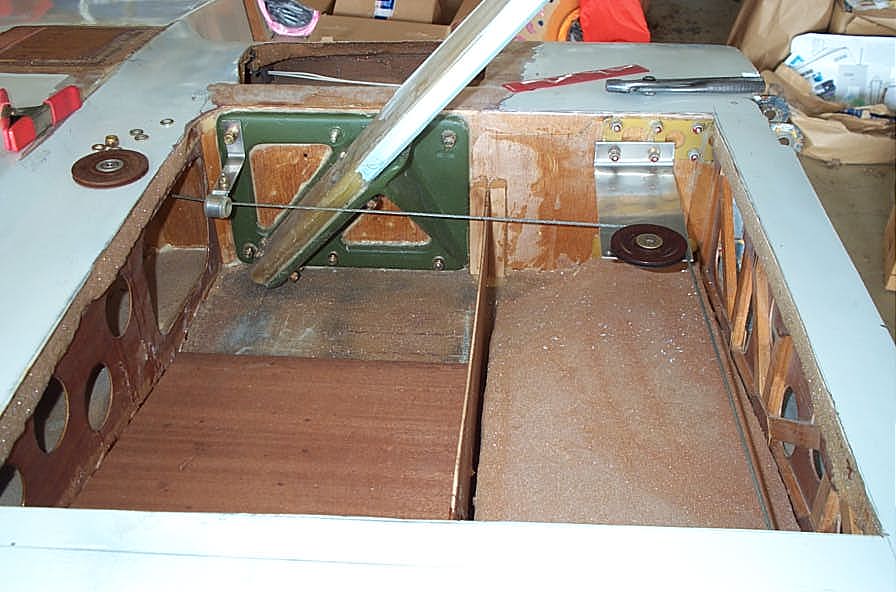
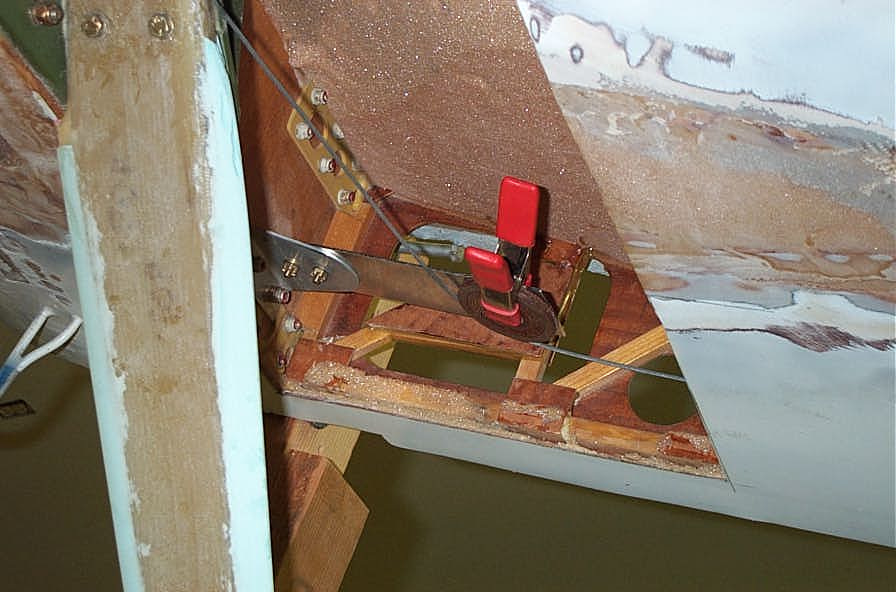
I enlarged the access area to install a wing walk and template new brackets to re-route the cables. I should have made larger access holes in the beginning...
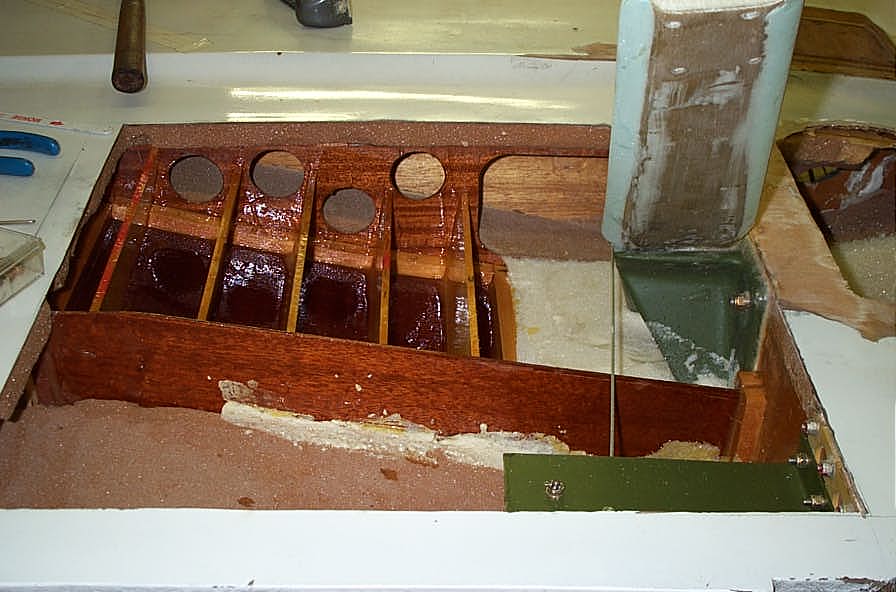
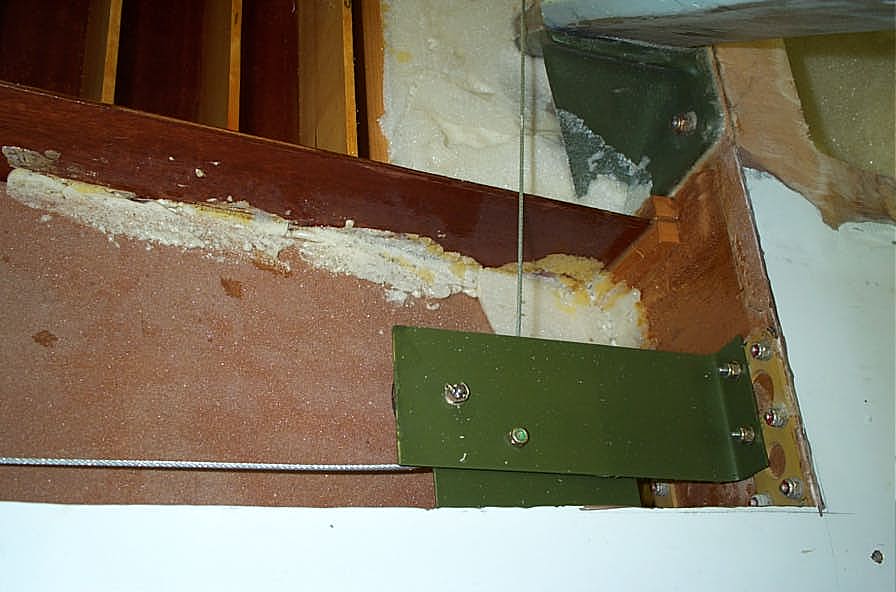
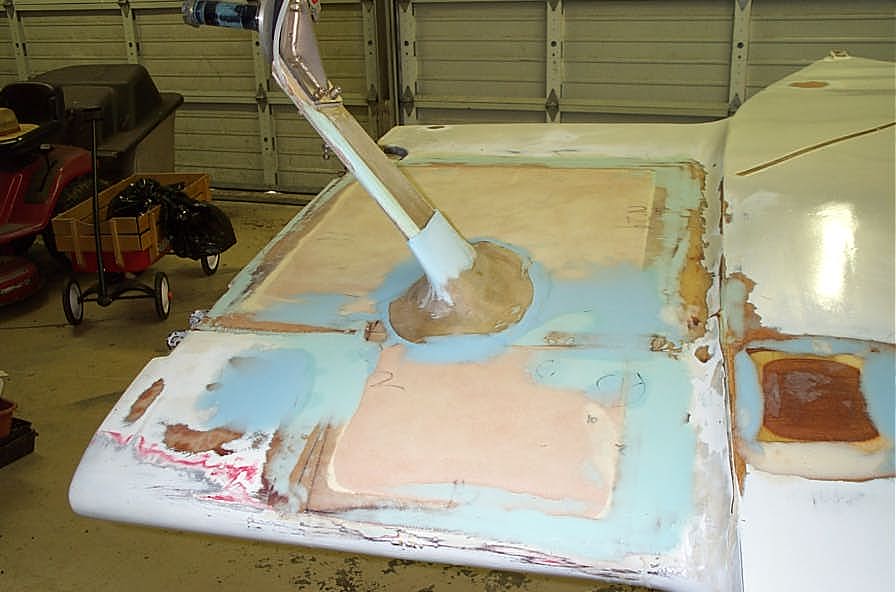
Then, fill the voids with foam, shape and glass the underside of the airfoil (and repair some hanger rash)...
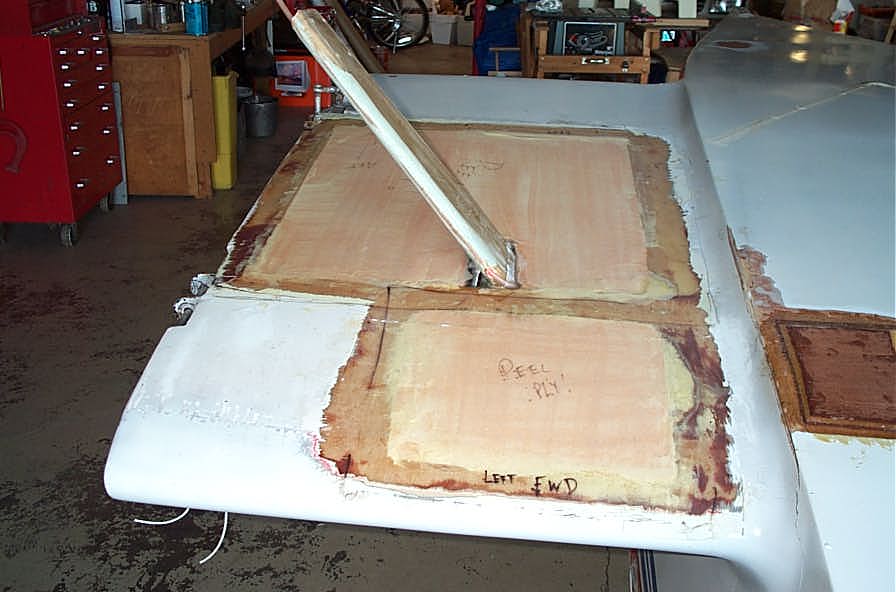

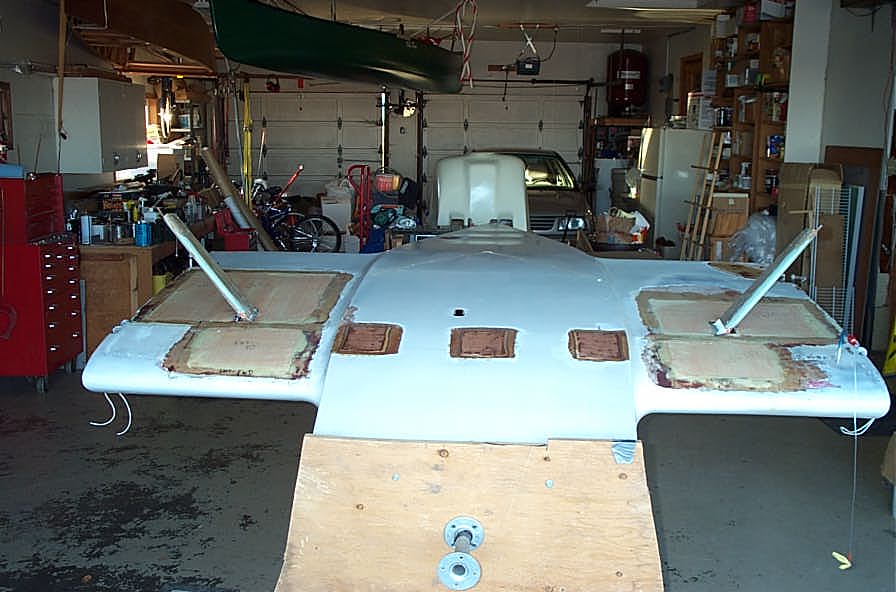
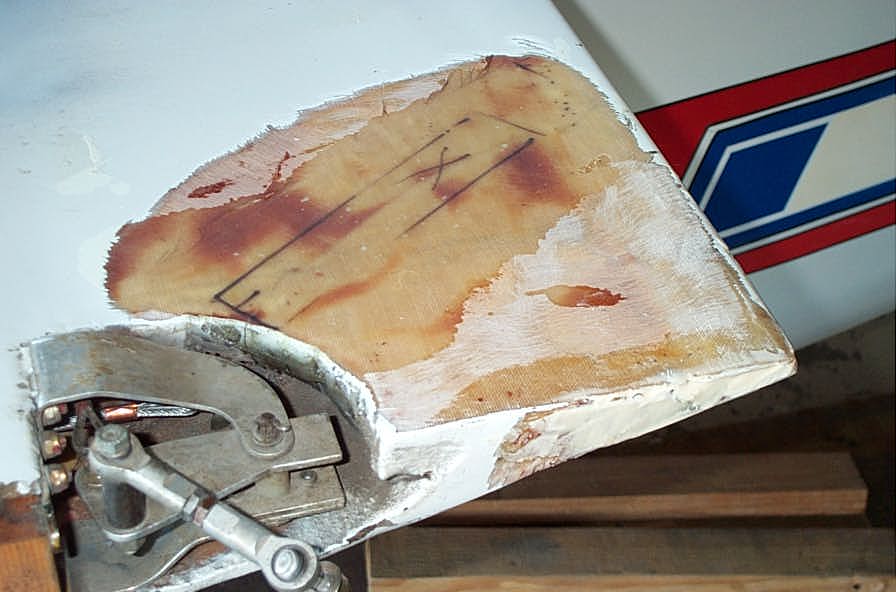
I ended up tearing out this work and getting some help from Joe Beyer to better fit the foam.

I bought fairings from Diehl, shaped them and glued them using flox to the skin using a bar as a clamp.

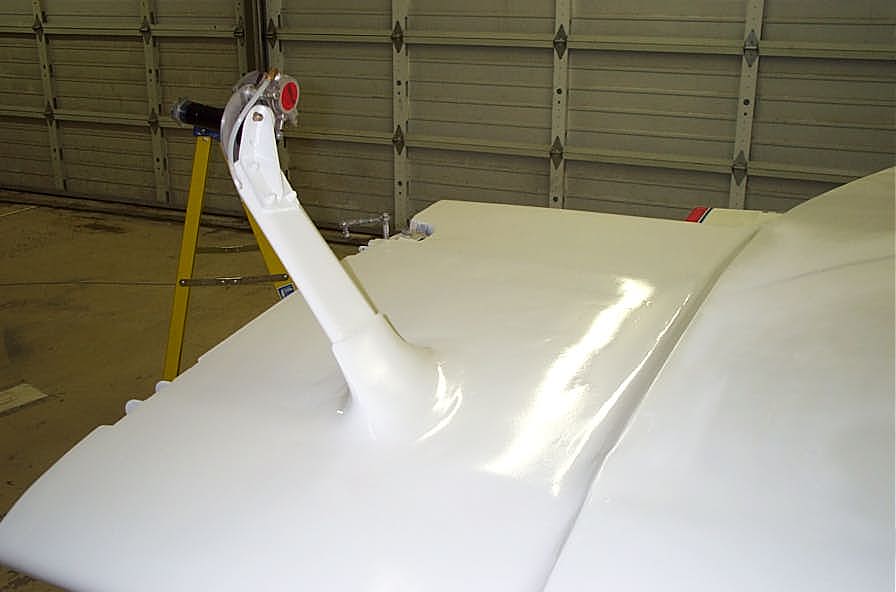
Finally, shoot some SmoothPrime, some paint, and onto it's new feet!