I decided to go through the wings. I am trying to salvage the Diehl wing skins. Dan is making me a kit of ribs and some extra ply-foam for integral wing tanks. Dan calls this option "gas tank backs."
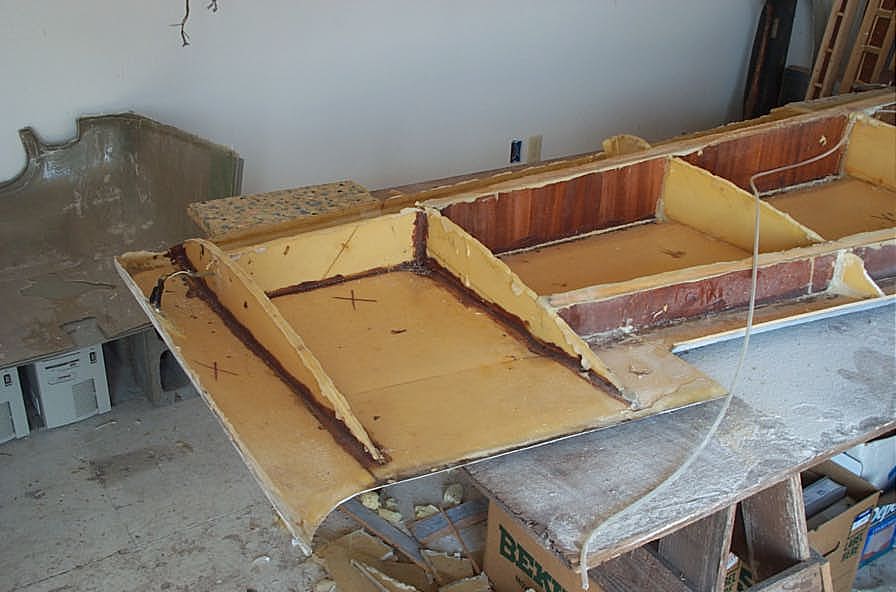
First I disassembled the wings
Next I built the outboard main spars


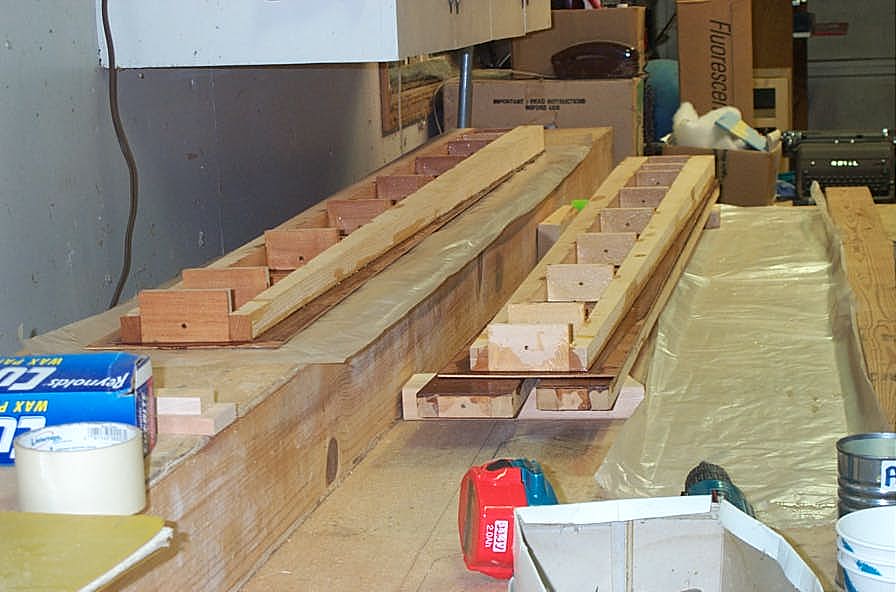
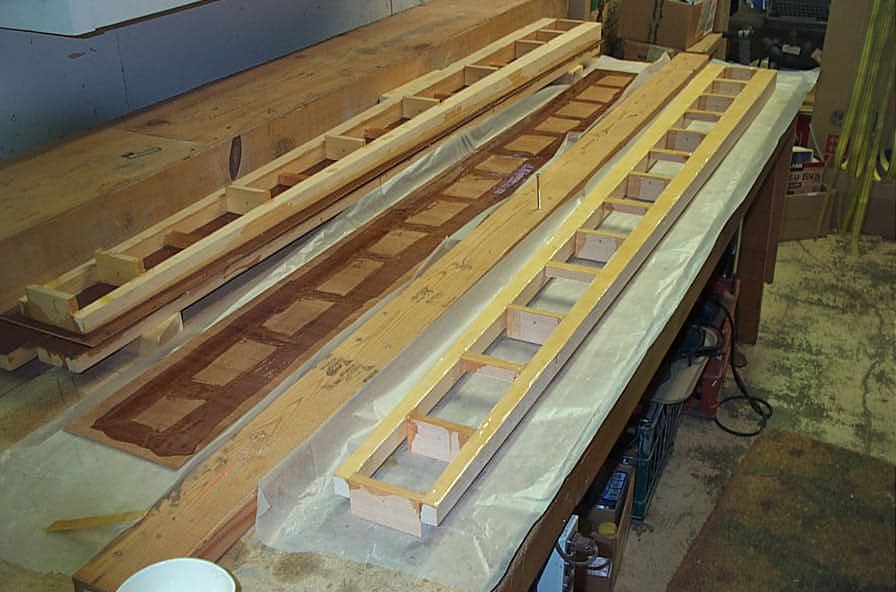
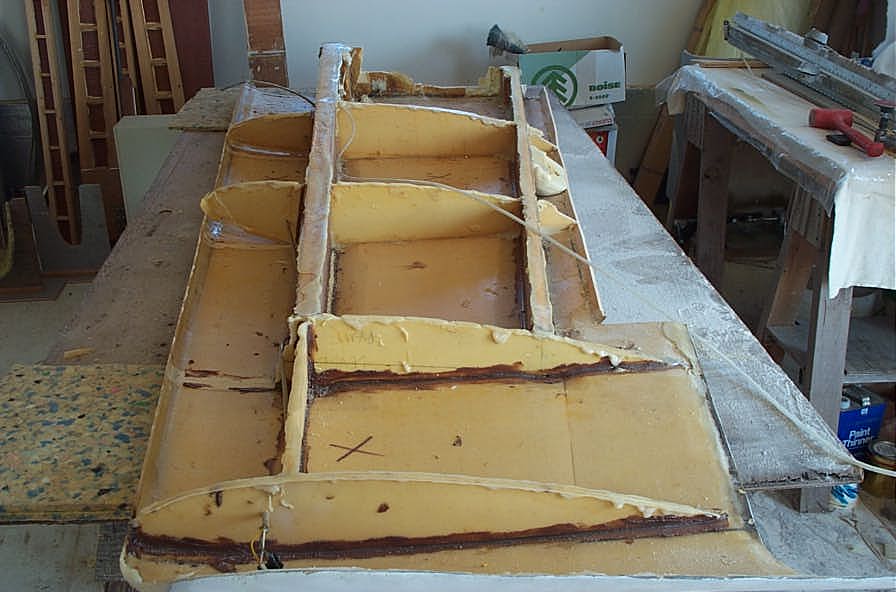
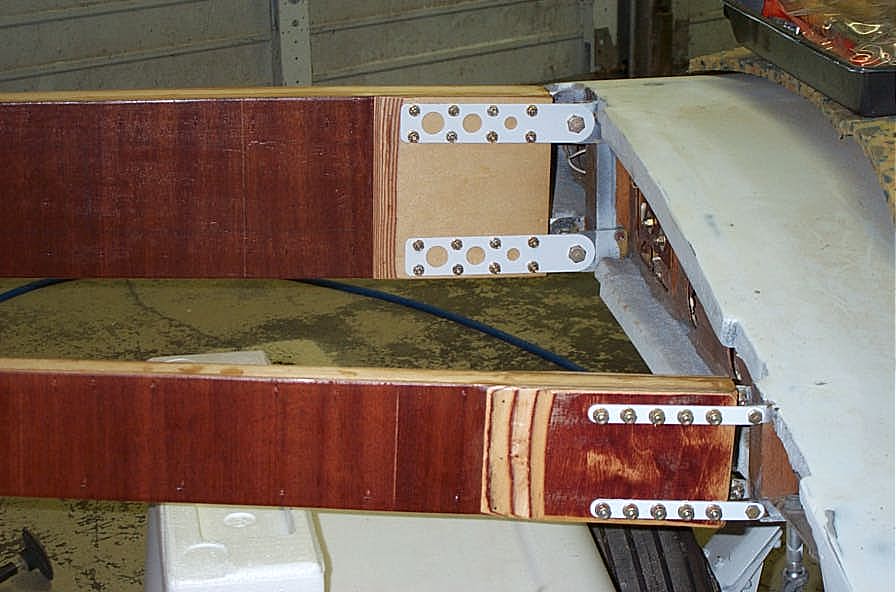
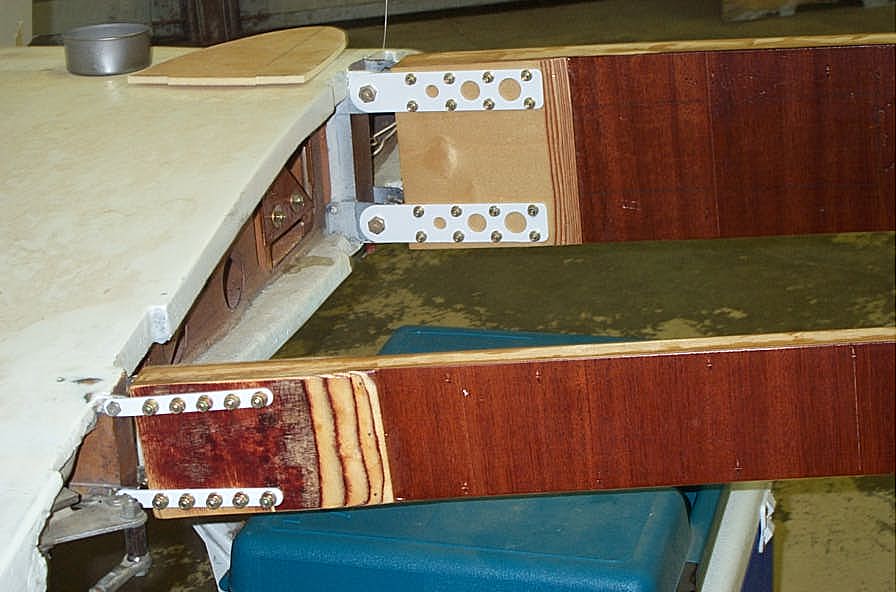
Pre-closure photos...


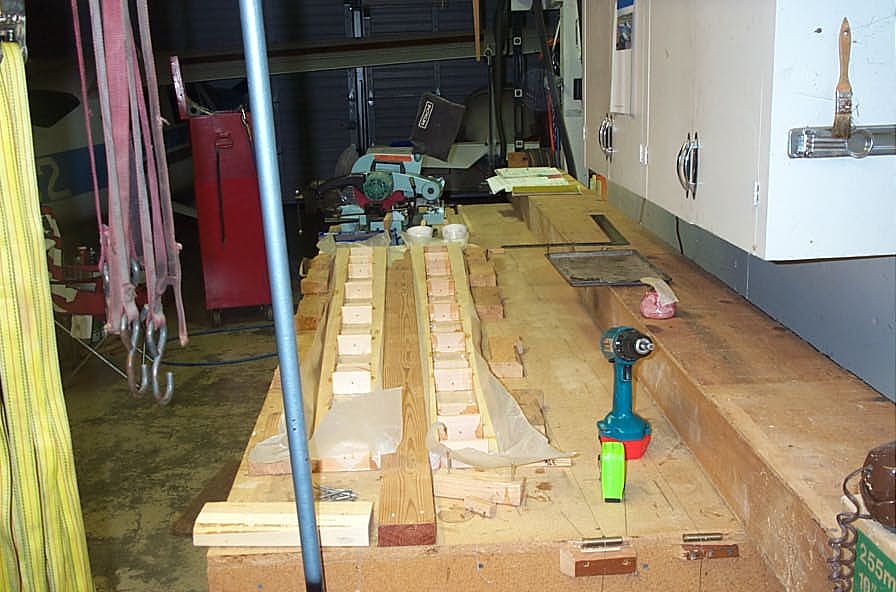
On to mounting the WAFs
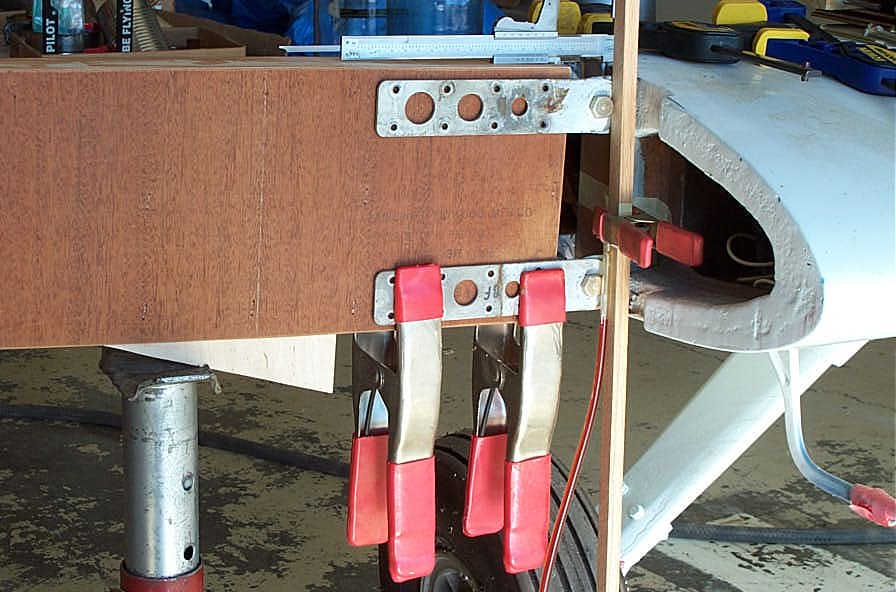
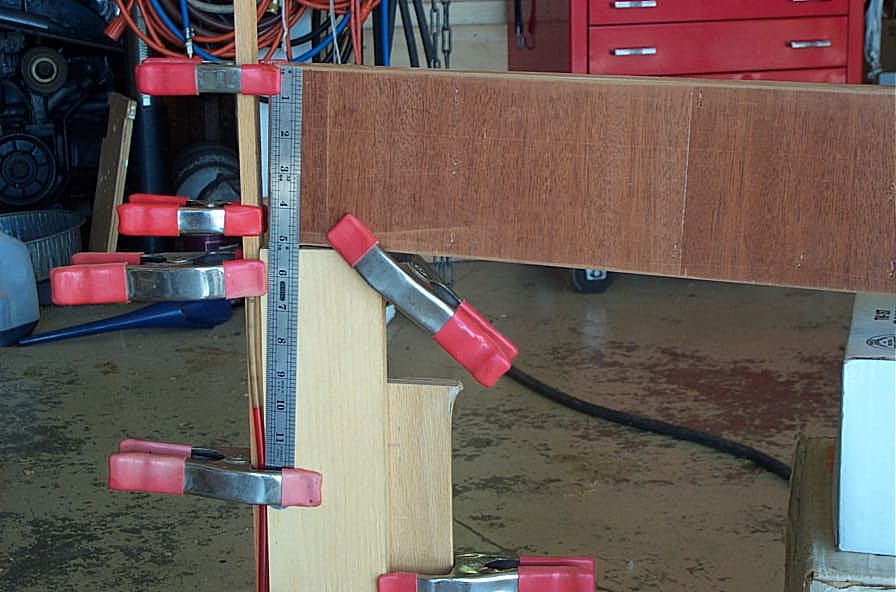


The rib parts kit arrived the day before the 2004 Gathering. Notice Water-Level Version 2! Much EASIER to use...

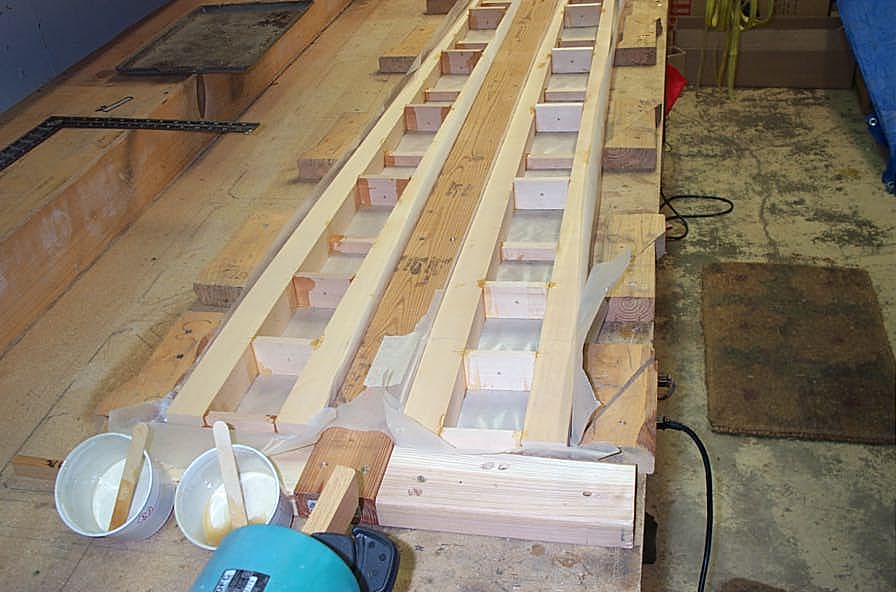
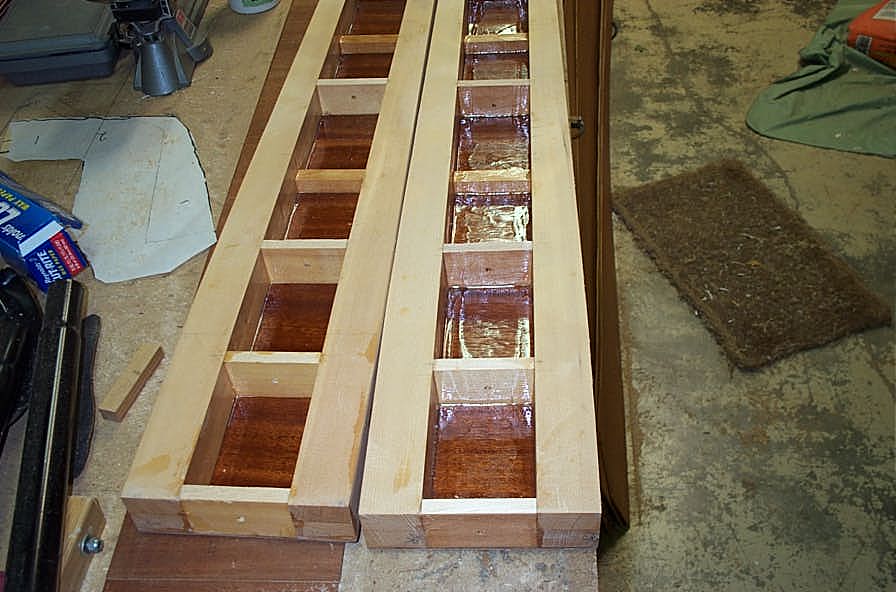
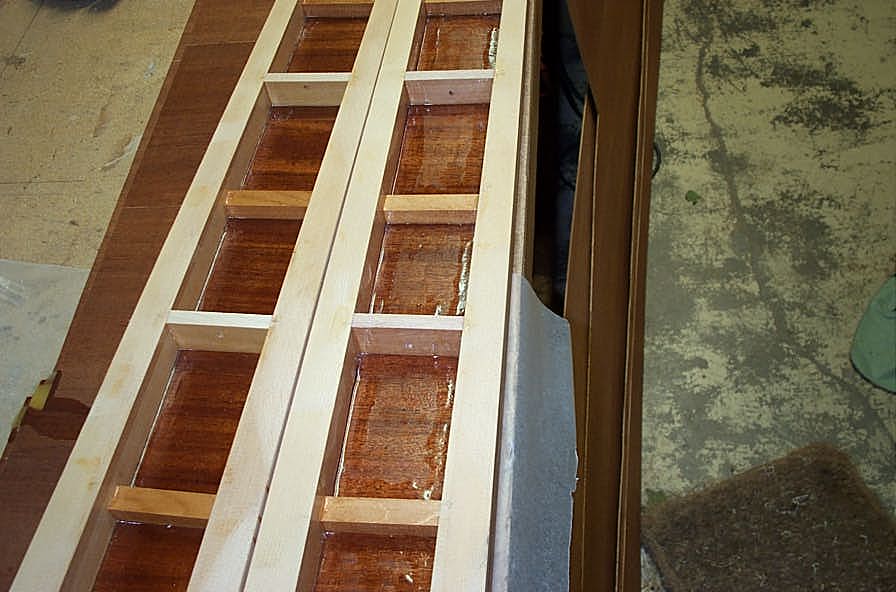
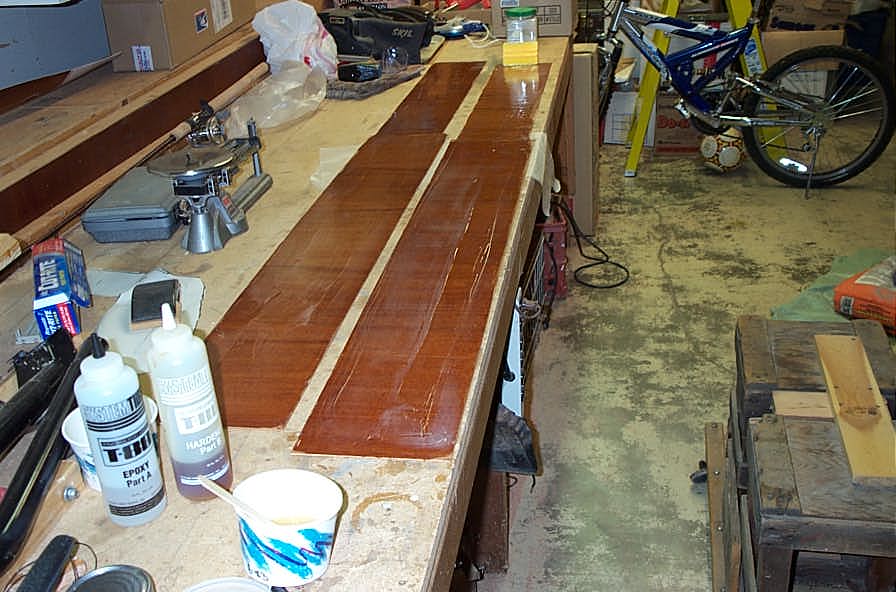
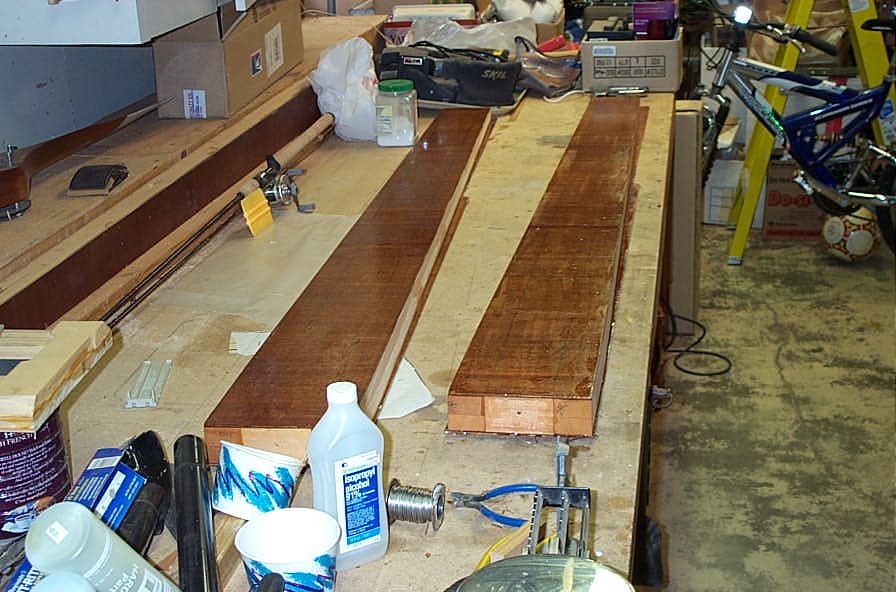
Then the <<cold weather>> set in! So much for getting the bottom skins on until the middle of March. There is more fitting than I expected but I AM re-using wing skins... Dan says to ensure you get the resin off the surface of the previous bond area. He recommends sanding slightly into the glass to provide for proper penetration of the Vinyl Ester resin. Make sure you "deglaze" the spruce prior to bonding.

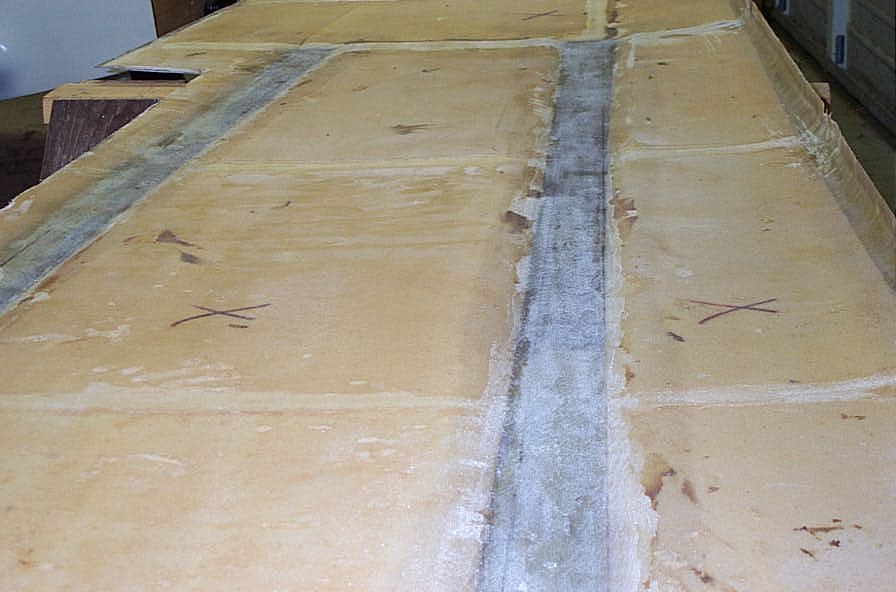
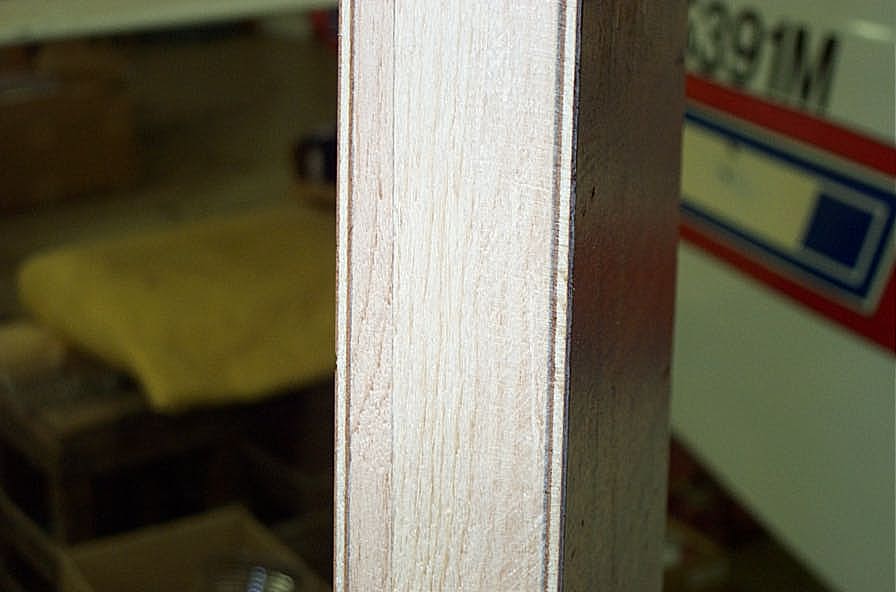


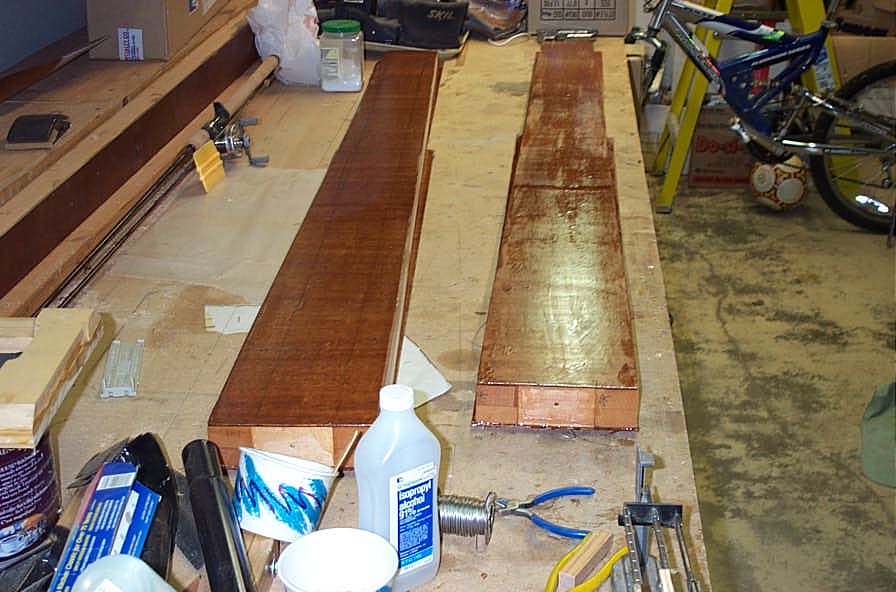
I forgot to take photos of the flox-resin mix I put between the spar and the wing skin. Dan says it should be stiff enough not to run. I "painted" pure resin on both the skin and spar surfaces to ensure they were wet prior to building up the required flox mixture.

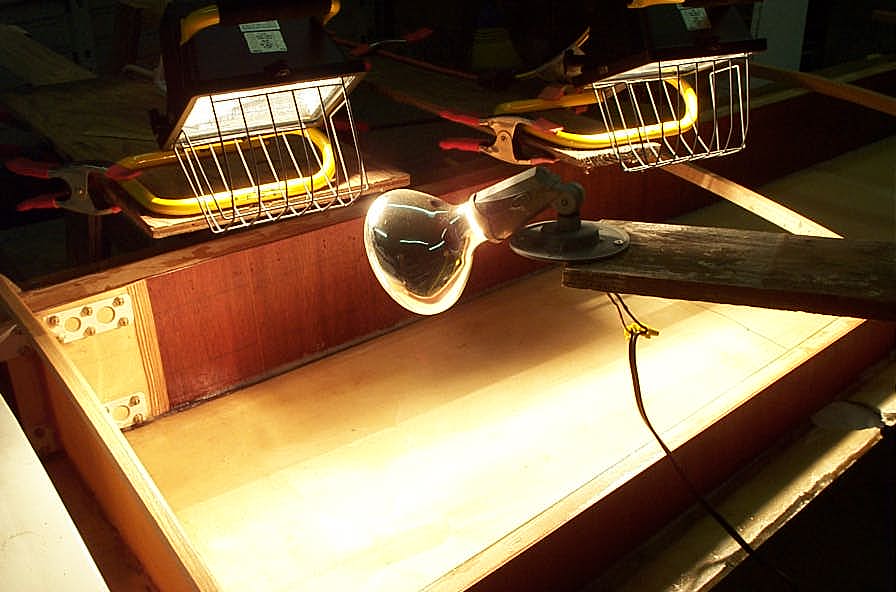
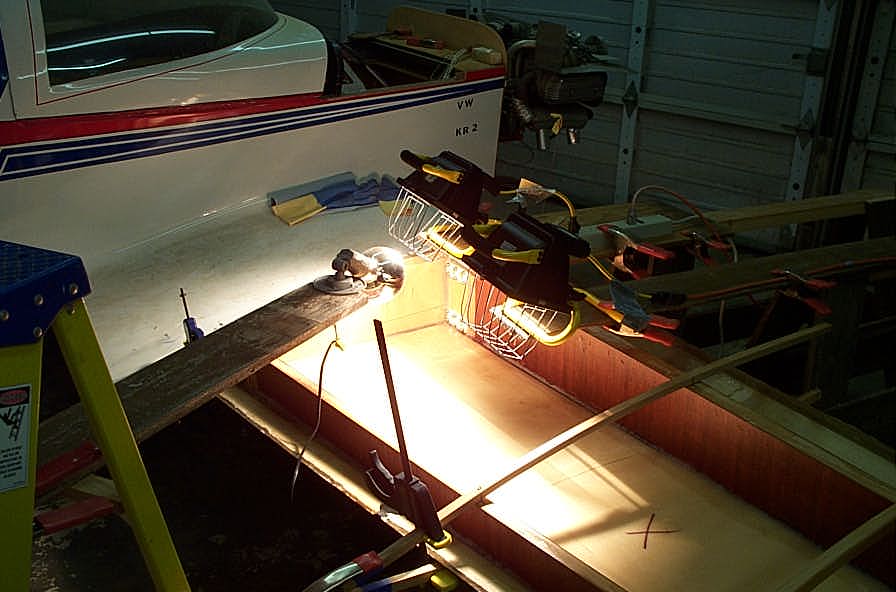
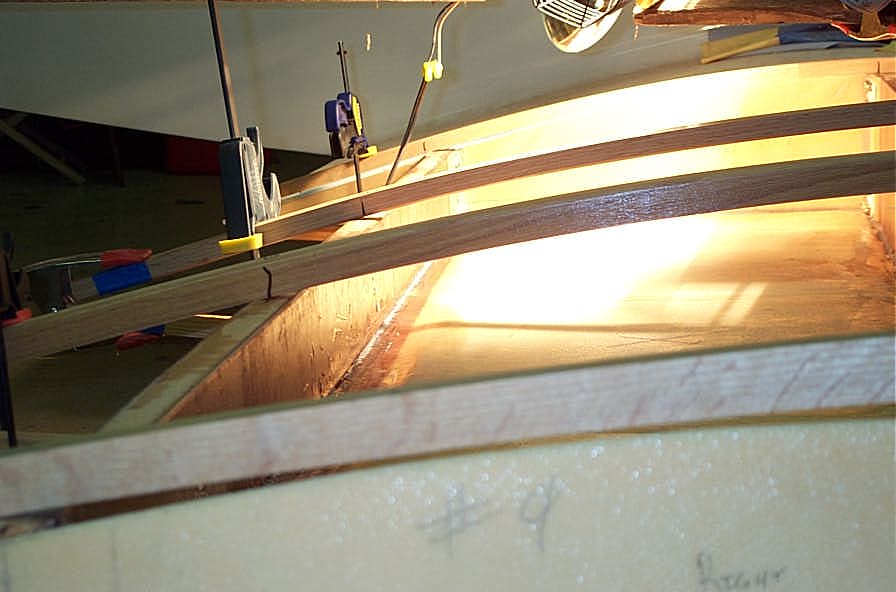
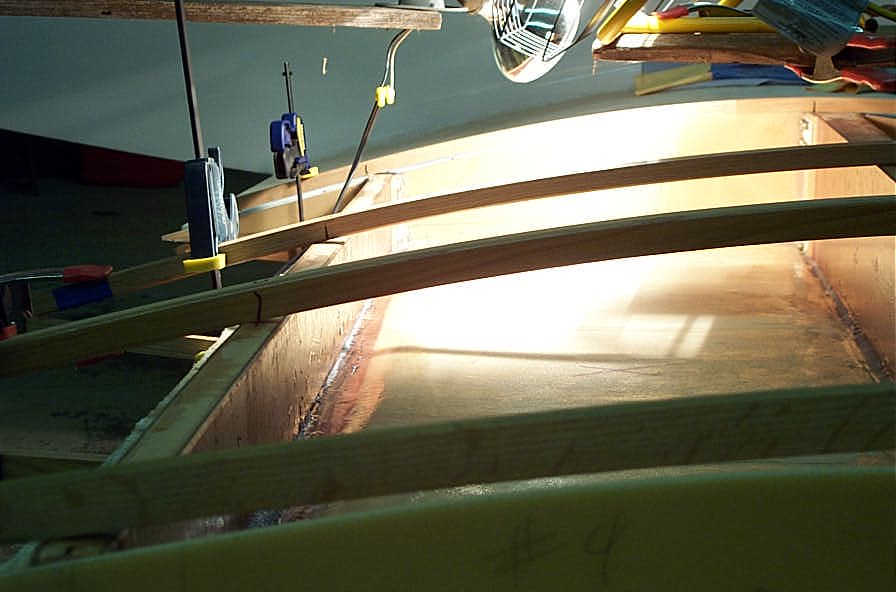
Finally, I used a heat light and some halogen lamps to warm the bond area to post cure the resin. The joints are smooth fillets with no trace of tackiness.
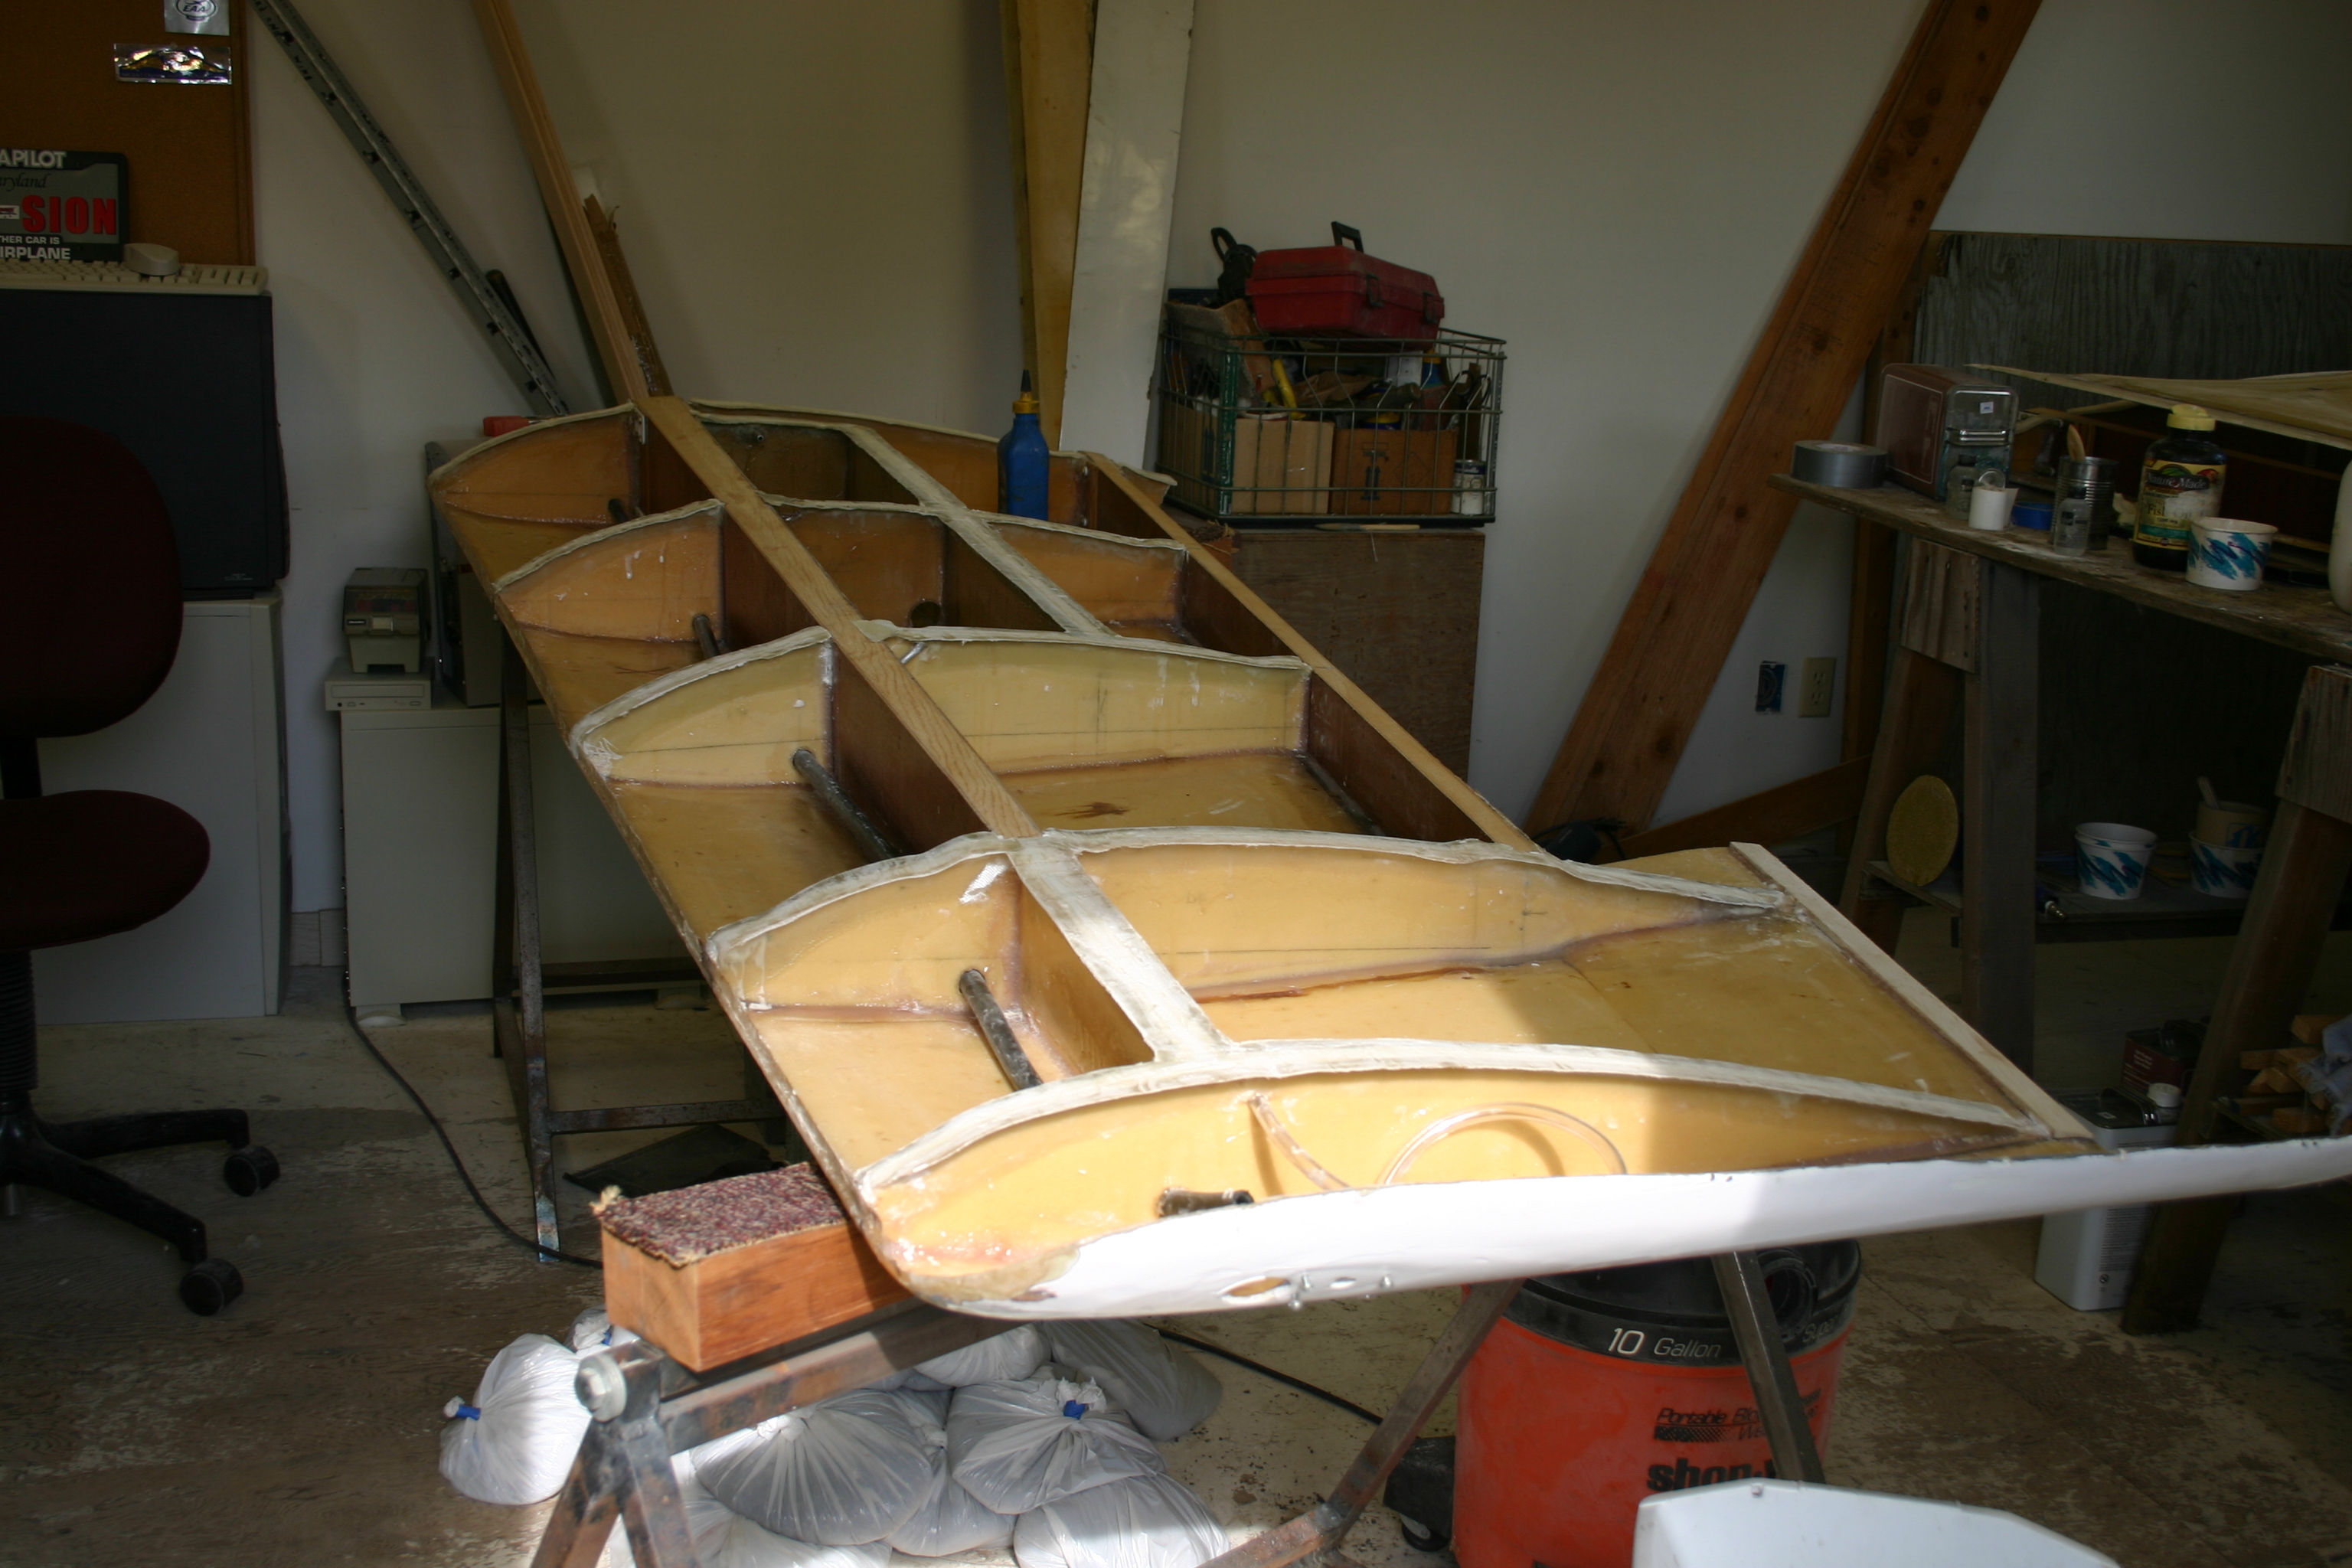
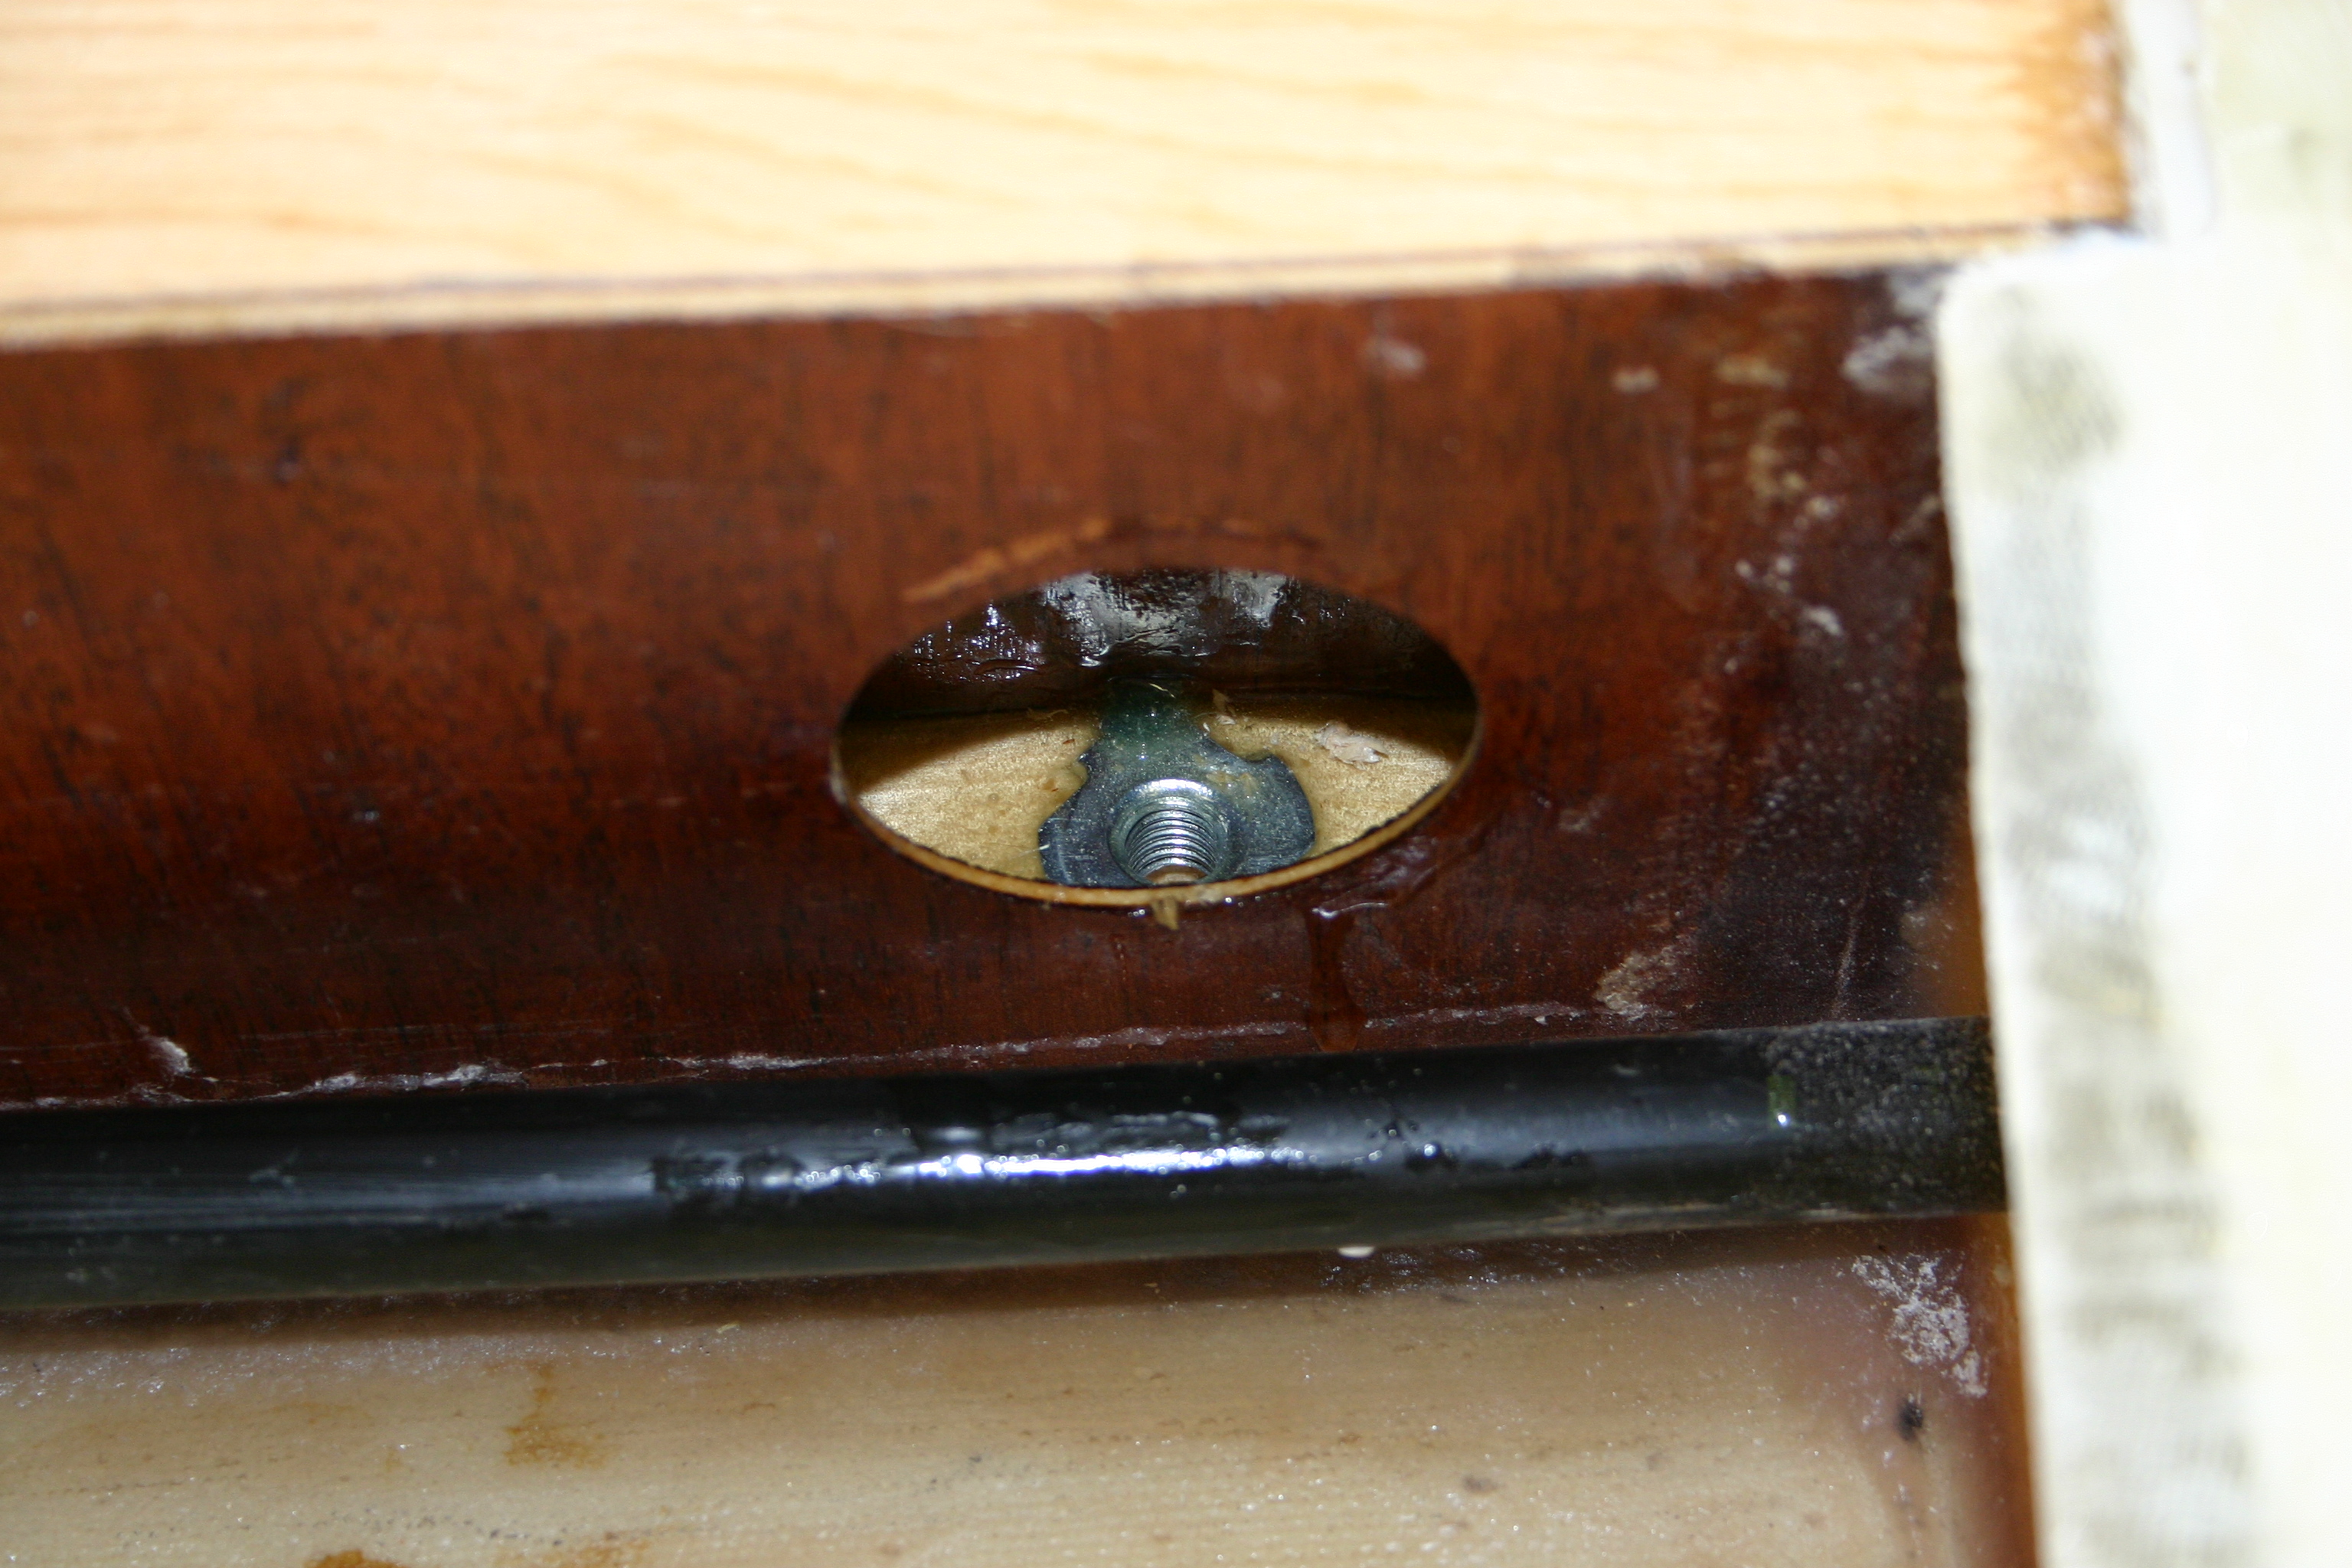
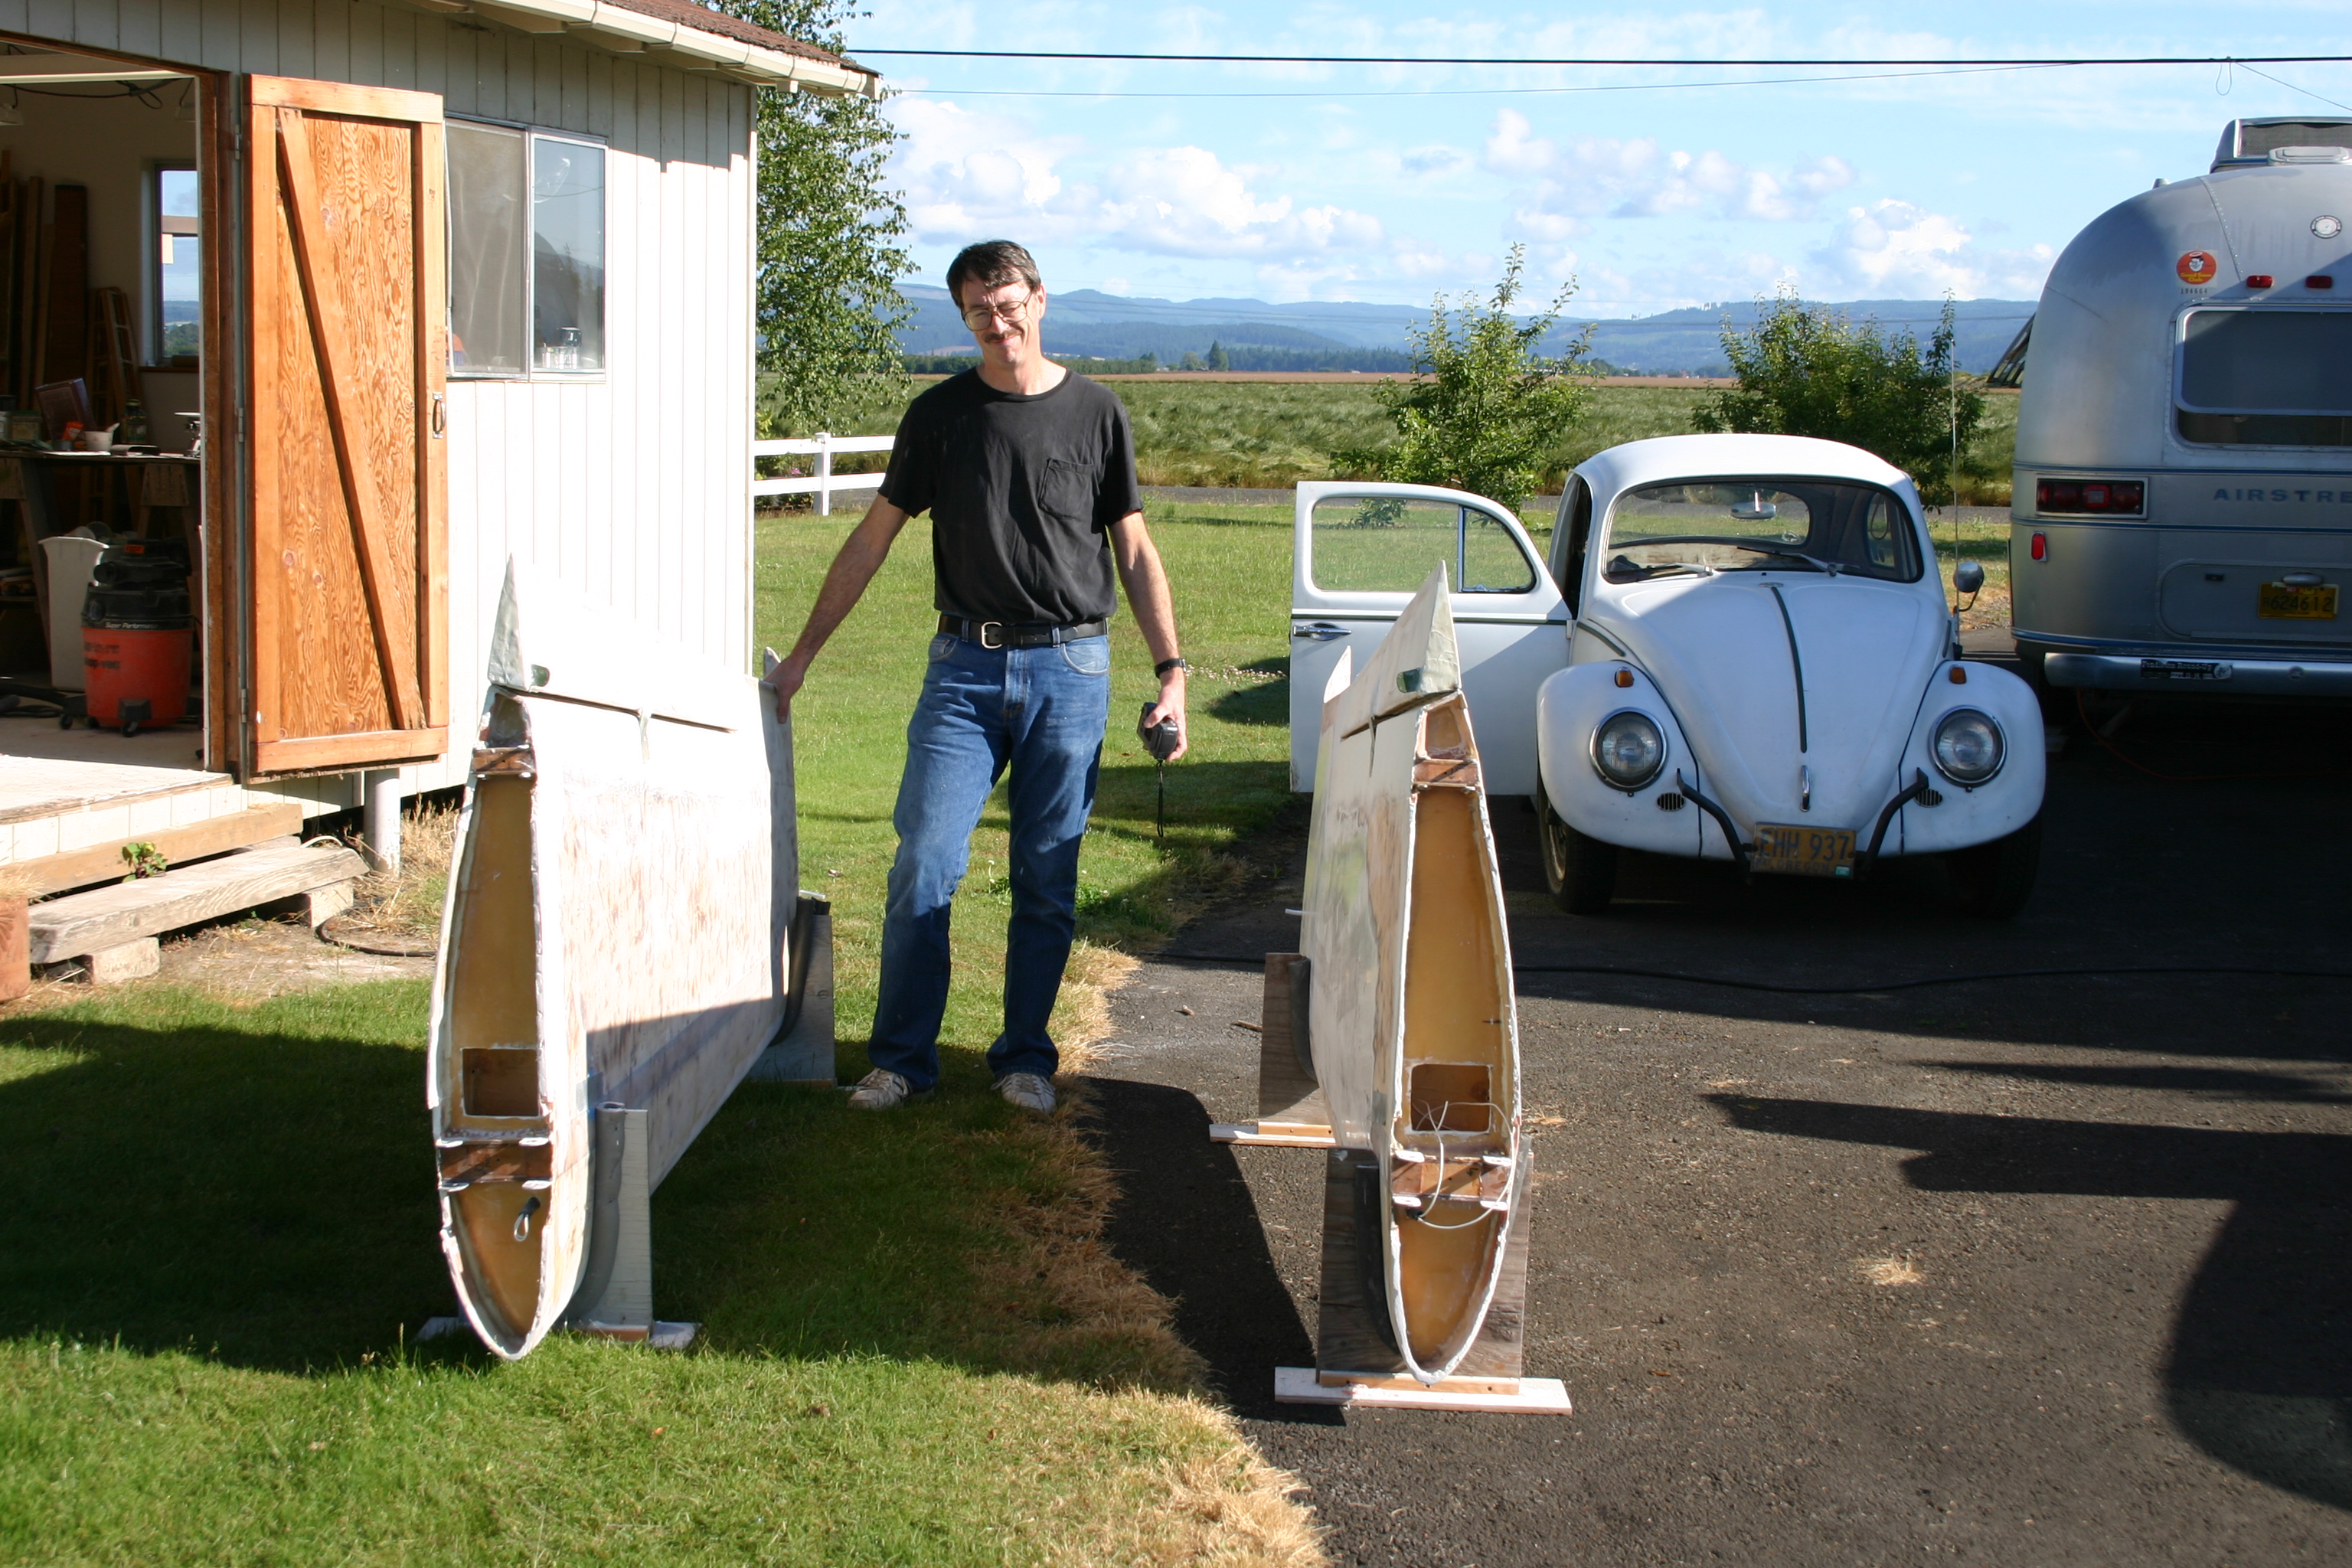
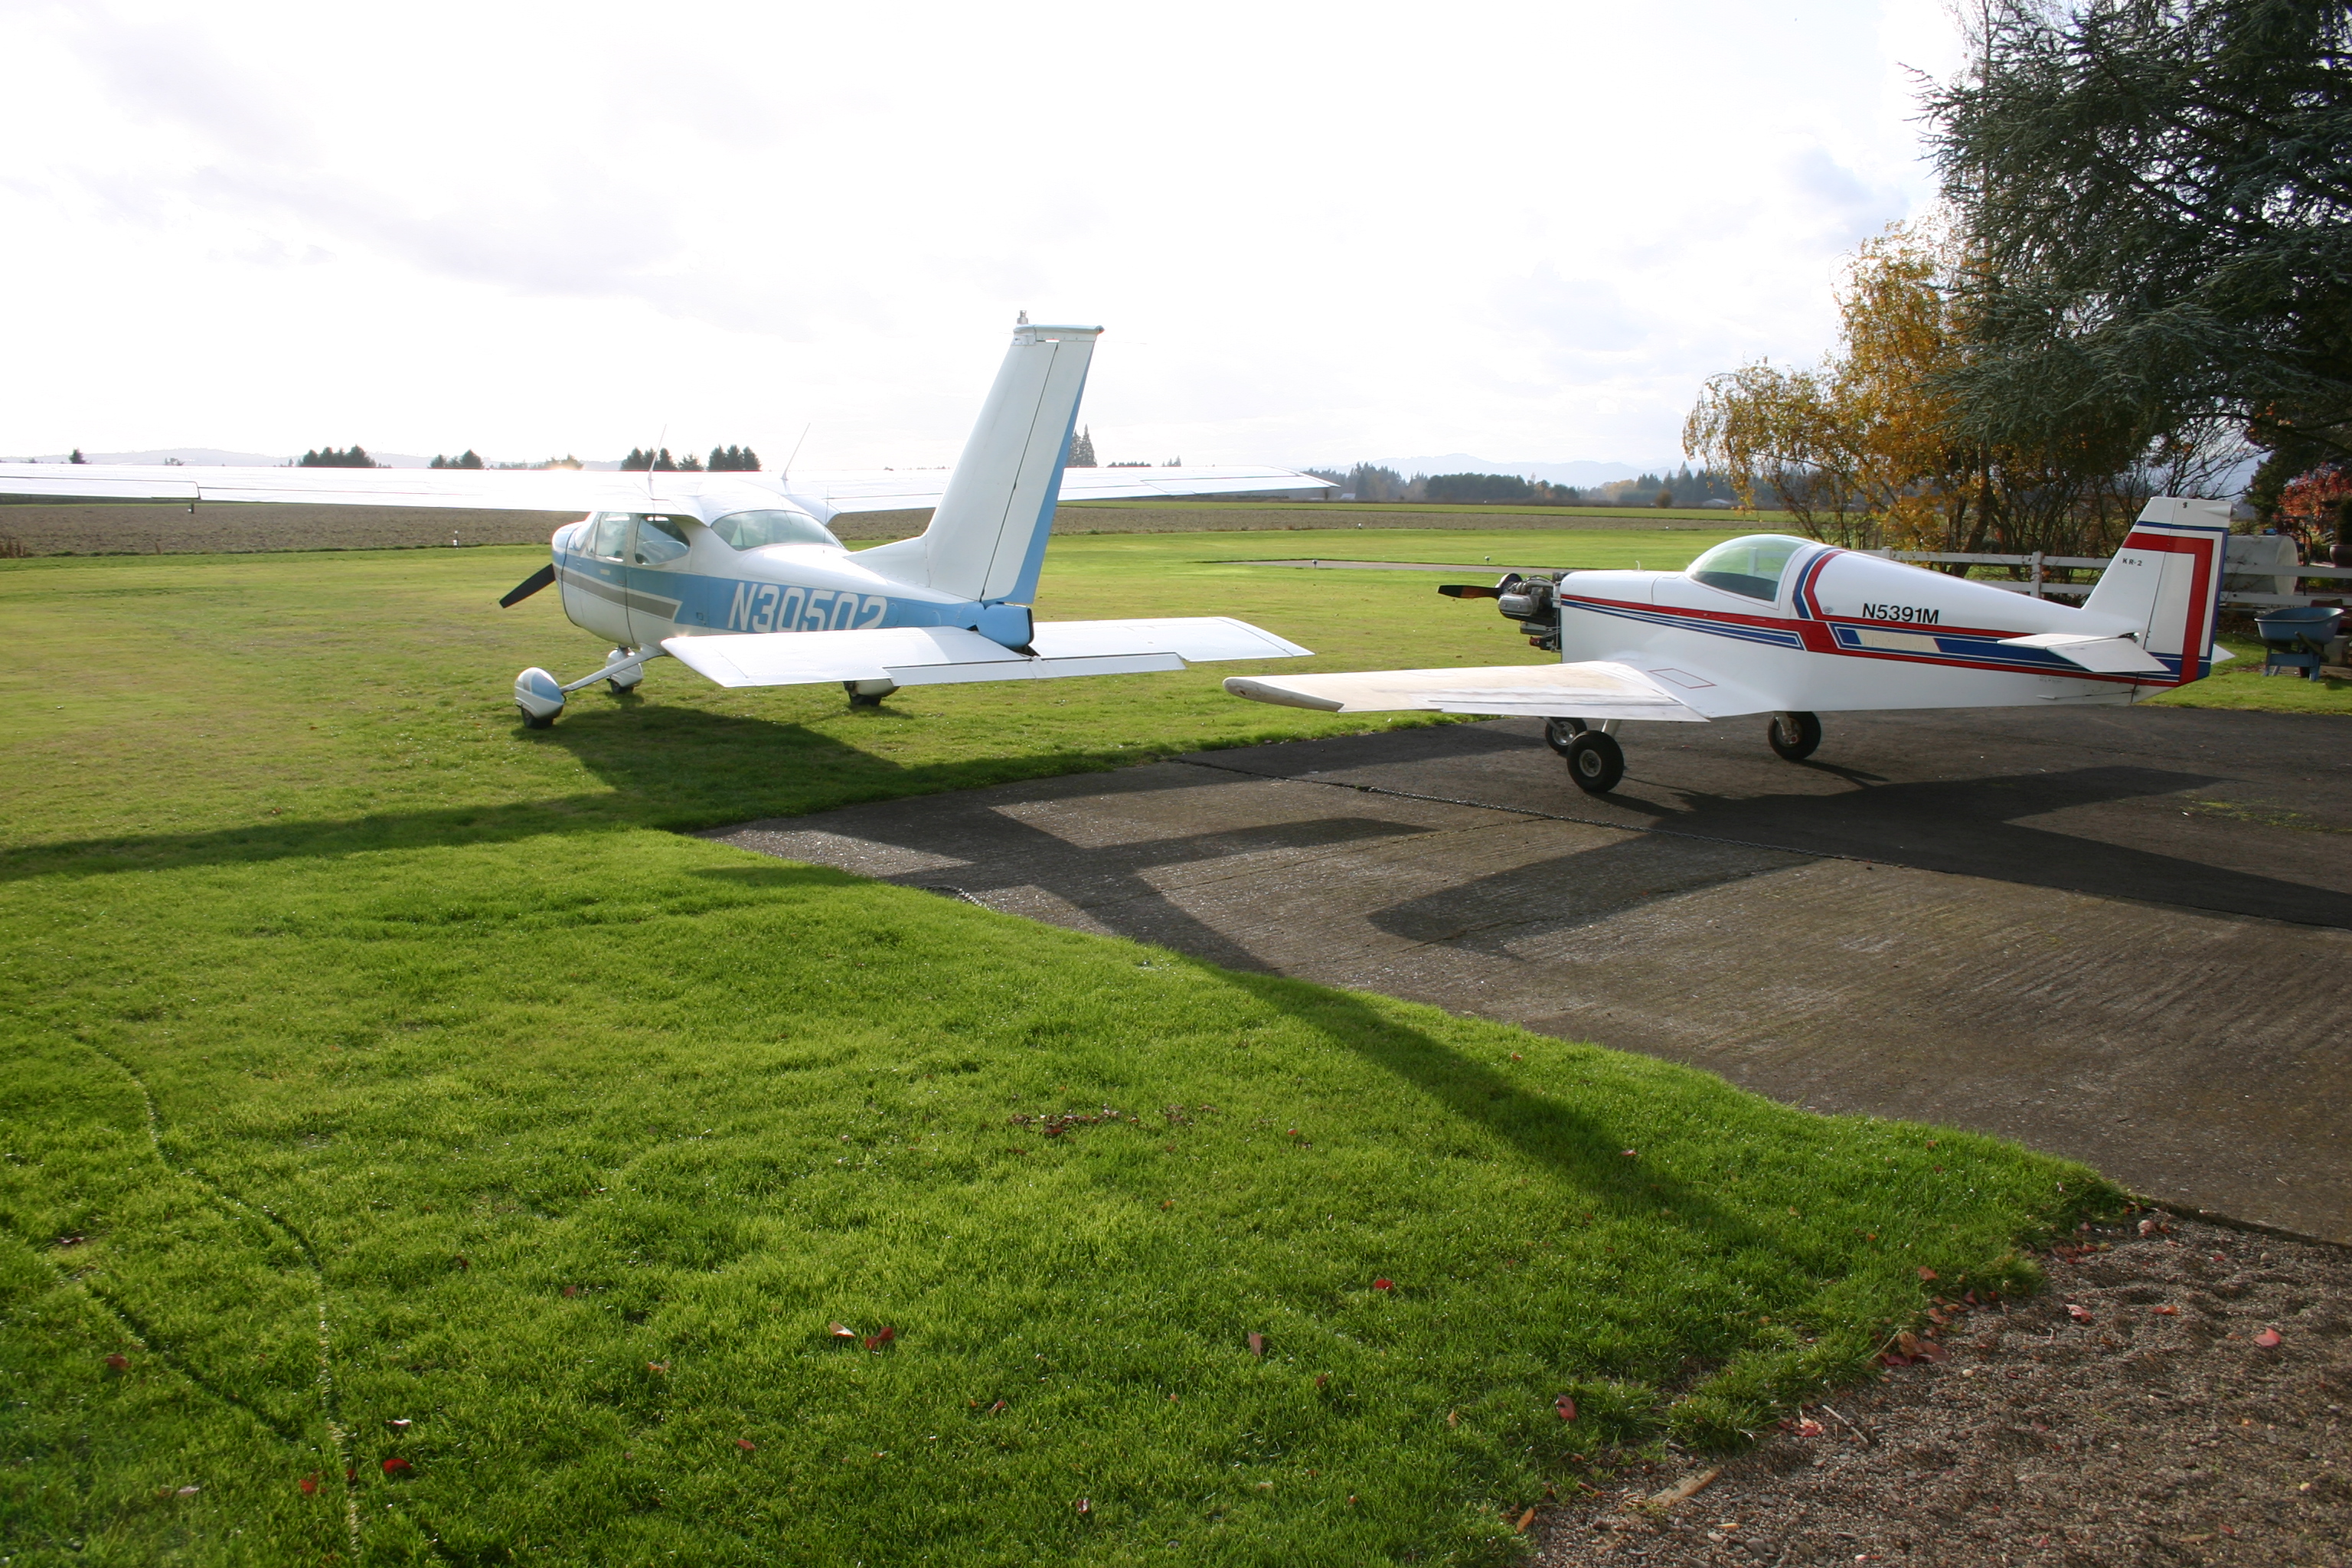
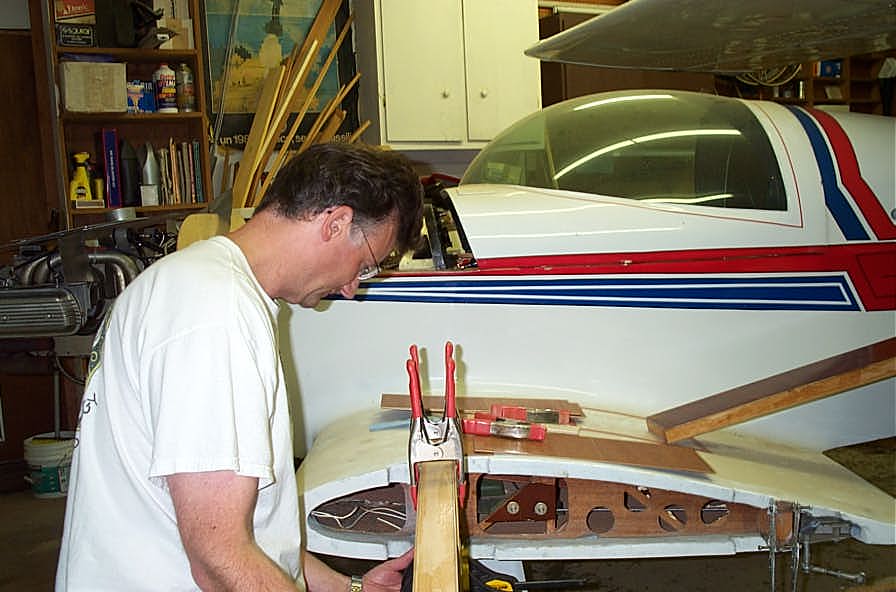
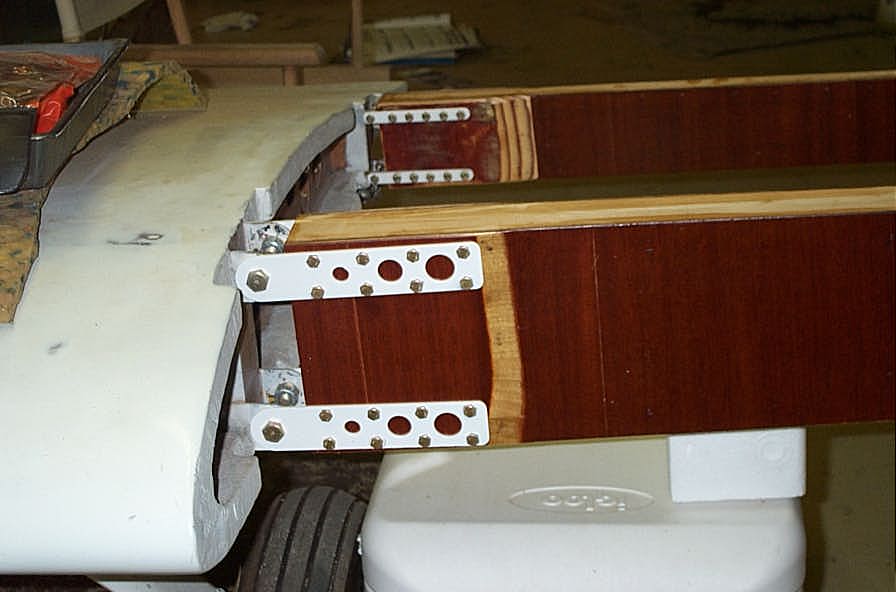
Finally I got some needed help from Joe Beyer to get progress moving again. Pictures show the cap strips on the upper ribs, the tie down captive nut through the spar web, Joe with the closed wings, and the KR nuzzling up to the Cardinal.

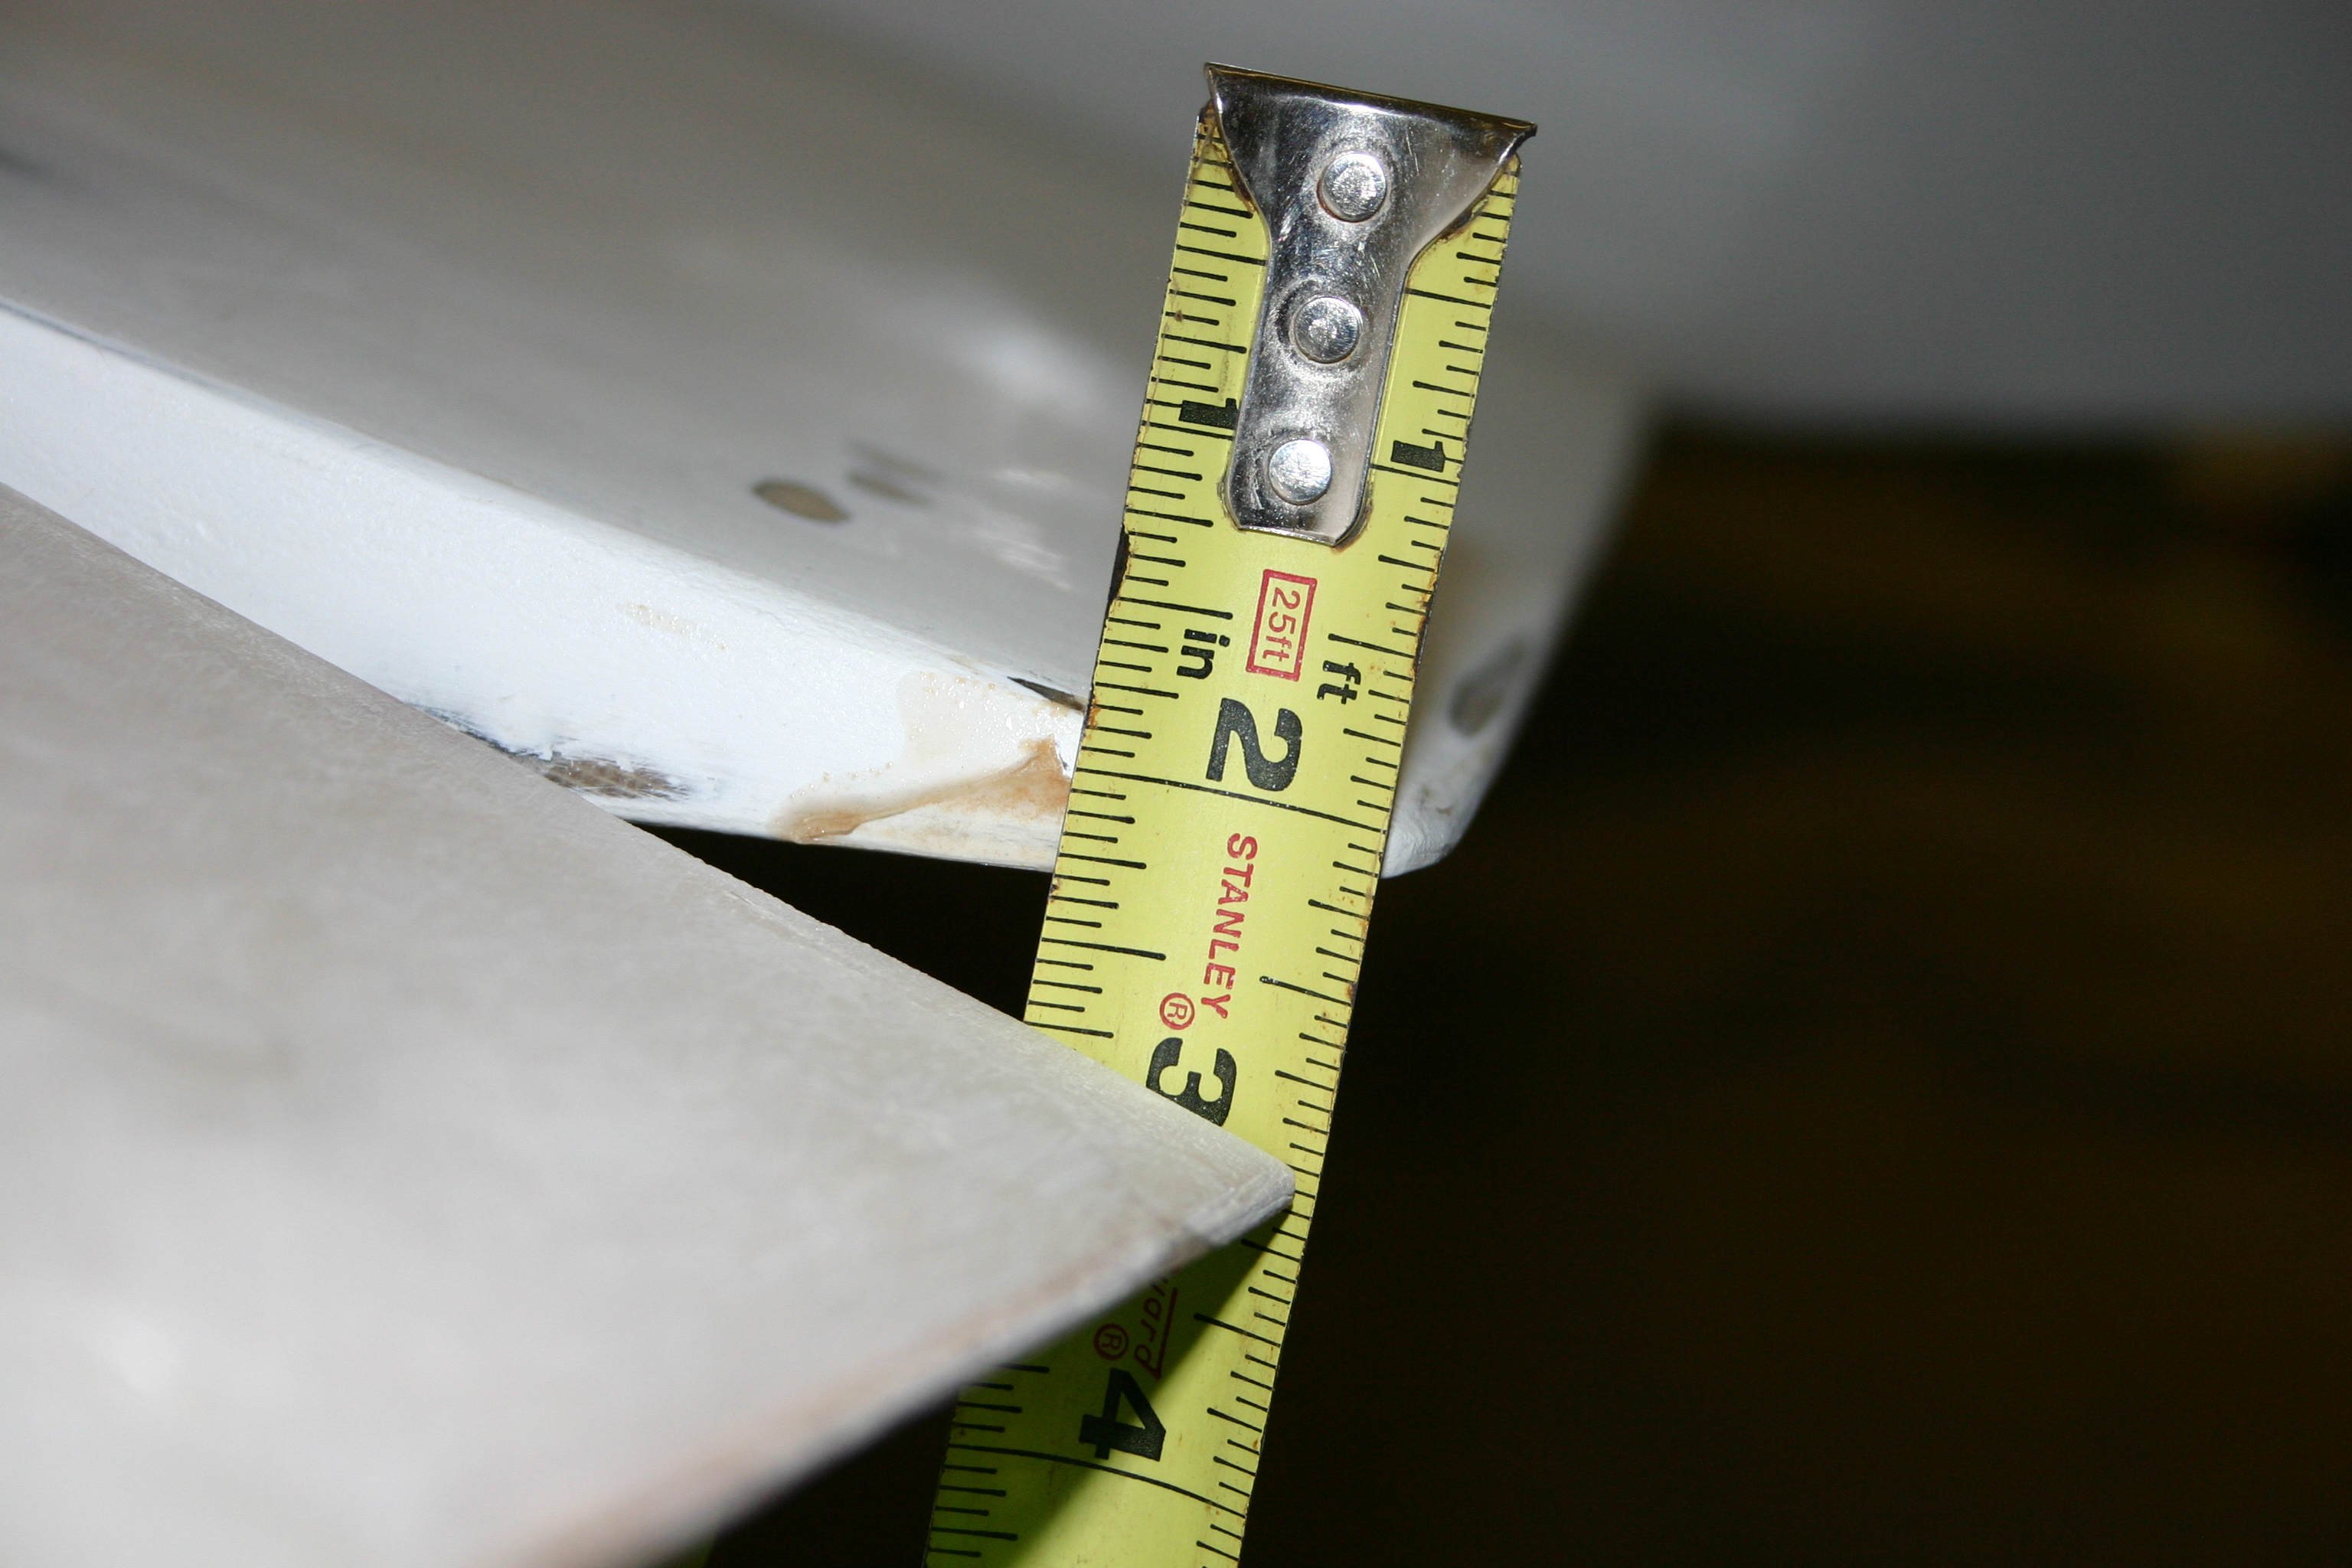
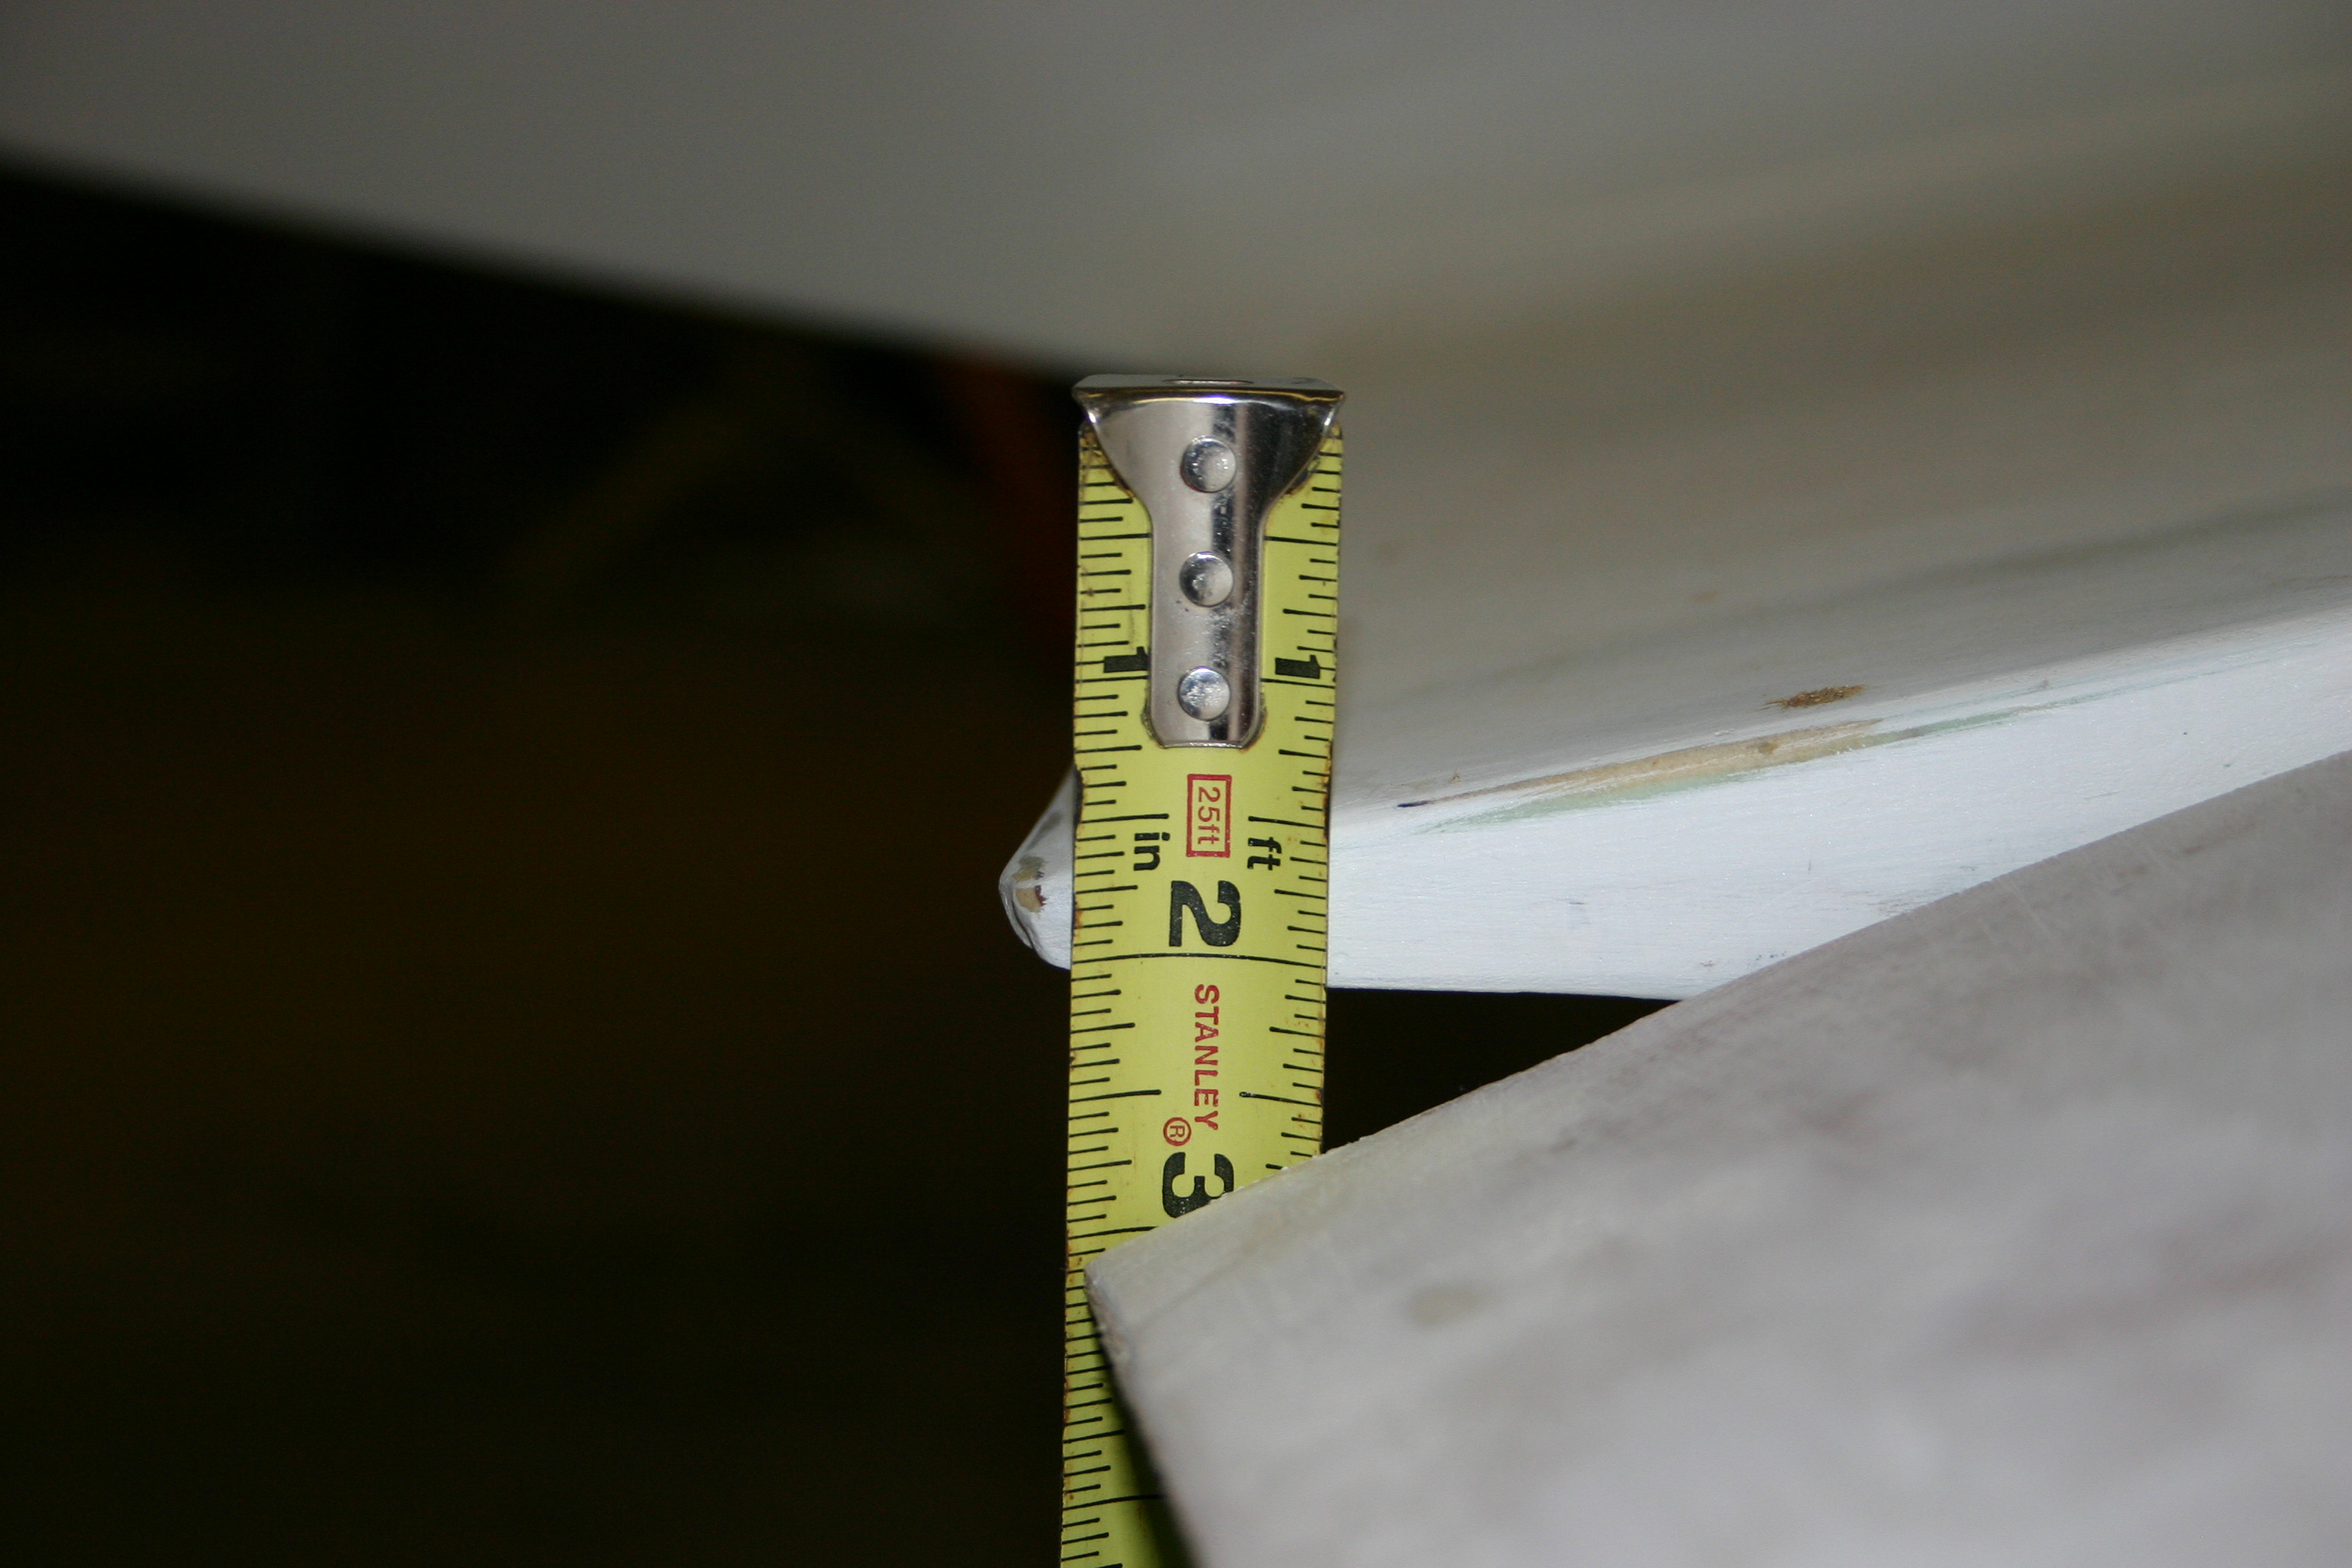
We had a recent thread on how to treat the joint between the stub and outer wing panels. Joe does detail work that permits closing the gap with electrician's vinyl tape. The other pictures show confirming sufficient down aileron travel.
Fast-forward the calendar...
Many months passed with very little progress. The wings received a lot of sanding, primer, and then a coat of white paint followed by still more sanding. Yuck.
20080512 -
2.25 hours
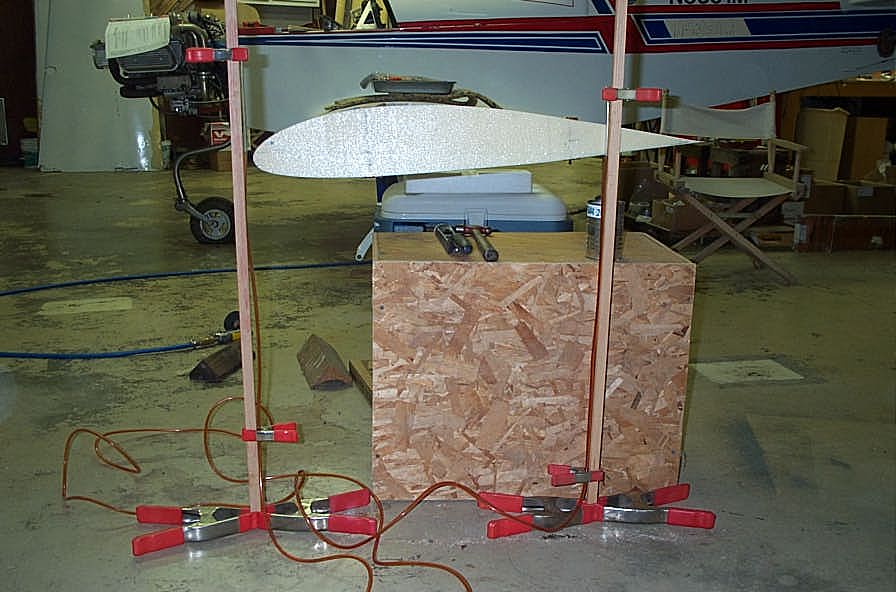
Today, I cast the 2nd balance weight for the wings. A simple process made
easier with the advent of time; mix slurry of wet sand, insert the plug and pour
more sand slurry around it. Cut some holes in the paper cup and let the water
drain out. After several hours, carefully slip the plug out of the sand. Melt
old tire weights, flip out the steel clips, and slowly pour to fill the mold.
Chuckle as the sand sputters and steam clouds the air. About 20 minutes later
flip the cup upside-down and wash the sand off your finished part. Nice.
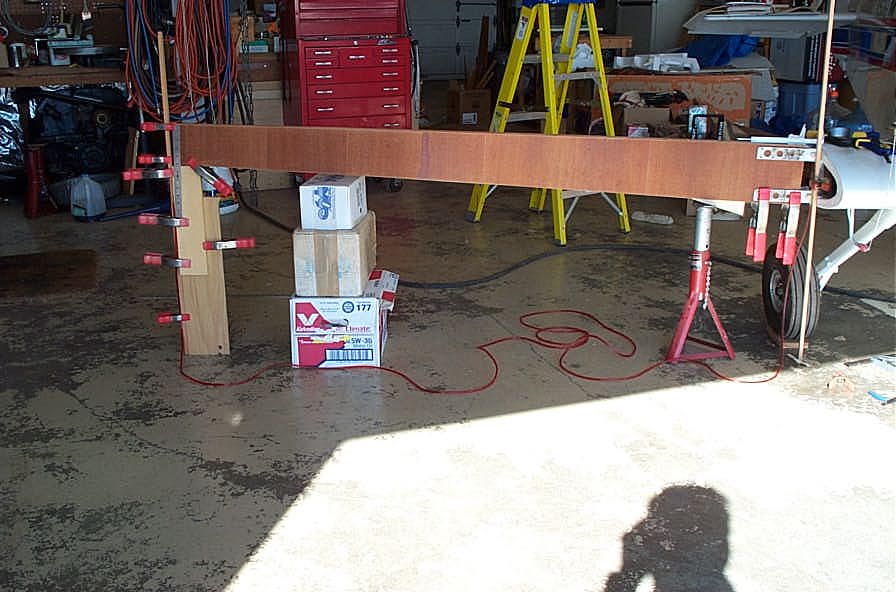
I spent 60 minutes and finally cleaned the shed. I set up the wings flat. I
used hot glue and temporarily positioned the balance weights to the angle
brackets. Amazing how well they fit into the recesses and approximate the
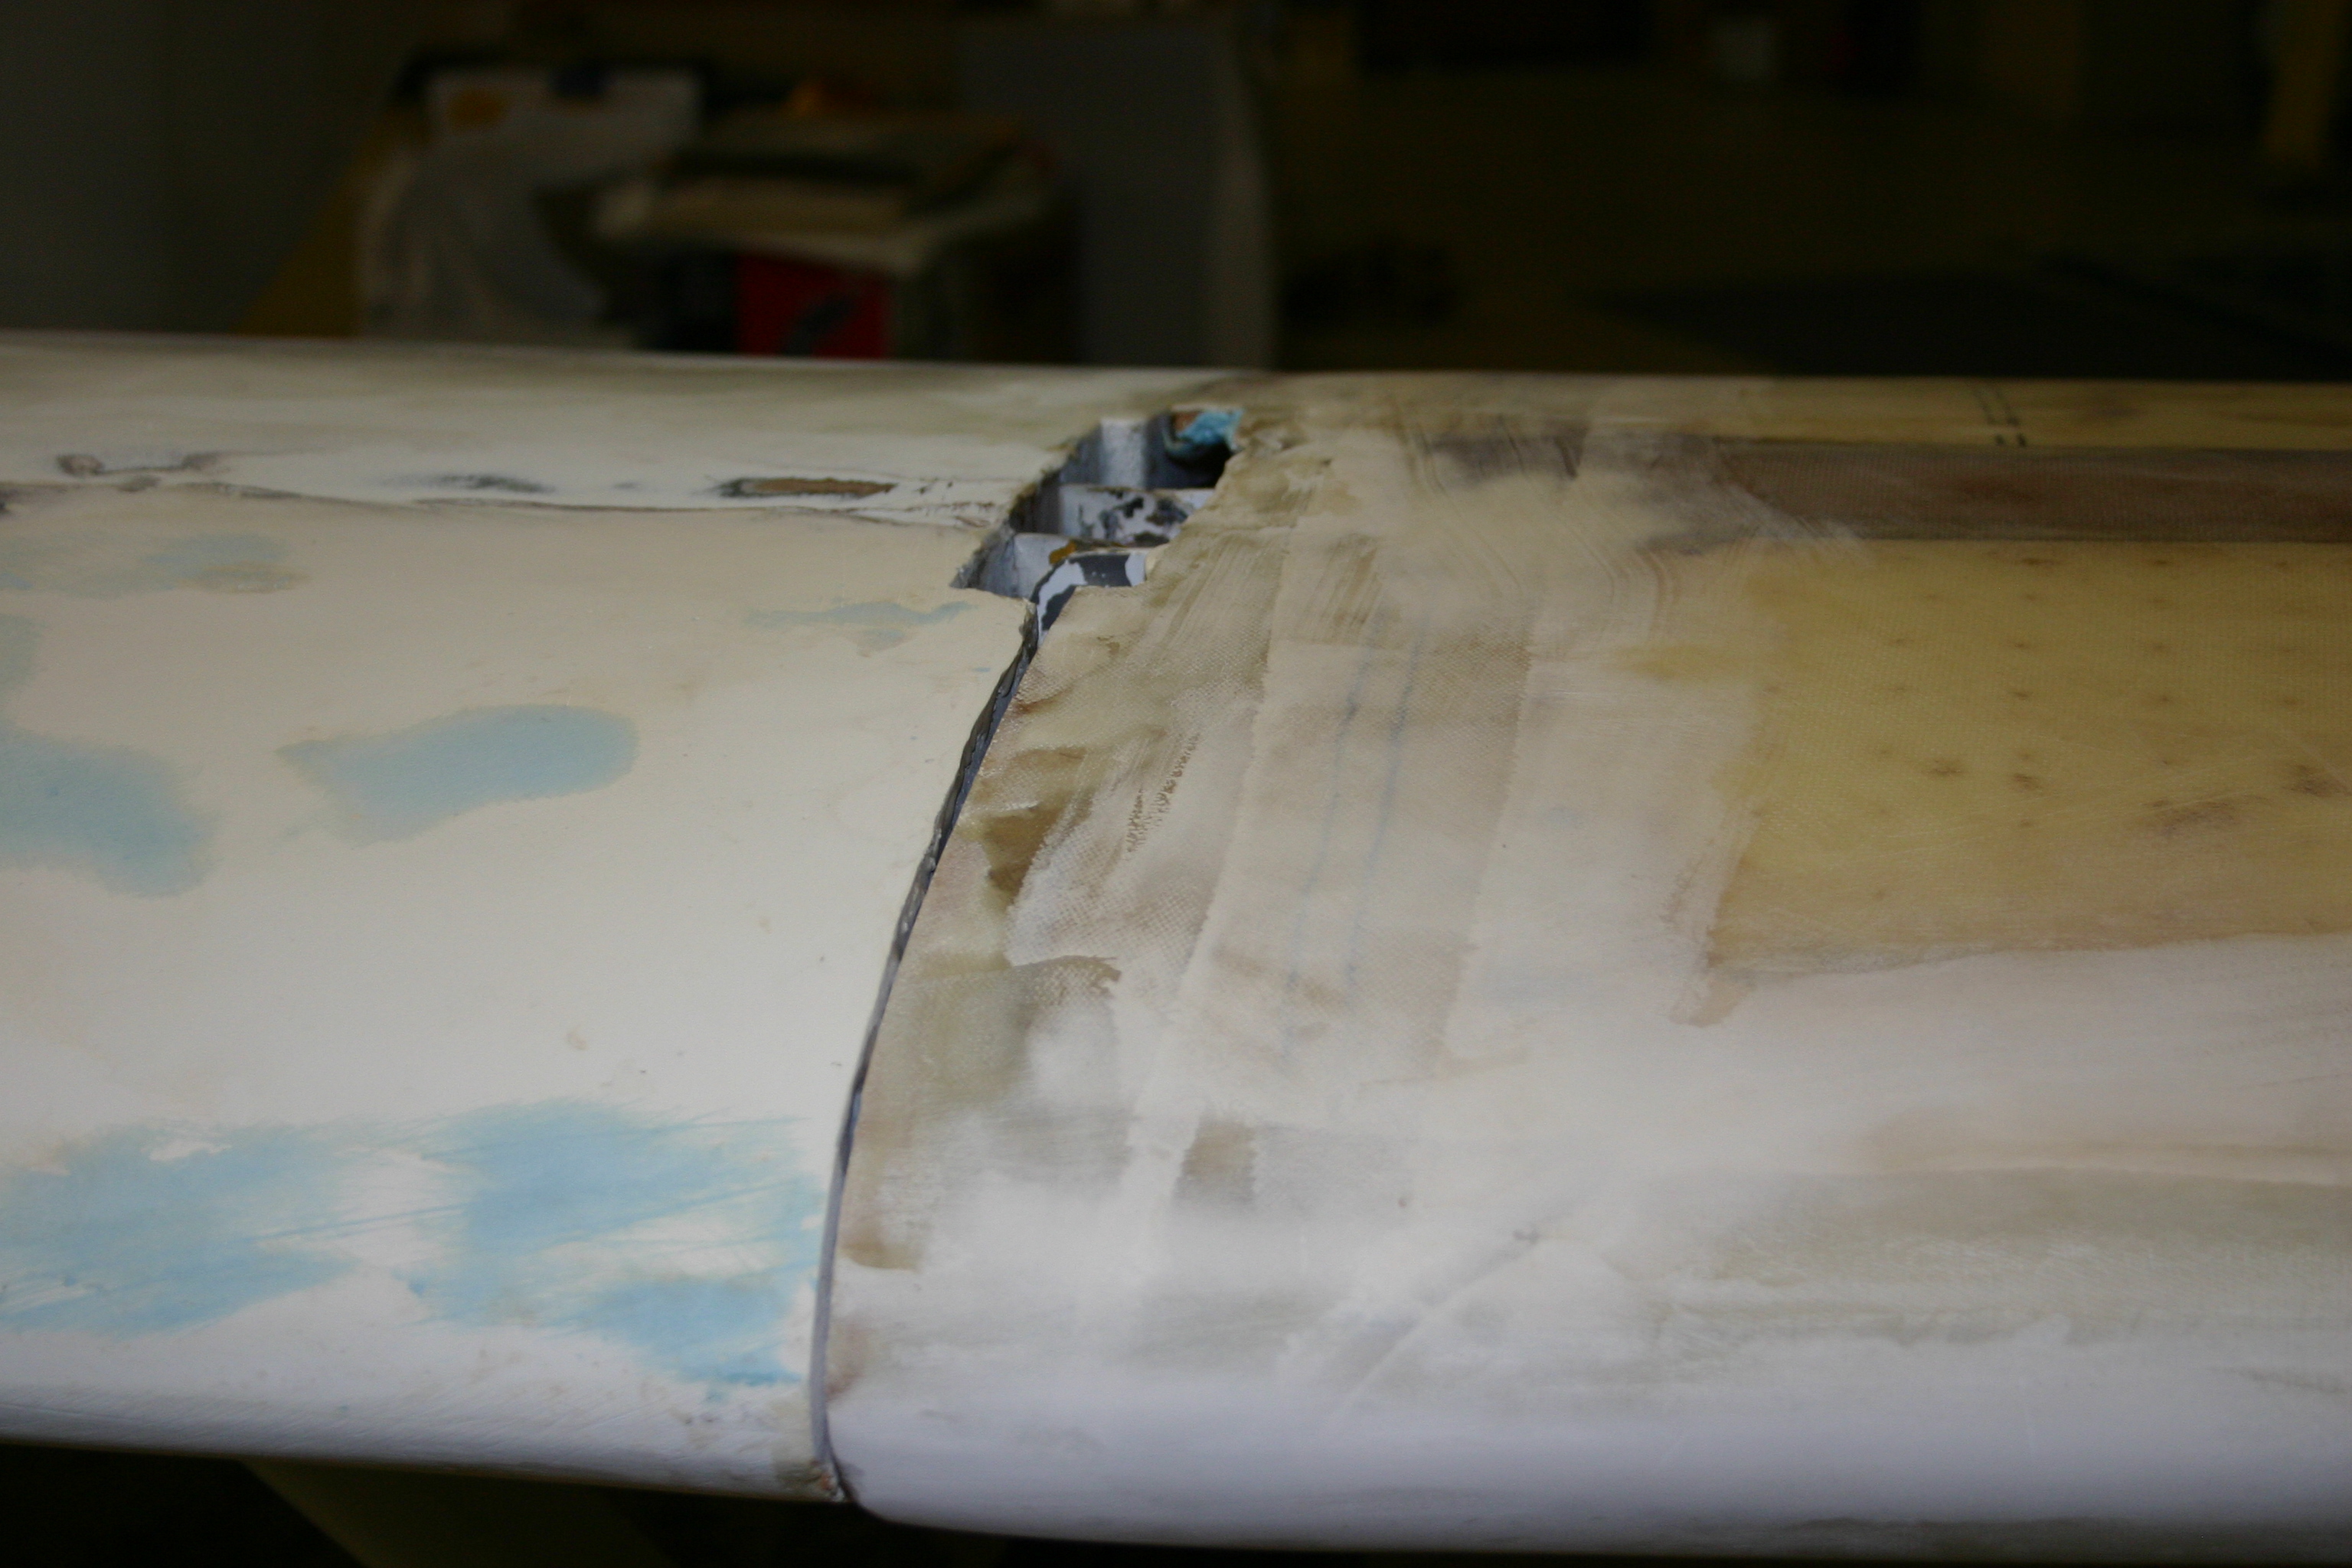
required mass to balance the ailerons. Prep the root edges of the wings to
receive micro to fill and glass to close out the gap edge of the wing panel.