No problem; just a weeping rivet...
Right Fuel Tank Leak Fix
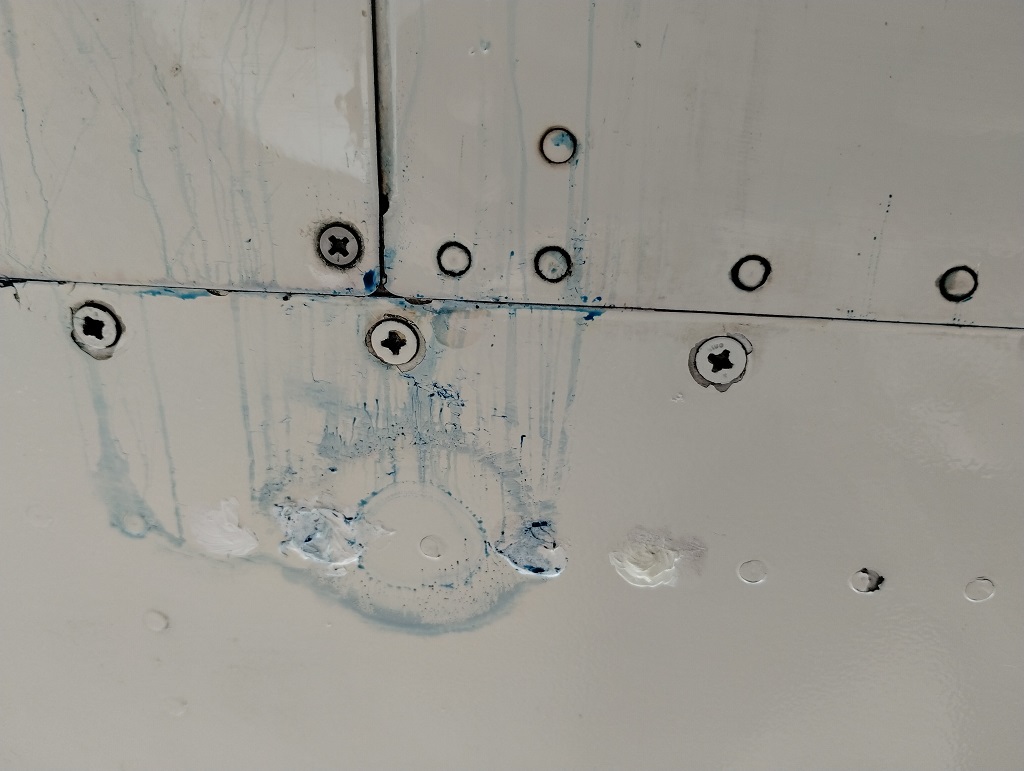
First Indications of a problem
No problem; just a weeping rivet...
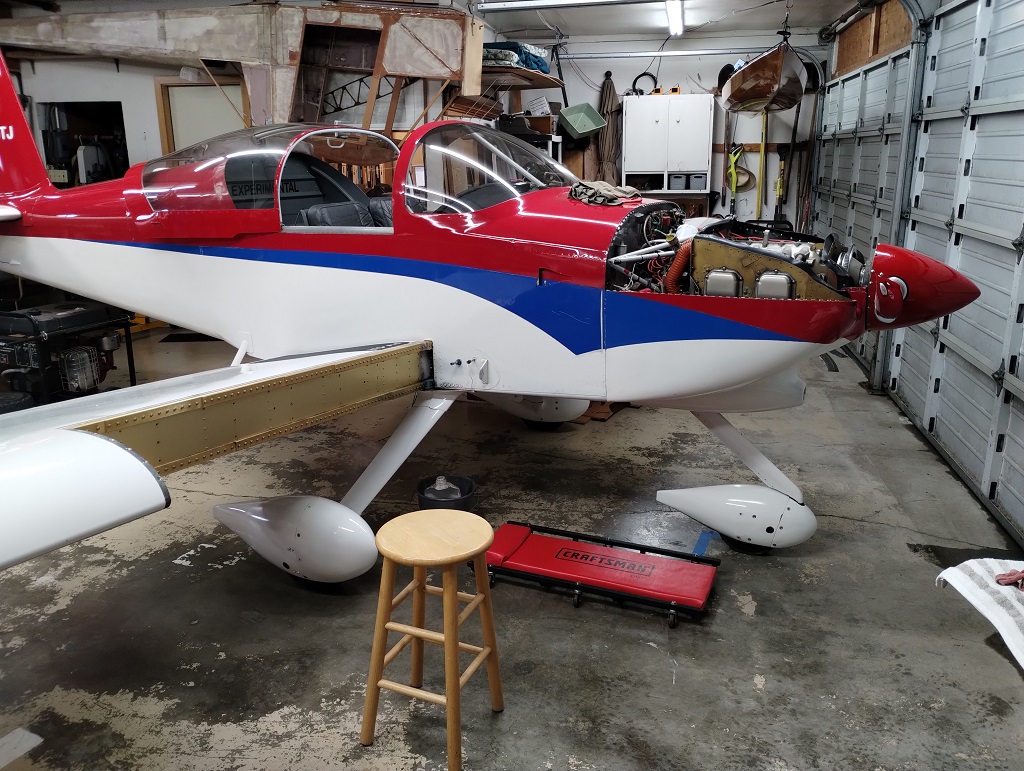
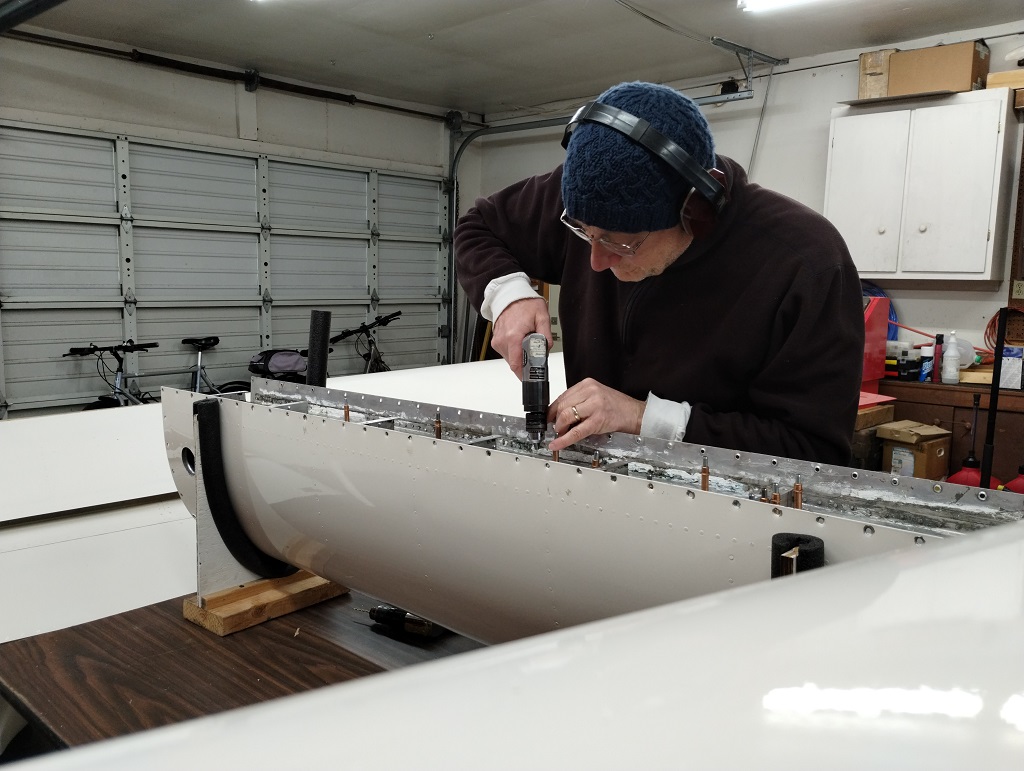
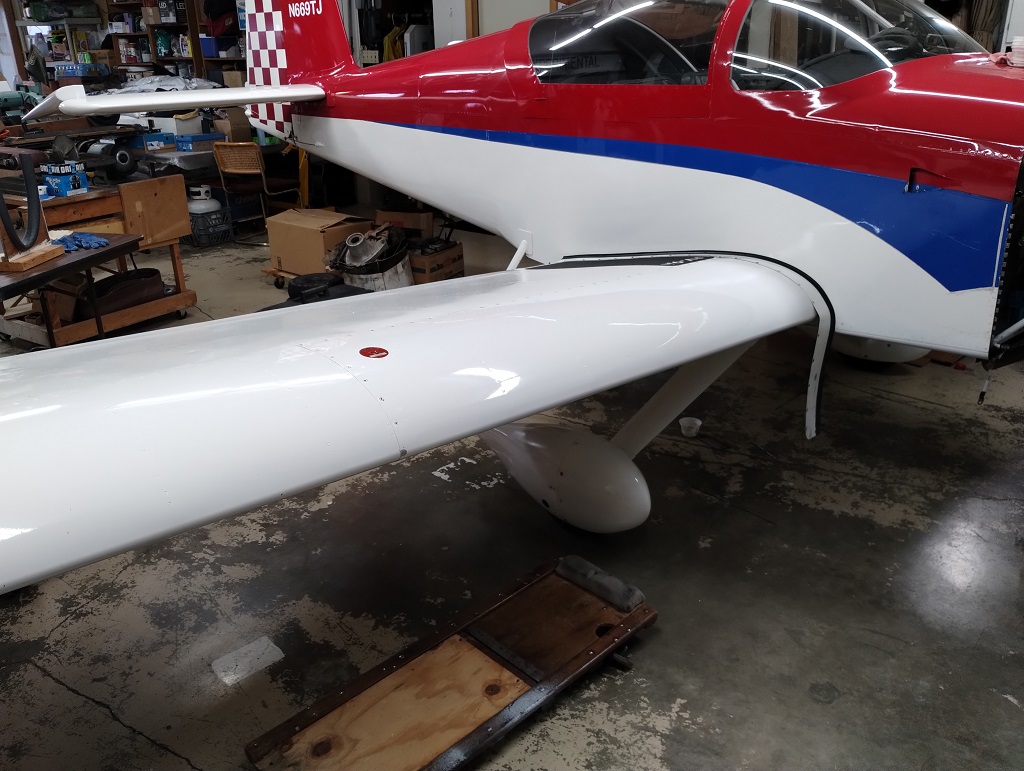
Pull the tank.
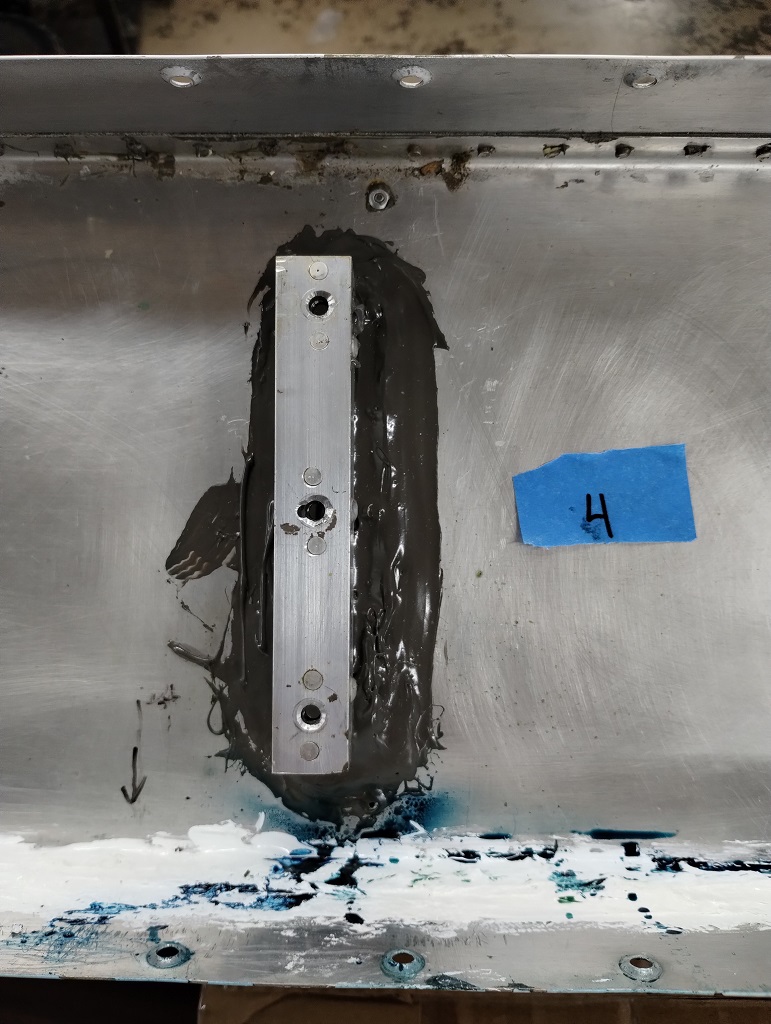
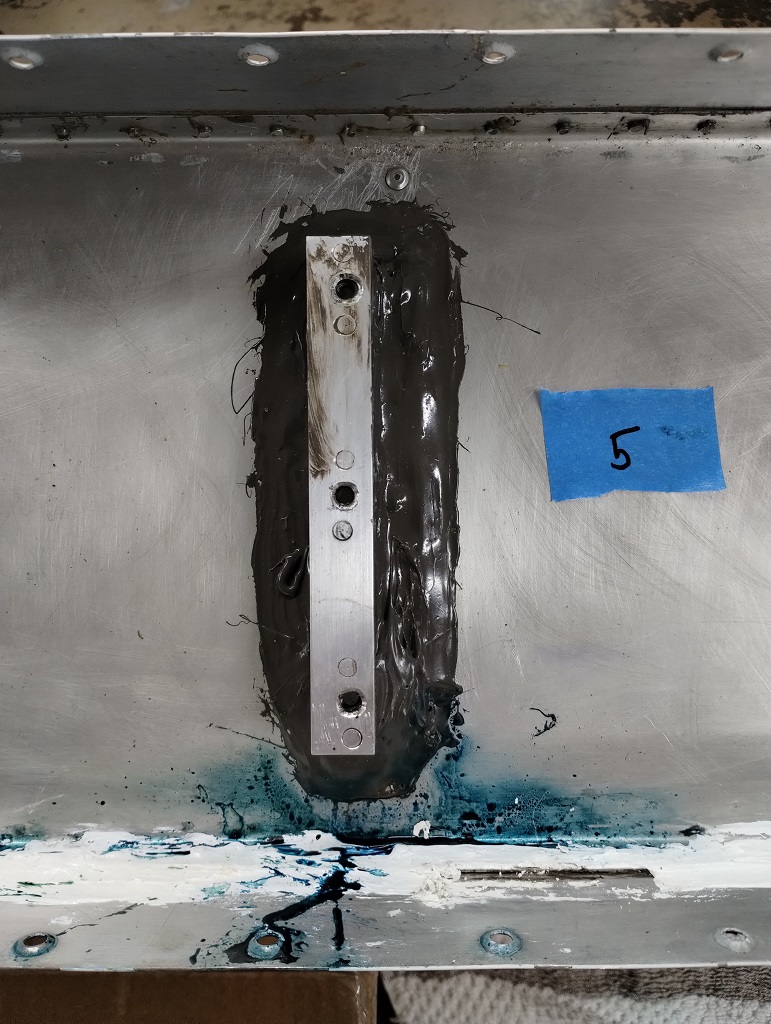
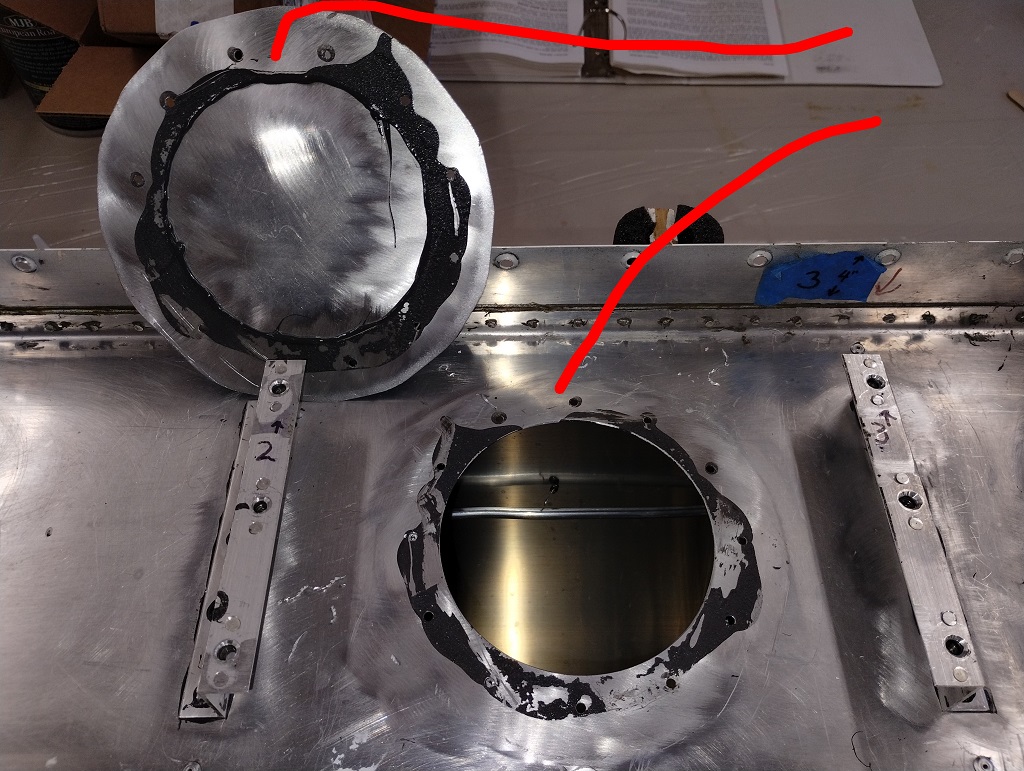
Inspect what we've got here. Hmmm maybe more than just a single weeping
rivet. The Z-brackets bolt the tank through the spar web.
Looks like somebody tried to seal these with ProSeal gobbed all over the
Z-brackets.

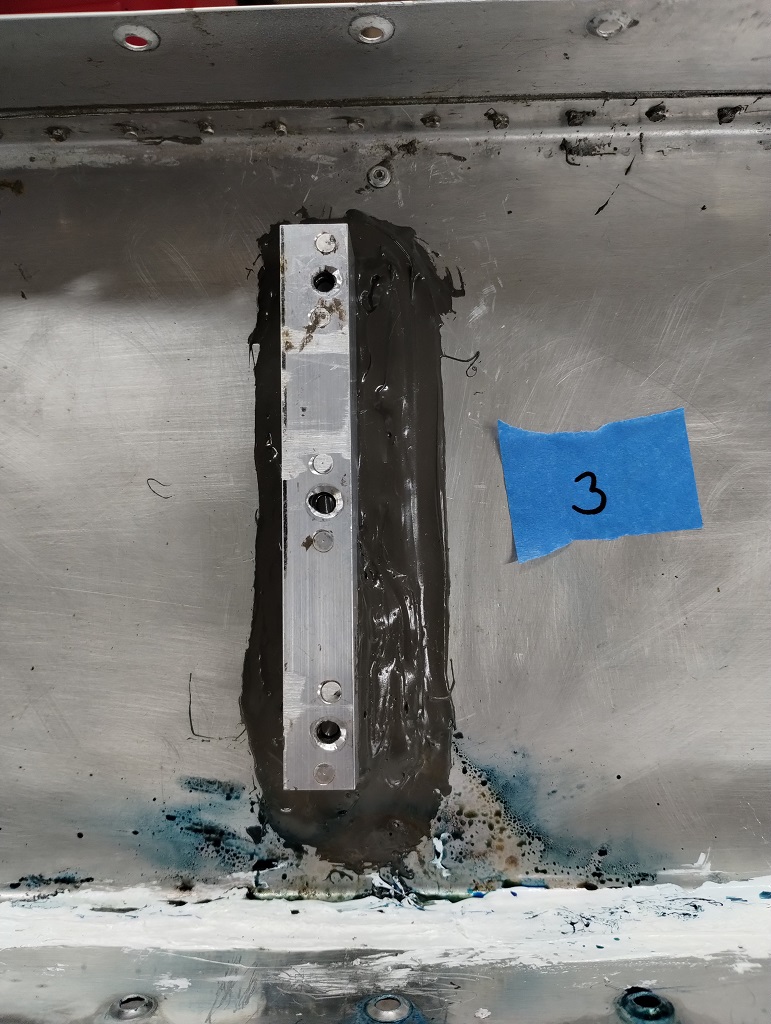
I'll spare you removing the ProSeal step with Poly-Gone stripper. Hey at least it's cheap at $28 for 6 fluid ounces of gel. Try to get this much sealant off with 6 oz. Nope...
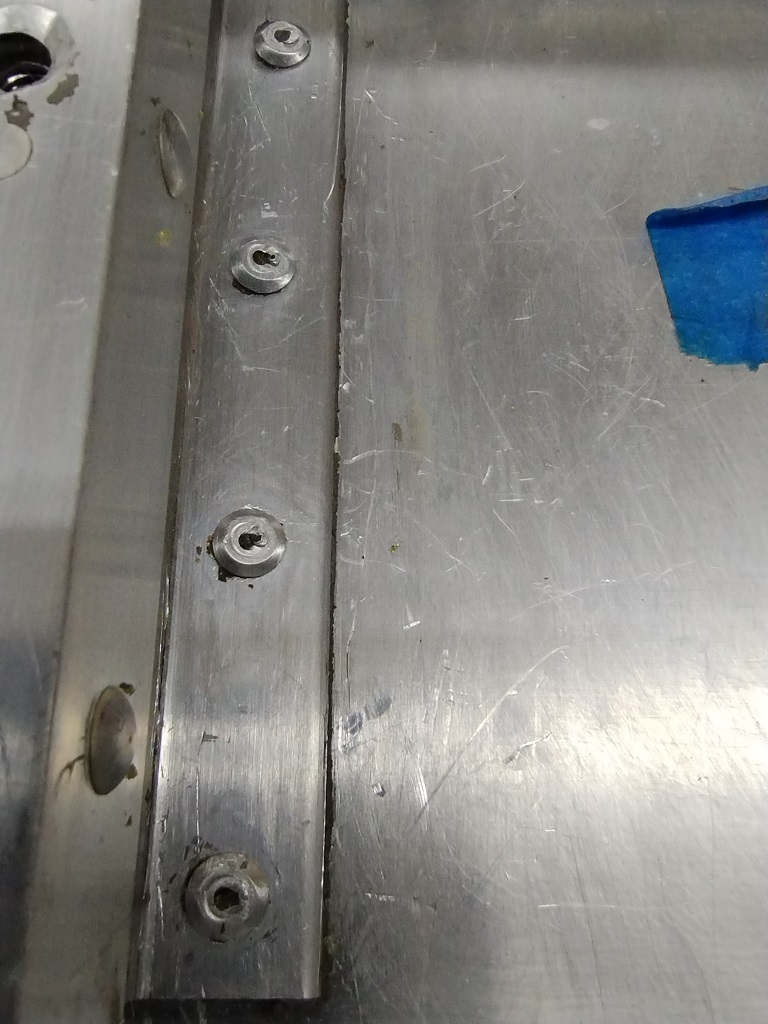
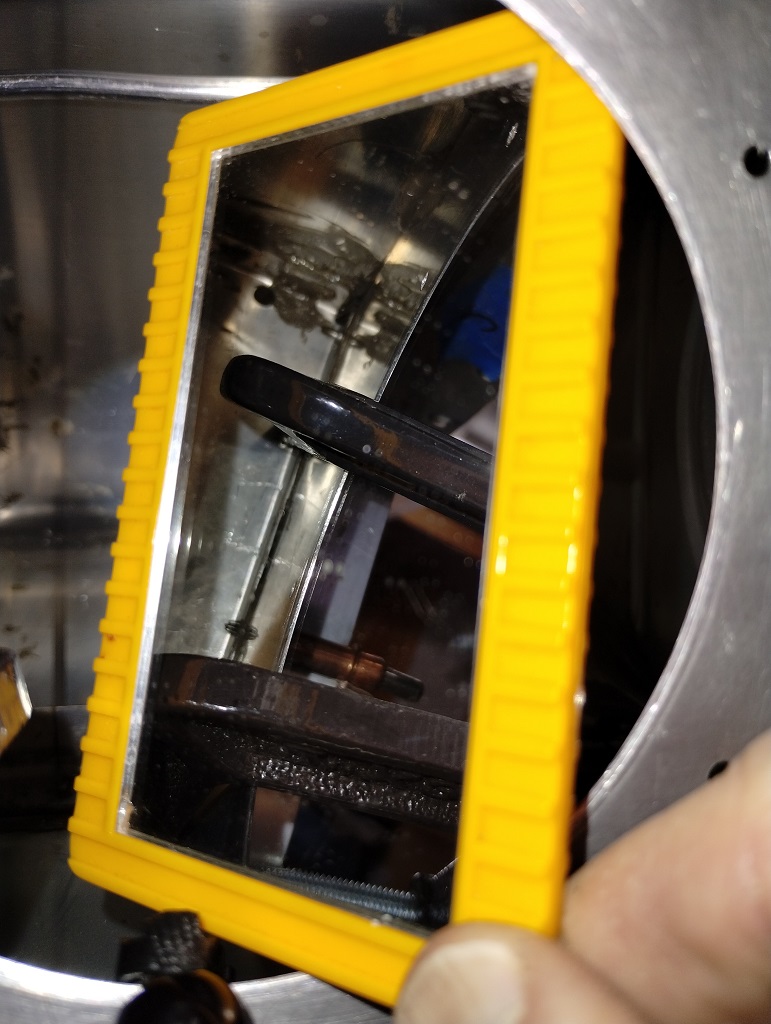
And the leak cause becomes graphic when inspecting the pulled
rivets. Clearance to put the rivet puller over the mandrel is very limited when
the rivets are so close to the Z-bracket web. The build manual says to use a
shim or wedge so the head gets squished flat. Looking at these heads, the wedge
wasn't used or was ineffective. As a result the seal failed. Goody.
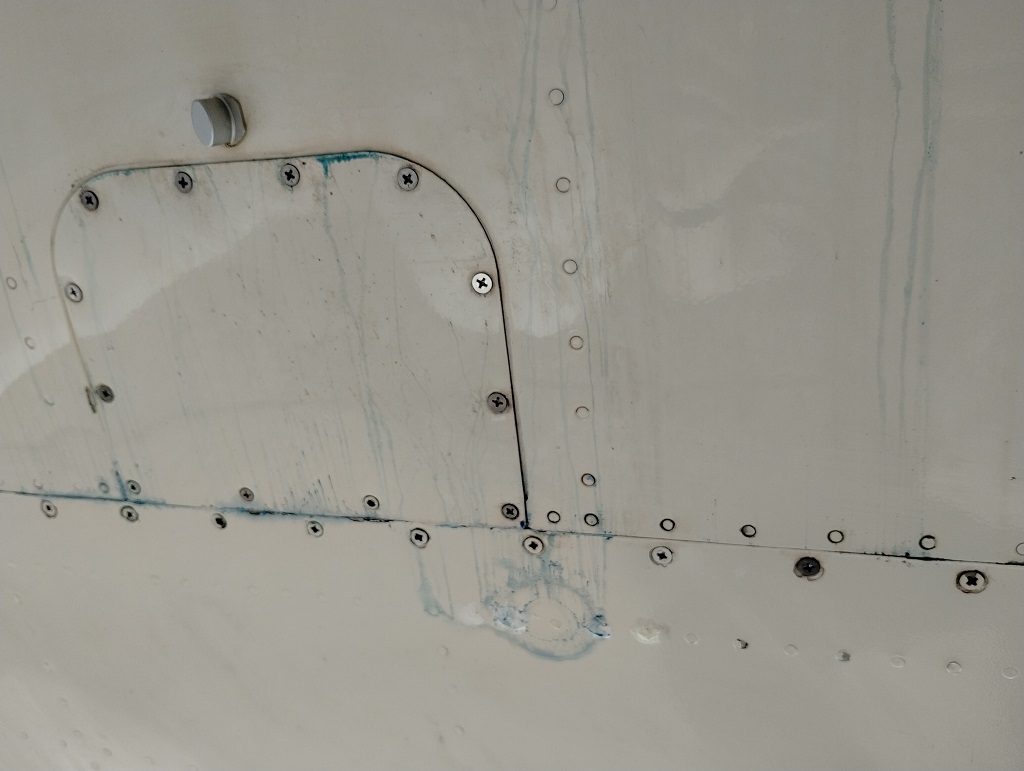
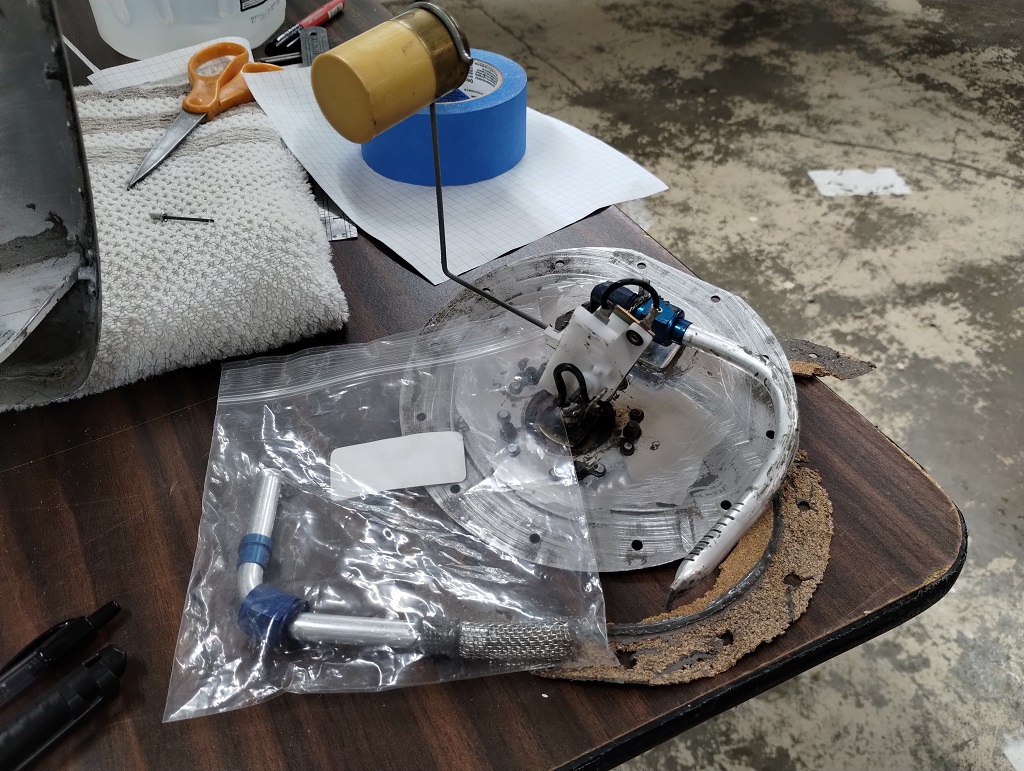
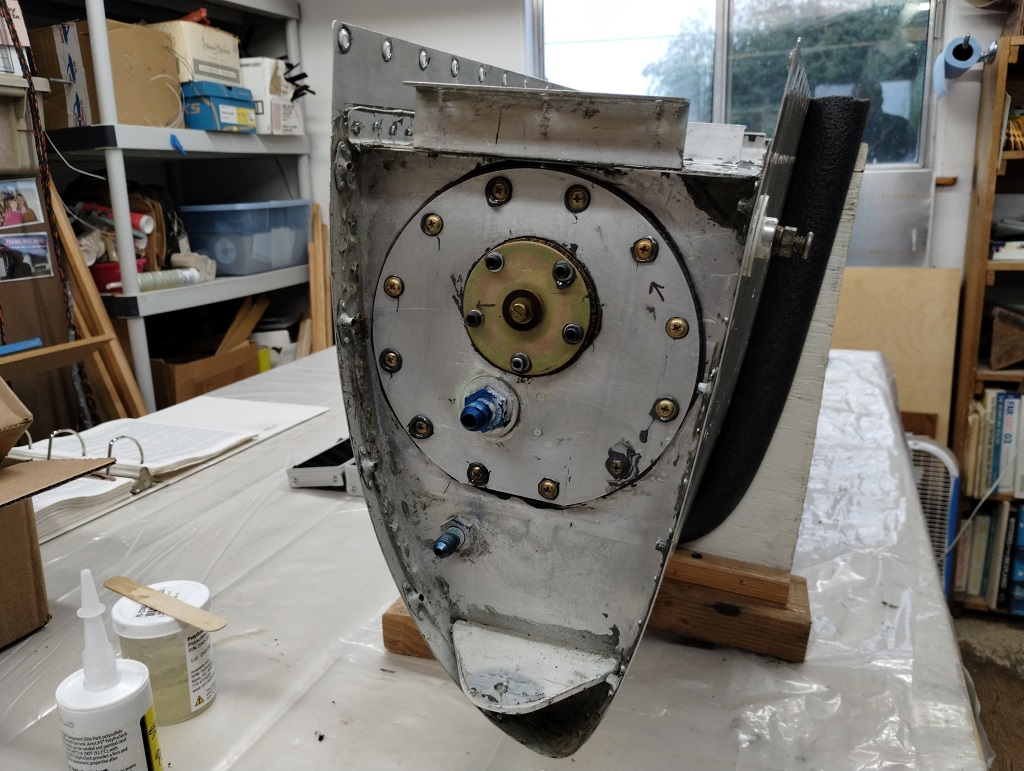
Remove the tank access plate with the fuel pick up tube & fuel level sender
to look inside with an endoscope. Perhaps too much ProSeal on the nose rib aft
flange. This shows (no photos] that the top AD42H pulled rivets on Z-brackets 2
& 3 aren't making solid contact to the rib flanges.
It becomes obvious these rivets have to be replaced. The sealing technique is to ProSeal the joint between the tank rear wall aft or exterior side -to- the mating Z-bracket surface AND the AD42H closed end pulled rivet. So drill out the rivets (they have an aluminum body with a steel mandrel) and push them through into the tank. That's some fun right there in those few words... Oh yes, we cannot leave that debris in the tank. Let's make some big holes.
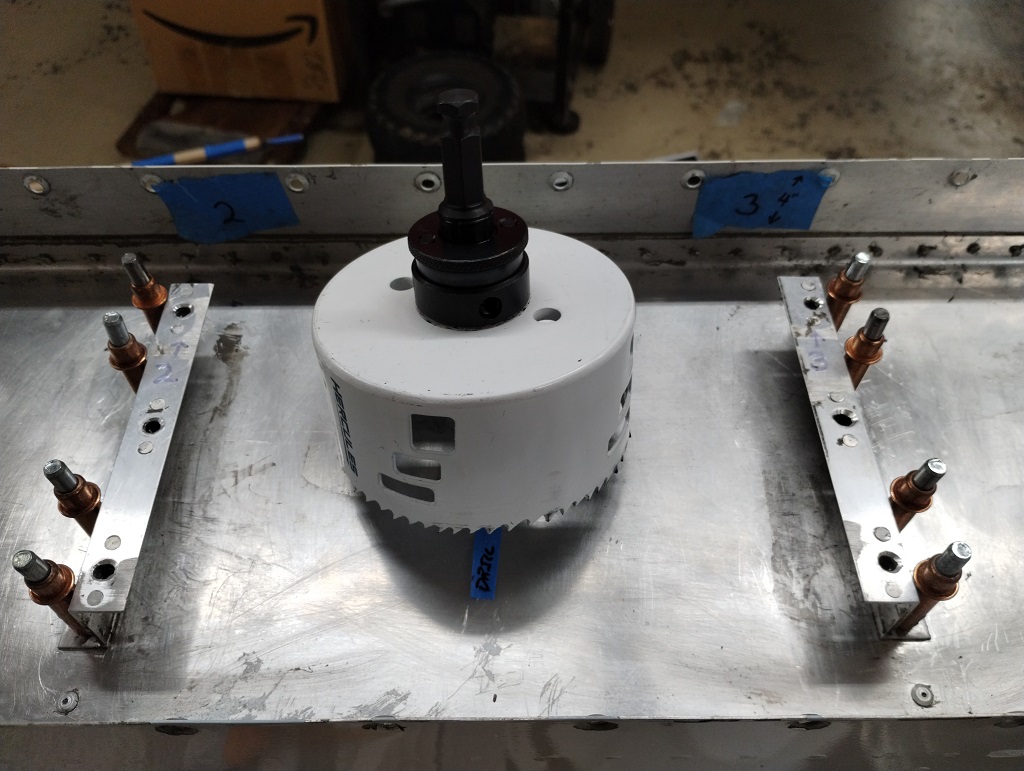
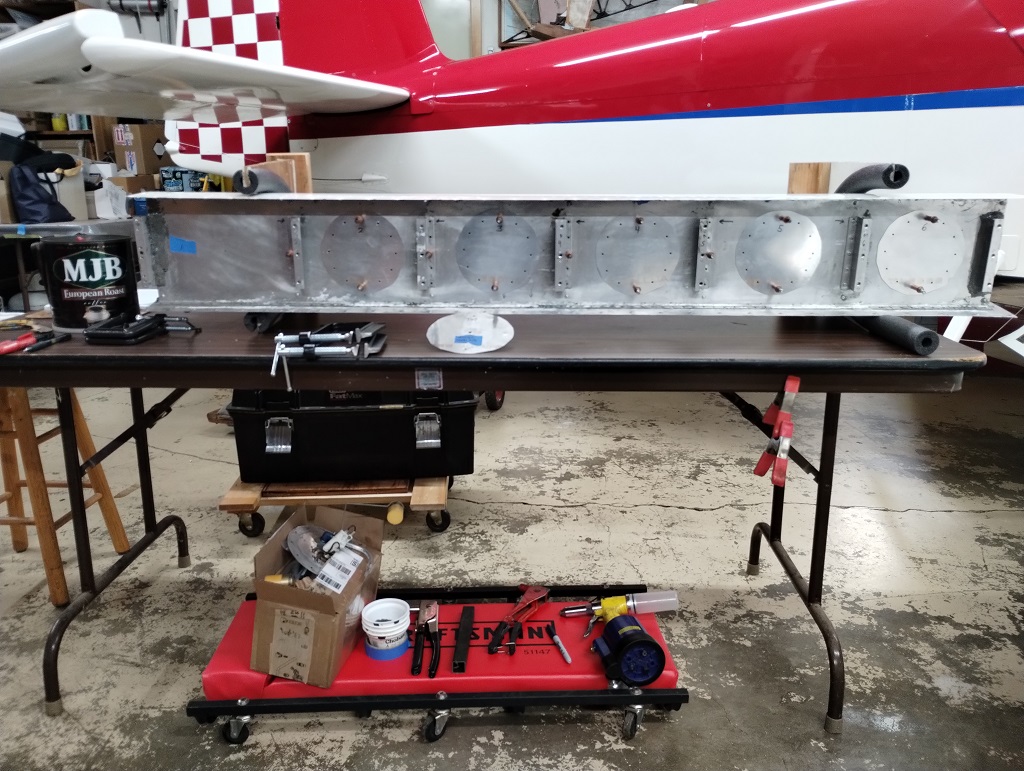
Get the Death Wheel ready. Note the Clecos. We'll come back to that later.
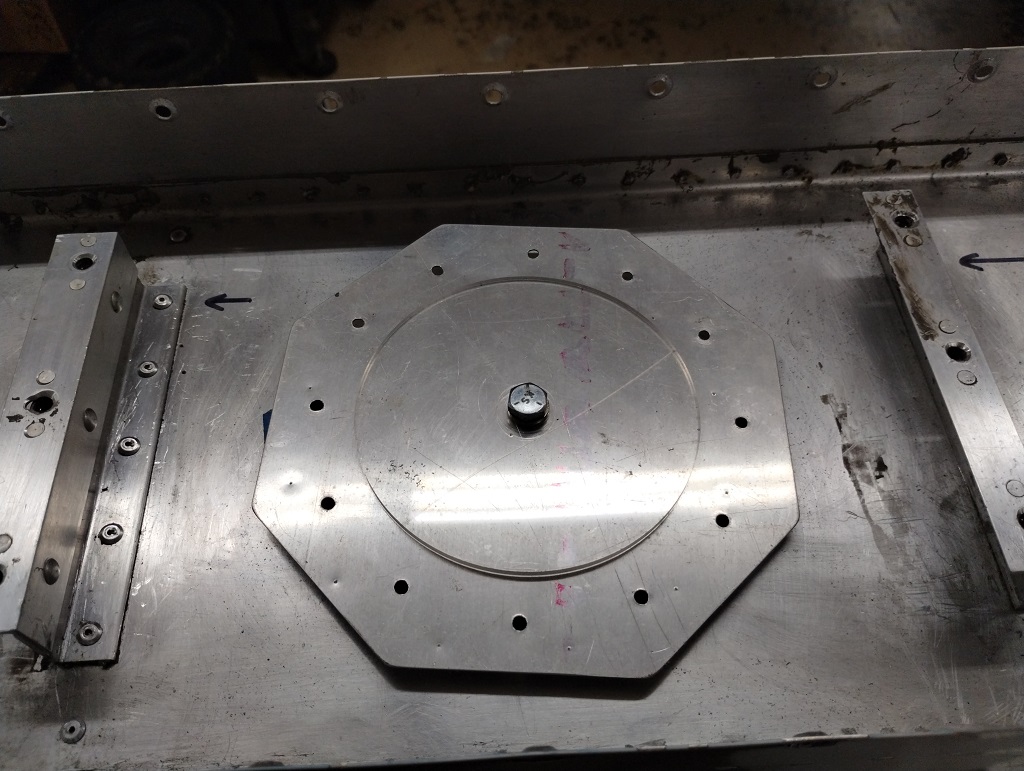
Make up the patch plates
![]()
Borrow a "patch plate" drill template (Thank you again Mr Diller!) or if you don't have one to
borrow, just print
THIS ONE...
I hope there's only 2 holes to make right?
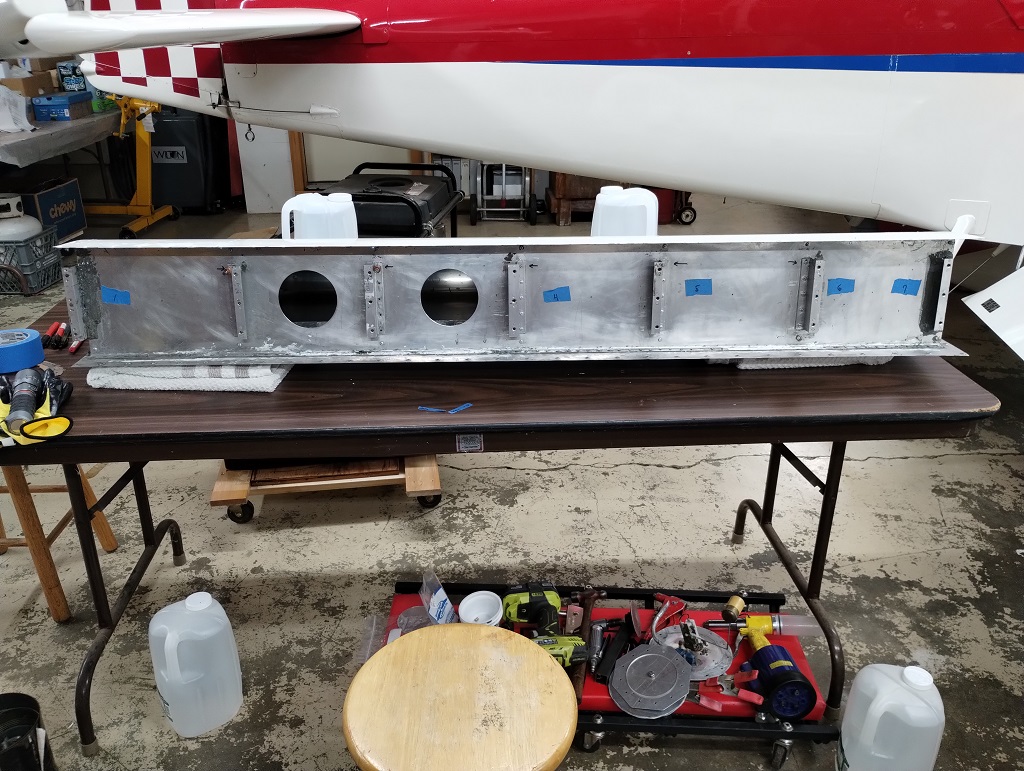
Oops, look at how many leaking Z-brackets there were. Yeah, 4. I guess there's more access holes to make. Tomorrow.
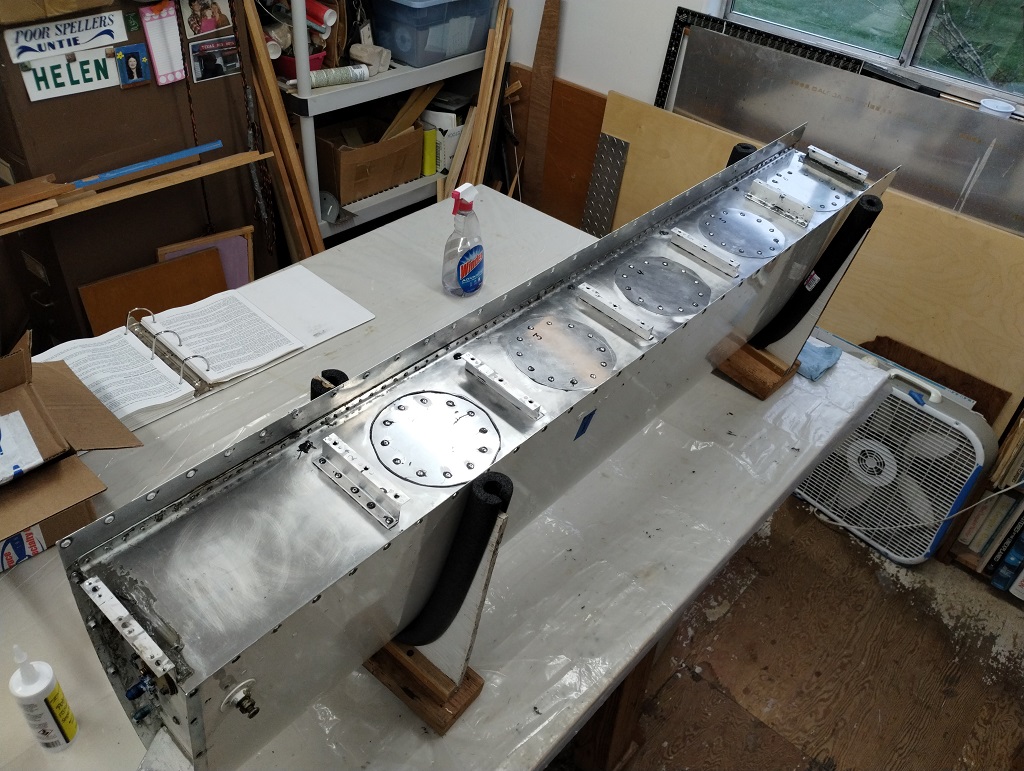
What was the deal with the clecos, right? After drilling out the pulled rivets, the endoscope showed the top ones didn't make solid penetration through its target rib flange hole. as a result, the Z-bracket was getting pulled away from the rear tank wall exterior. THAT'S where the leaks originated. NO amount of ProSeal was going to fix that structural problem. With the new access holes, it will be easy to inspect setting the pulled rivets when they're installed. The access hole patch plates go on last. What's another 52 holes to plug up right? (4 access holes atached with 12 rivets each. I'm not going to be flying this dude again this week. Hopefully in January!
Updated: 20251227
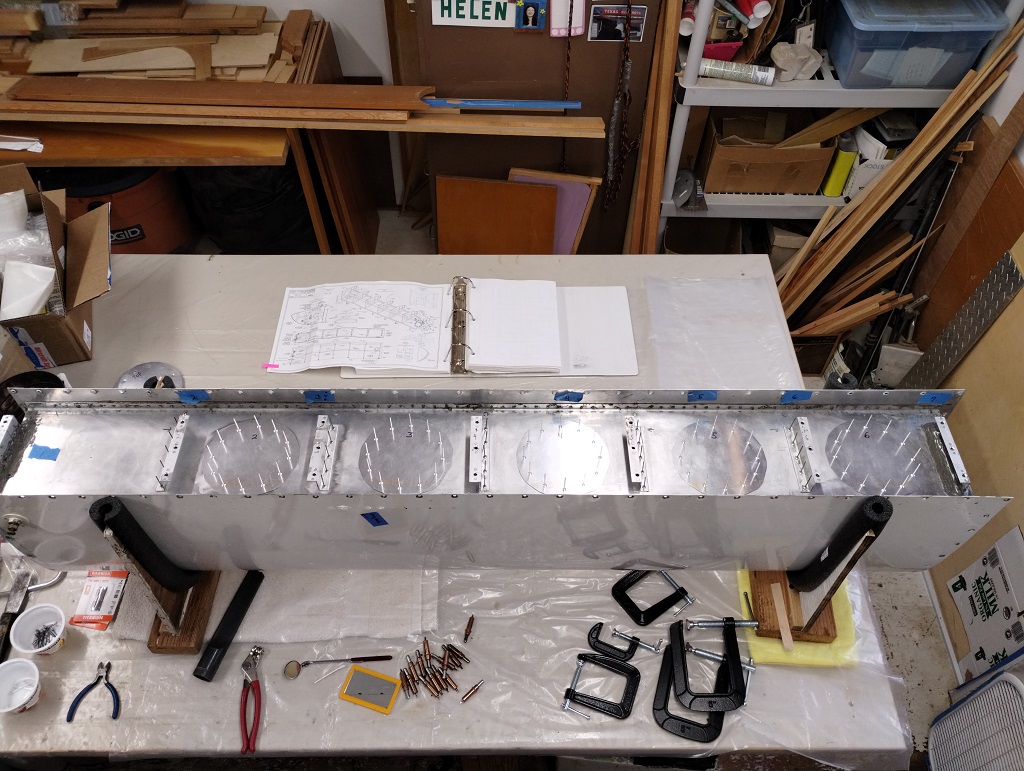
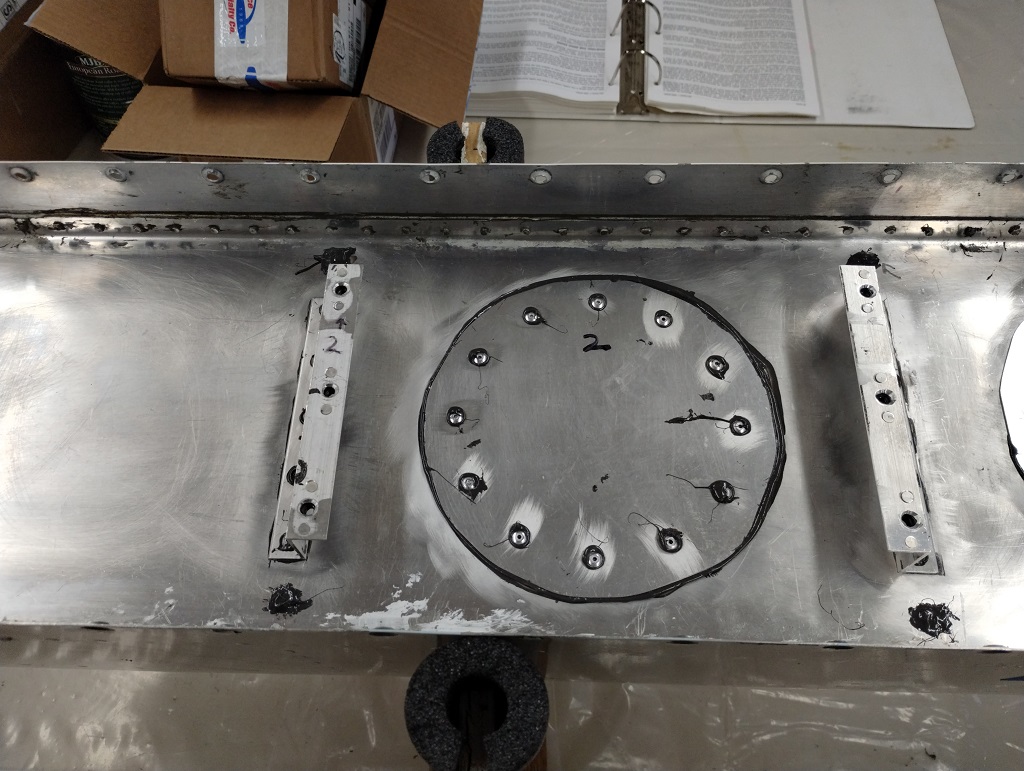
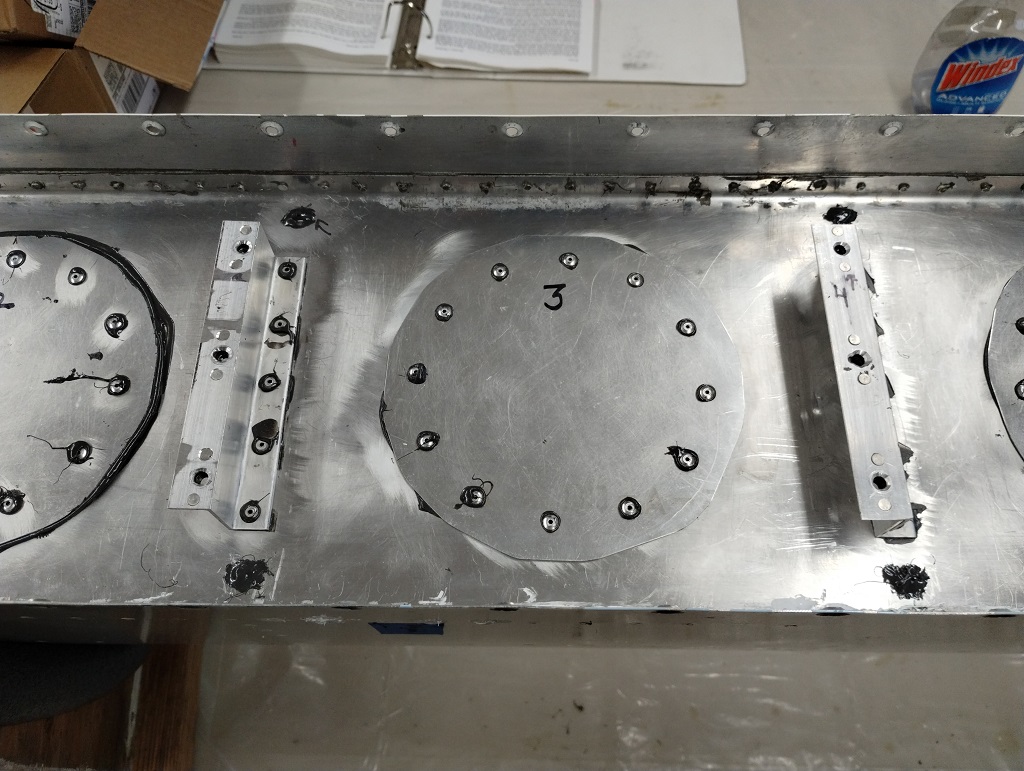
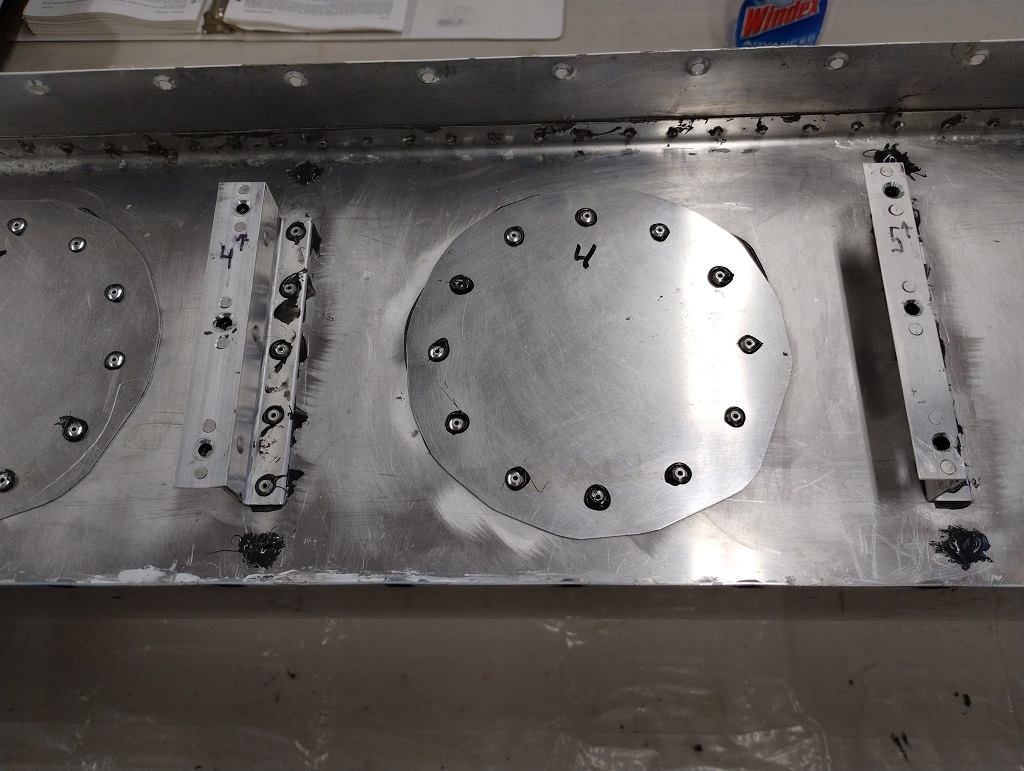
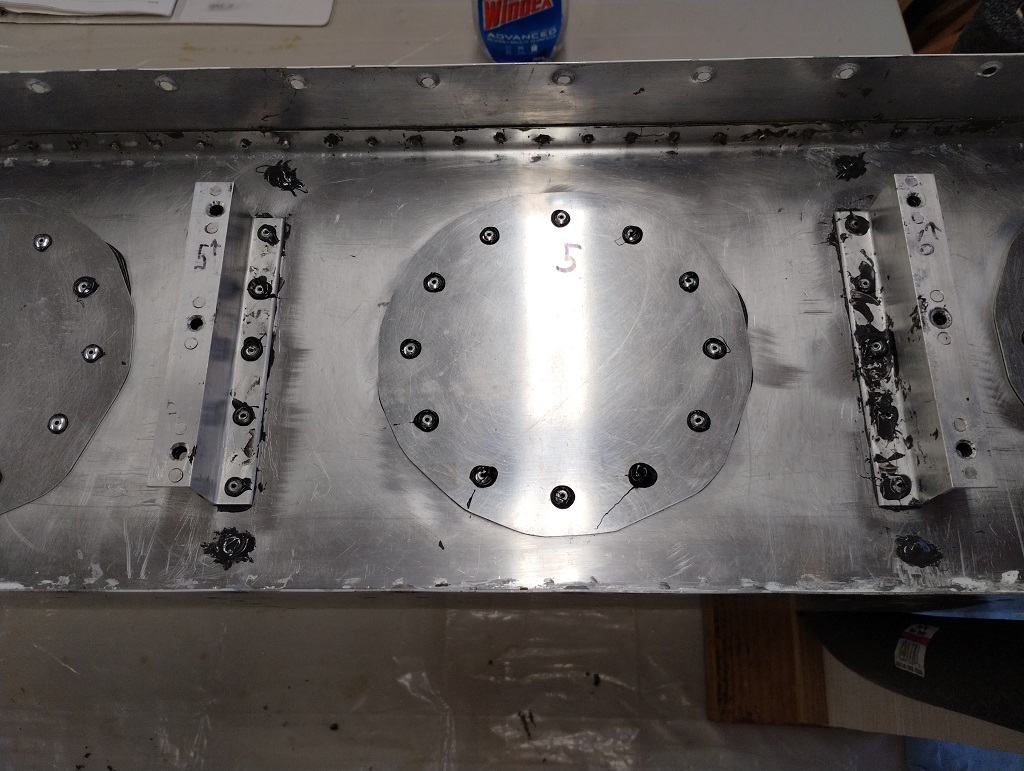
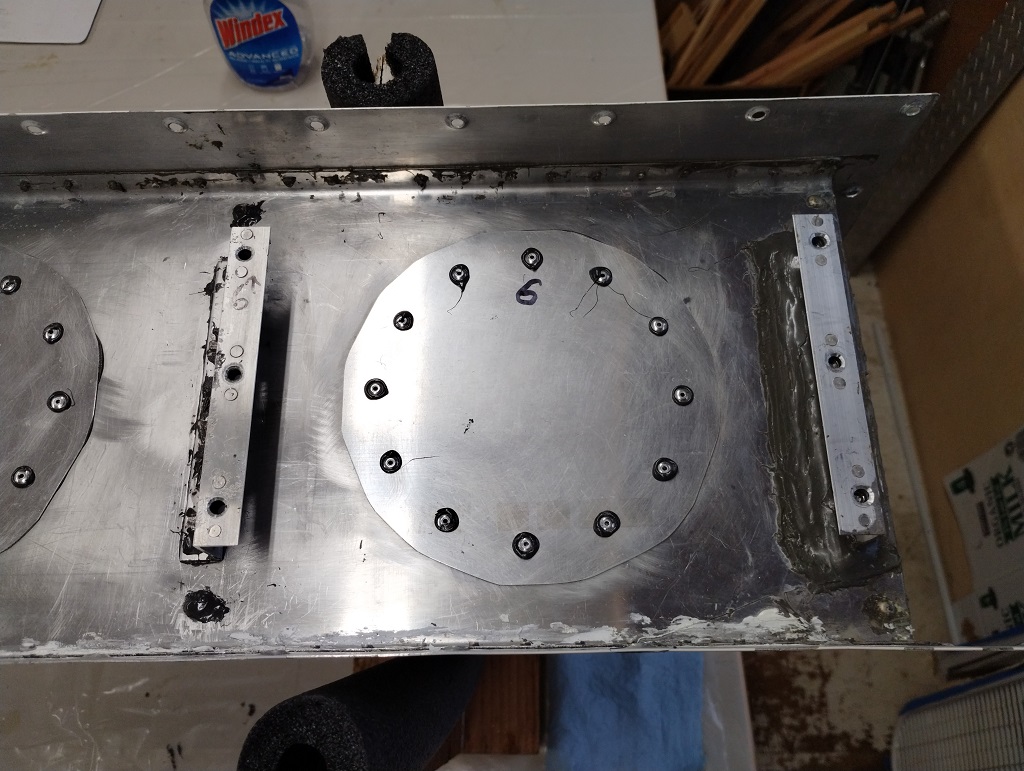
Using the 4" centering disk template, drill all the access holes in the tank
wall with 12 & 6 o'clock 1/8" pilot holes.
Remove this "Master" template's 4" centering disk, match drill a blank plate to
serve as a second template. Cleco those together.
Use the "Master" template to punch mark the remaining 10 perimeter holes in the
"Slave" template and drill the punched holes to 1/16"
-Why? the Master template holes were getting a bit loose/ sloppy. Going way
undersize made me feel more in control and I'll ream them out later
Match the Slave template and the remaining blank plates to drill the 12 & 6
o'clock 1/8" alignment holes
Cleco the Slave template on top of a blank plate into the tank access hole.
Match drill the 10 1/16" holes through the patch plate and tank wall. Remove the
Slave template and Cleco the just-drilled patch plate in position. Move to the
next access hole & repeat.
Ream the 1/16" holes to 1/8" and finally to a #30 bit. Deburr...
4 holes. 5 holes? It will never be easier to create service ports into the
tank so bite the bullet & make the last fuel tank bay accessible too.
When some rivets punched out, the resulting rib flange hole "pooched" inward.
A modified C clamp flattened the deformity. The other option is to build a new
tank. Not going to happen right now.
After hours of cleaning, straightening and more cleaning, a dry parts fit up
is successful.
Cut new gaskets for the fuel level sender & fuel pickup access plate. Replace
the sender while it is all opened up & replace the plans drawn pickup slotted
tube with a new design finger screen model. Drill the flare nut and safety wire
it.

Clean everything again. Wipe it down with acetone & let it flash off overnight. Tomorrow, we mix Proseal...
20251228
Not going to lie & the first try wasn't successful. I missed getting enough sealant on the #2 bay patch plate and it leaked. I also missed diagnosing that the #2 nose rib aft top flange rivet wasn't sealed well enough. I got to pull off the patch plate, clean up with more Poly-Gone and reinstall that top rivet and put the patch plate back on. What's another $50 tube of Proseal? Luckily (?) I missordered from ACS and got a 30 minute batch so I used that to fix my fix...
I was concerned that I may have missed the other nose rib flange rivets so I gooped them too. To get the sealant to flow back into those rivets, I pulled a vacuum of 1/2 PSI for about 20 minutes and the goop should have pulled through any leaks and filled the void. Phew.
24 hours later I pressure tested with 1/2 PSI and sprayed soapy water everywhere. The only leak was from the tank filler cap. THAT I can fix with new o-rings!
Finally, a fixed tank.
Bolt the tank back on, finish the wing root fairing, pour 1G fuel in, start the engine & and test the flow. All good! Done.
Thanks for bearing with me on this epic repair. I learned a lot so that is good too. Onward.