- Today I bought some 1x furring strips at Home Depot to mock up a cabin. I'll need to make room in my shed first...
Bou's M-19 Project - Mock-up
Following advice from the Tony Bingelis book series, I decided to build a mock up of the cabin to trial a slight increase in height. This page documents that work.
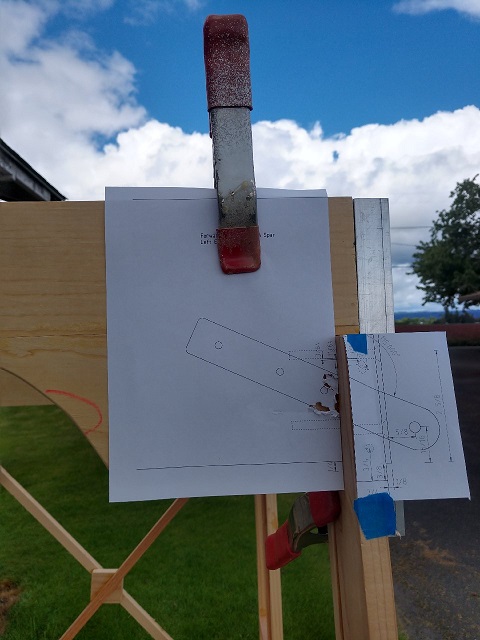
20200201- ongoing development of CAD drawings for all metal parts to allow
water jet cutouts
- Today I bought some 1x furring strips at Home Depot to mock up a
cabin. I'll need to make room in my shed first...
20200202- Cleared the KR2S boat from the shed, cleaned up some room
20200203- Bought material for new building table
20200204- Built table
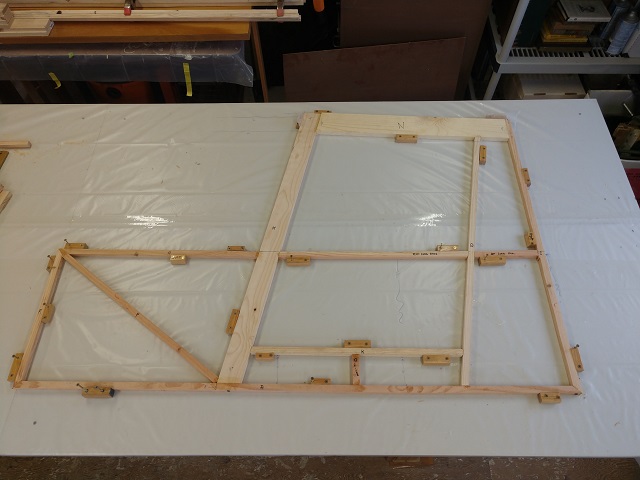
20200205- Cut first wood for cabin mock-up
20200206- Dimensioned all the furring strips; rough-cut cabin side pieces to
length

20200207- Ran through 2 1/2" increase in cabin height calculations; got a
sanity check from Oscar
Fit fuselage side pieces to fit jig board
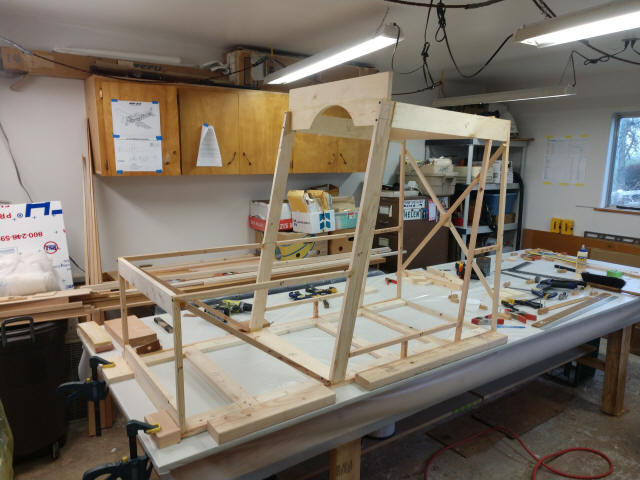
20200208- Finish fit all fuselage side pieces; glued up with T88 epoxy
(The cabin did increase in height and this photo is distorted because it doesn't
actually look like this!)
20200209- Lifted Side 1 off the work surface this morning.
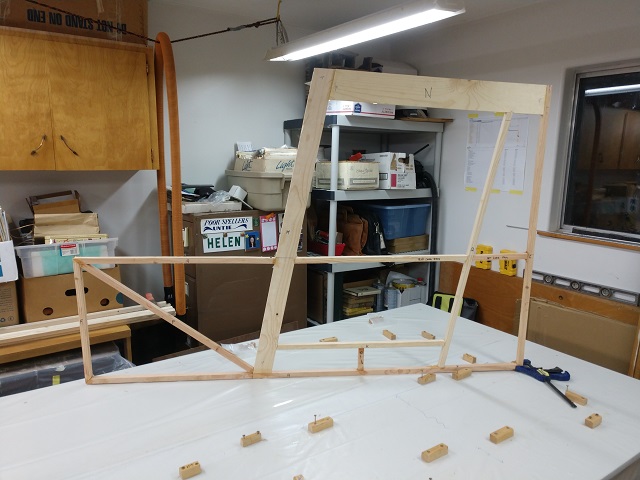
Finish cut & fit pieces for Side 2; laid it up with T88 epoxy.
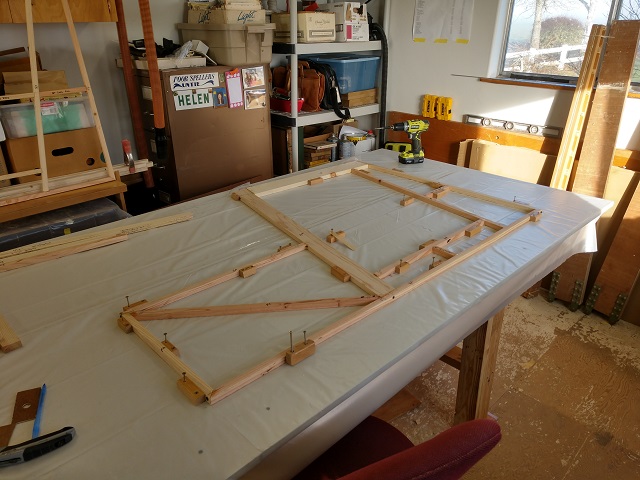
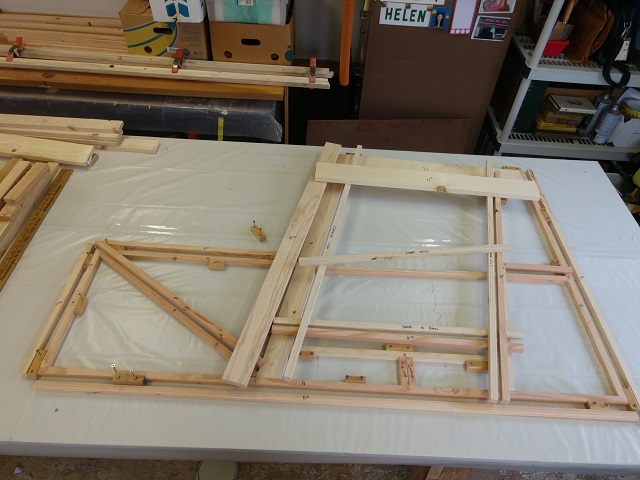
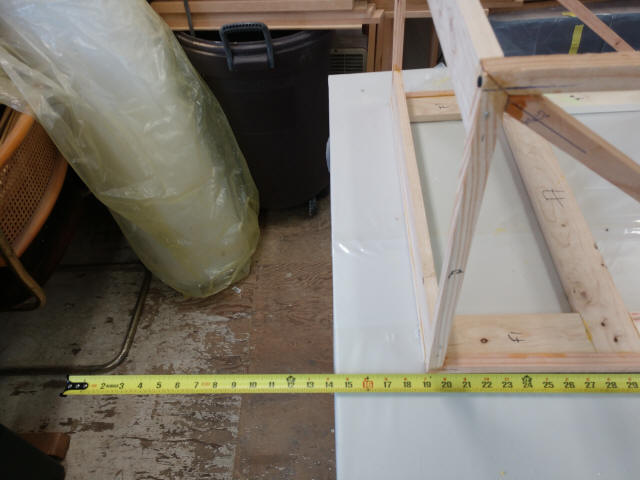
20200210- Remove Side 2 from the frames; erect both frames in rough
position, rough cut floor pieces, dimension both spar carry-throughs
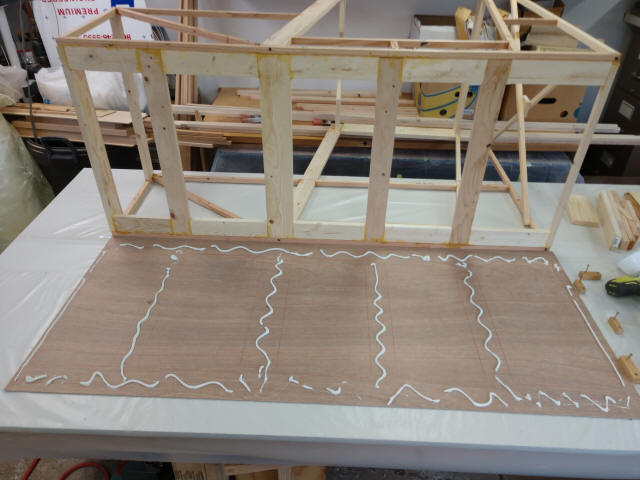
20200211- Finish trim all floor sections; square off fuselage profile
sections to table, glue-up floor
I used Titebond-II glue; it has a short open time and partially set up before I
finished. Ok, it is just a mock-up.
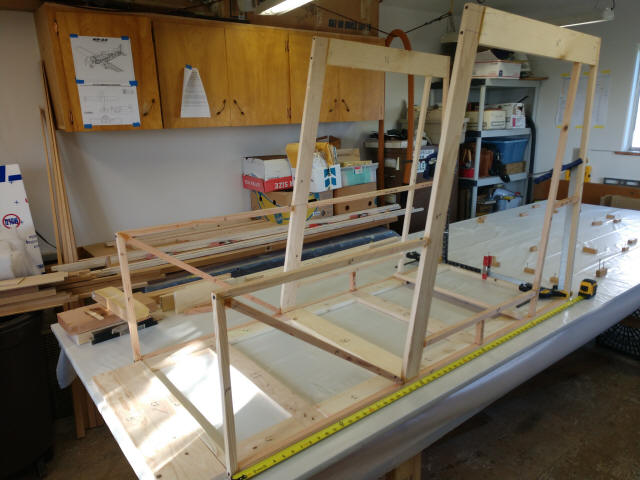
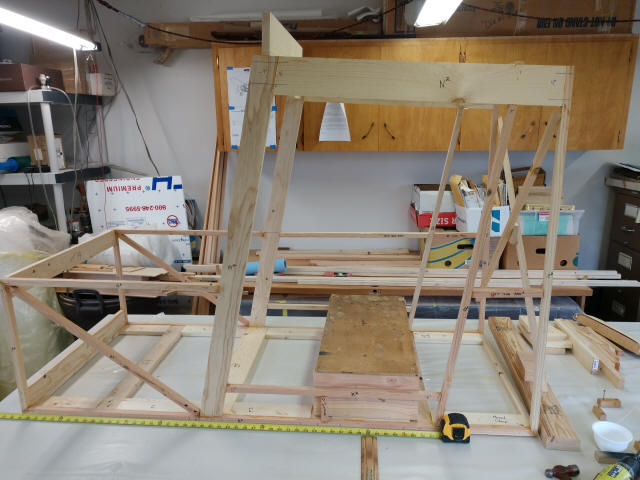
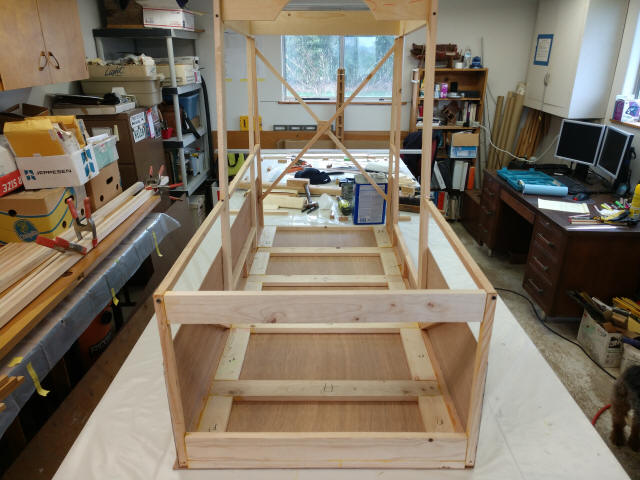
20200212- Removed clamps, drove staples through bottom longeron into floor
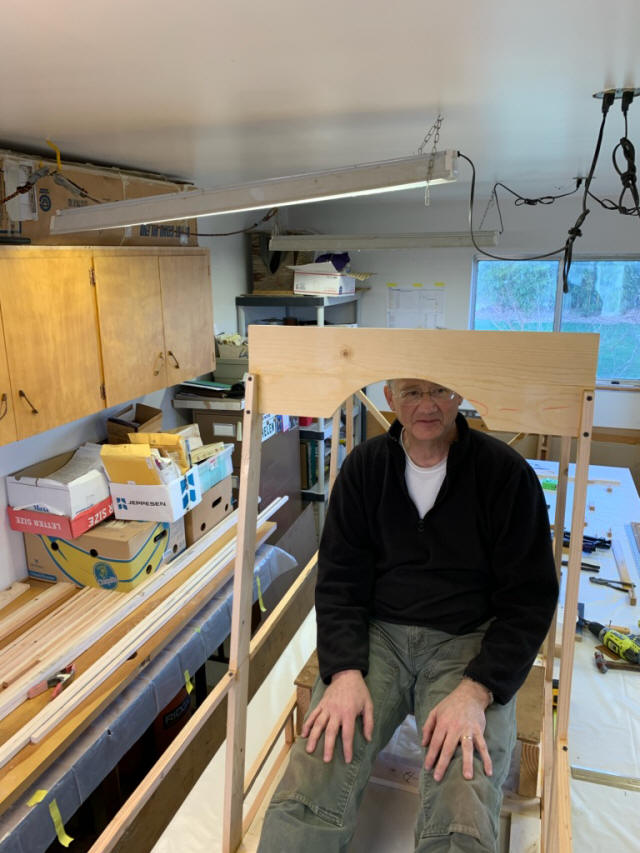
sections; Woody is where the seat goes.

Holy Moly, this thing is huge! This shows setting the datum position as Marvin
did; prop hub=0"
So the seat is now at Marvin's 60" aft of datum position or 41" aft of the
firewall
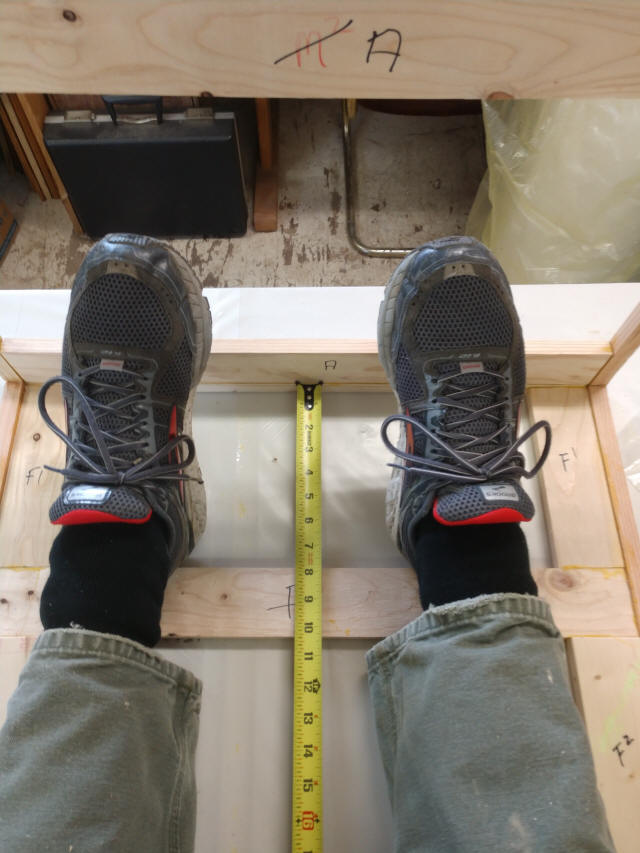
This is how much legroom I have! I'm 6'1" with a 32" trouser in-seam.
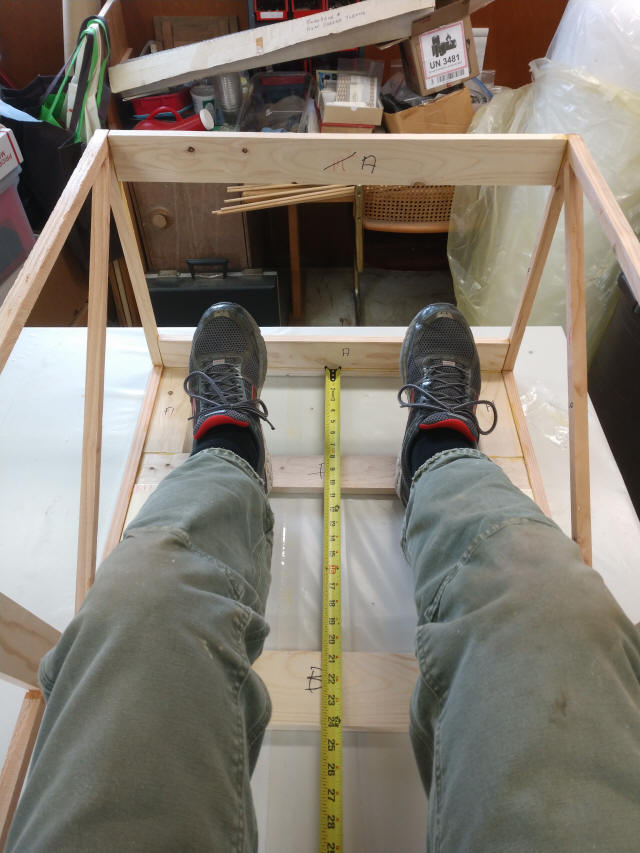
My toes are fully pointed out forward! There is no way I can come close to
touching the firewall.
Sure there are rudder pedals yet to be installed, even so...
--LATER THIS AFTERNOON-- I moved the seat back about 3" and sitting upon the 6"
high seat platform, it needs to be lower.
Seated on the platform in profile view so note legroom
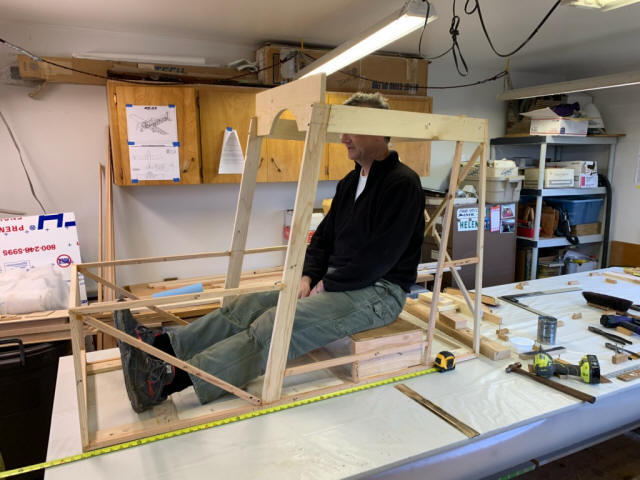
I expect a lower seat platform will give my desired headroom improvement from
the 2.5" height increase
20200213- I want to be able to try out the entire build before I start for
real & I'm ok with doing it twice.
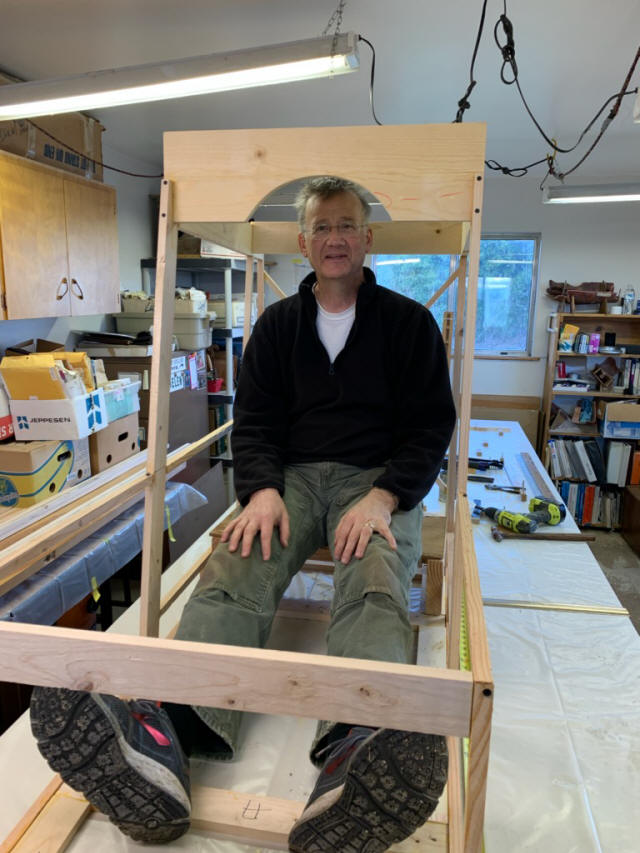
Today I skinned the exterior cab frame for rigidity and to enclose the
structure. This makes everything "real."
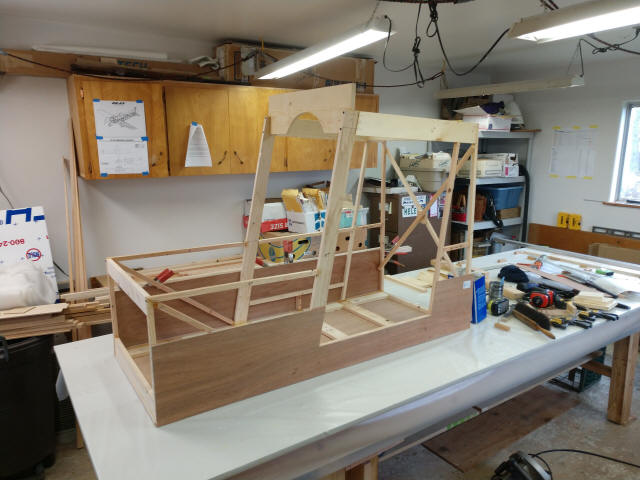
A dummy firewall would give the entire structure more shear strength but it will
just be in the way...
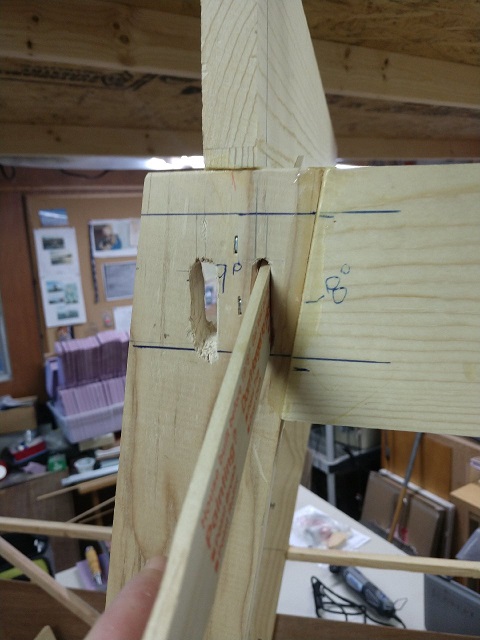
20200214- Trimmed the boat skin overhang; printed, trimmed and connected wing
chord patterns
Cut out chord plates and positioned on cab "N" rail, so called "chord beam"
Position of seat is approximately 60" arm of his "prop hub datum")
Marked 25% - 33% MAC (pink lines on airfoil template) string approximates
Marvin's W&B CG @ 52.06"
If my measurements are good, the M-19 with his pilot 208# & full 8G fuel
was in the FAA "sweet spot" CG!
--CLICK ON IMAGE BELOW FOR FULL SCALE DETAIL PHOTO--

20200215- I cleaned the shop, dummied up an alternate control stick, trialed an idea for movable seat and rudder pedals, and put some Tung oil on the plywood. Just because. Nothing is photo worthy. Perhaps tomorrow...
20200216- installed dummy rudder pedals and full control loop cabling to confirm seat placement location
20200217- 20200225 Many project related, non-construction tasks undertaken;
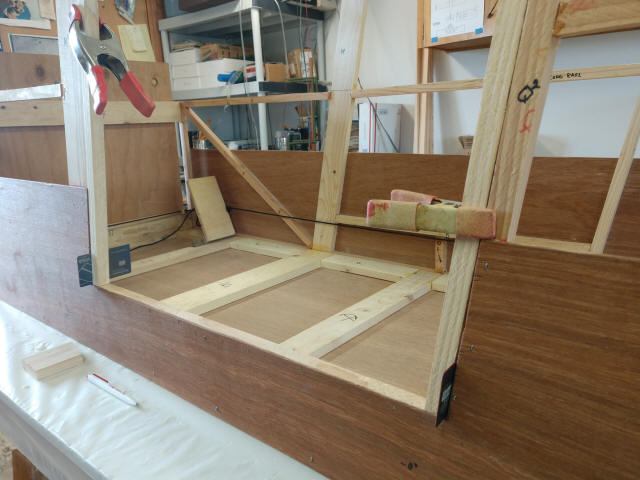
20200226- Framed and glued the cabin mockup door.
20200227- Today I installed a piano hinge onto the mock-up. Not sure why the
plans call for modifying a set of cabinet hinges.
Oscar told me that the hinge pin has to be perpendicular to the floor or the
door will scrape the wing bottom skin. Oh...
Cut a panel of Corning Formular 1" Pink XPS to fit the lower door section and
glassed it in place with AeroPoxy & KR Cloth.
This will permit sanding test if unable to procure 3/4" thick foam material.
Will confirm adhesion with a tear-test next
Also met with a machine shop owner to review drawings' suitability for water-jet
cutting metal parts

20200228- Trimmed layup in green stage. Appears to be good adhesion to the Owens Corning Formular test panel. The AeroPoxy is stale and resulting in a slightly sticky cured state.
20200229- Leap Day! Began assembling Construction Manual into 2 volumes;
V1=new digitized text document &
V2=original diagrams and CAD dimensions
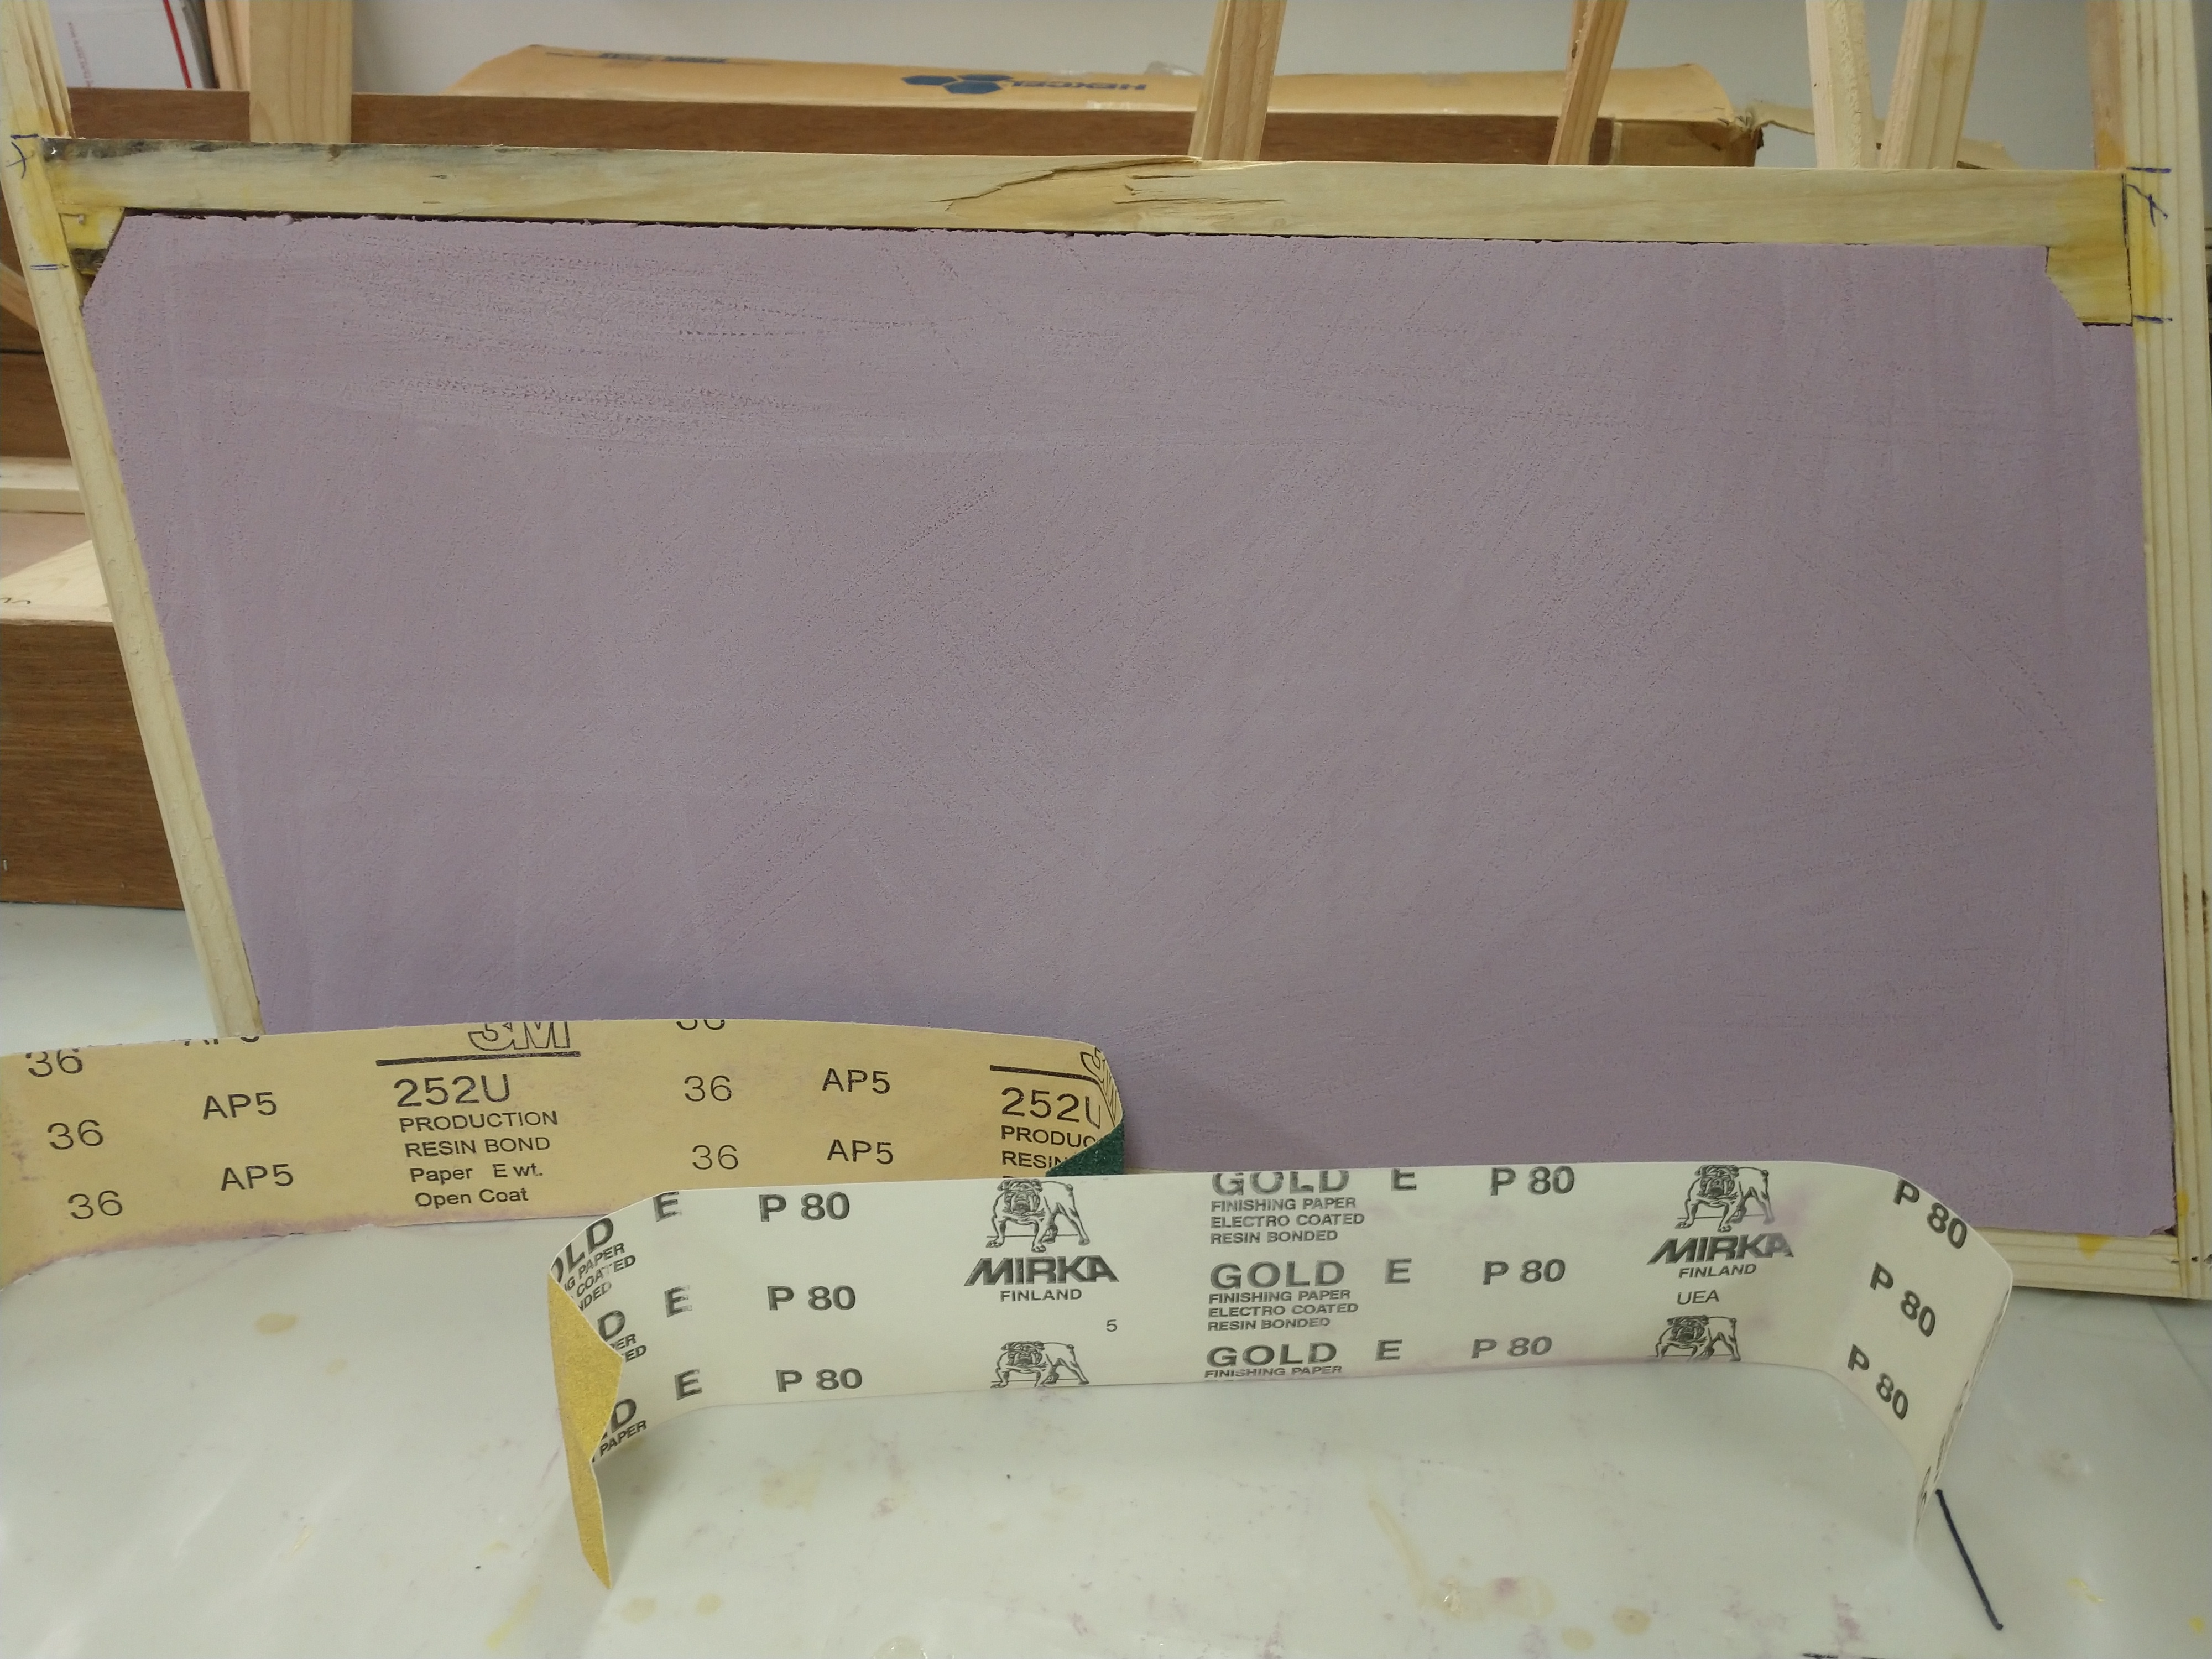
Ran the test sanding trial on the bonded 1" Formular panel in the mock-up door.
Stiff.
Resorted to 36 grit followed by 80 grit resulted in substantial effort, even for
this small panel.
Click the image for hi-res photo.
80 grit gives good tooth for the resin/ micro sealing layer prior to glass
layup.
Prospective builders should run this test. There are many XPS panels that need
to be reduced to 3/4" thick framing members.
As an alternate, a neighbour suggested using a hot wire to trim 1/4" from 1"
thick XPS material. May be worth a try. As would cutting 1 1/2" in half...
20200305- place OC Formular 250 3/4" Square Edge order for 15 sheets with Kaz
@ Service Partners/ Tigard
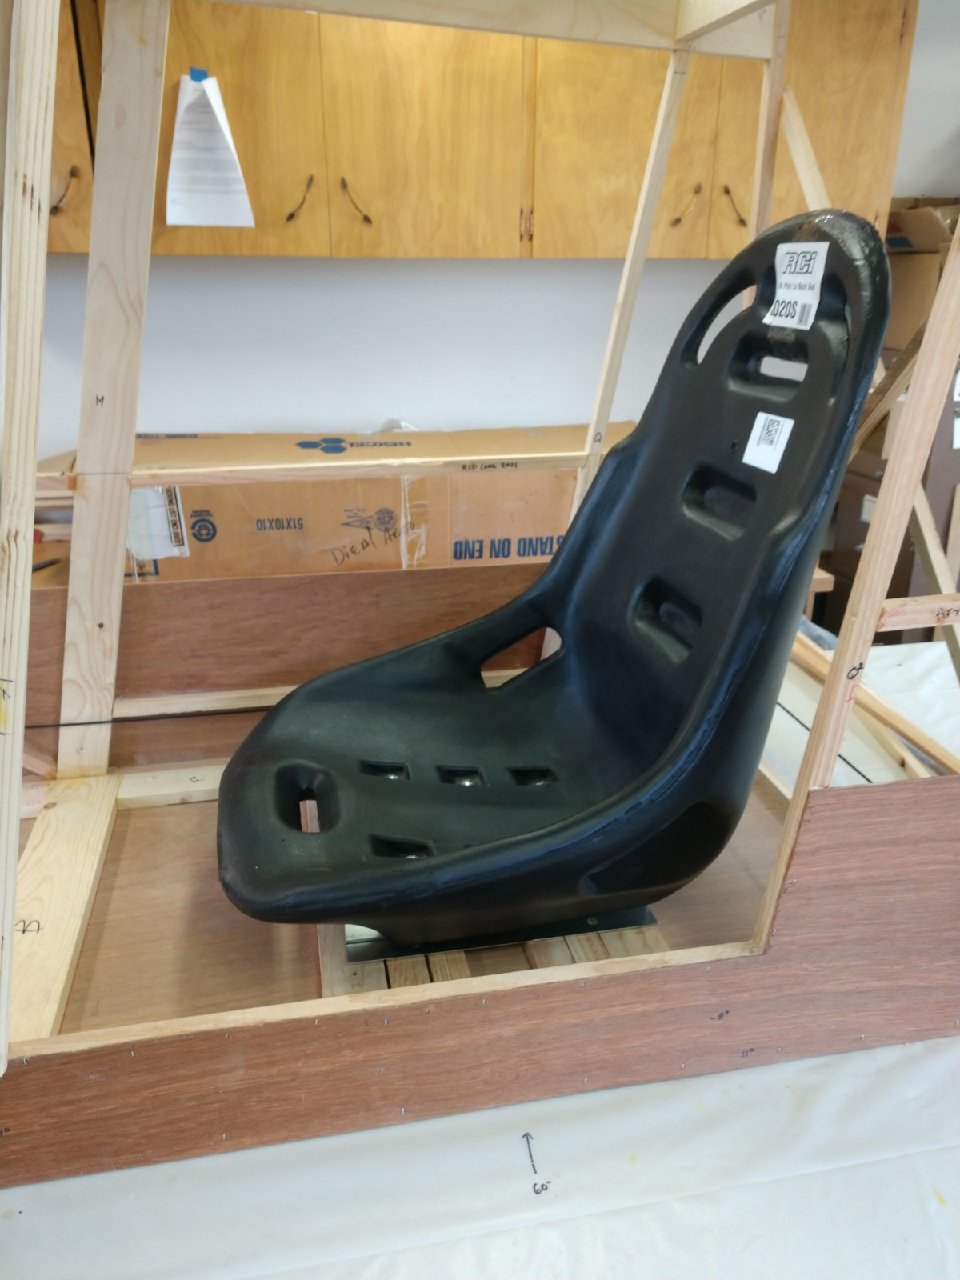
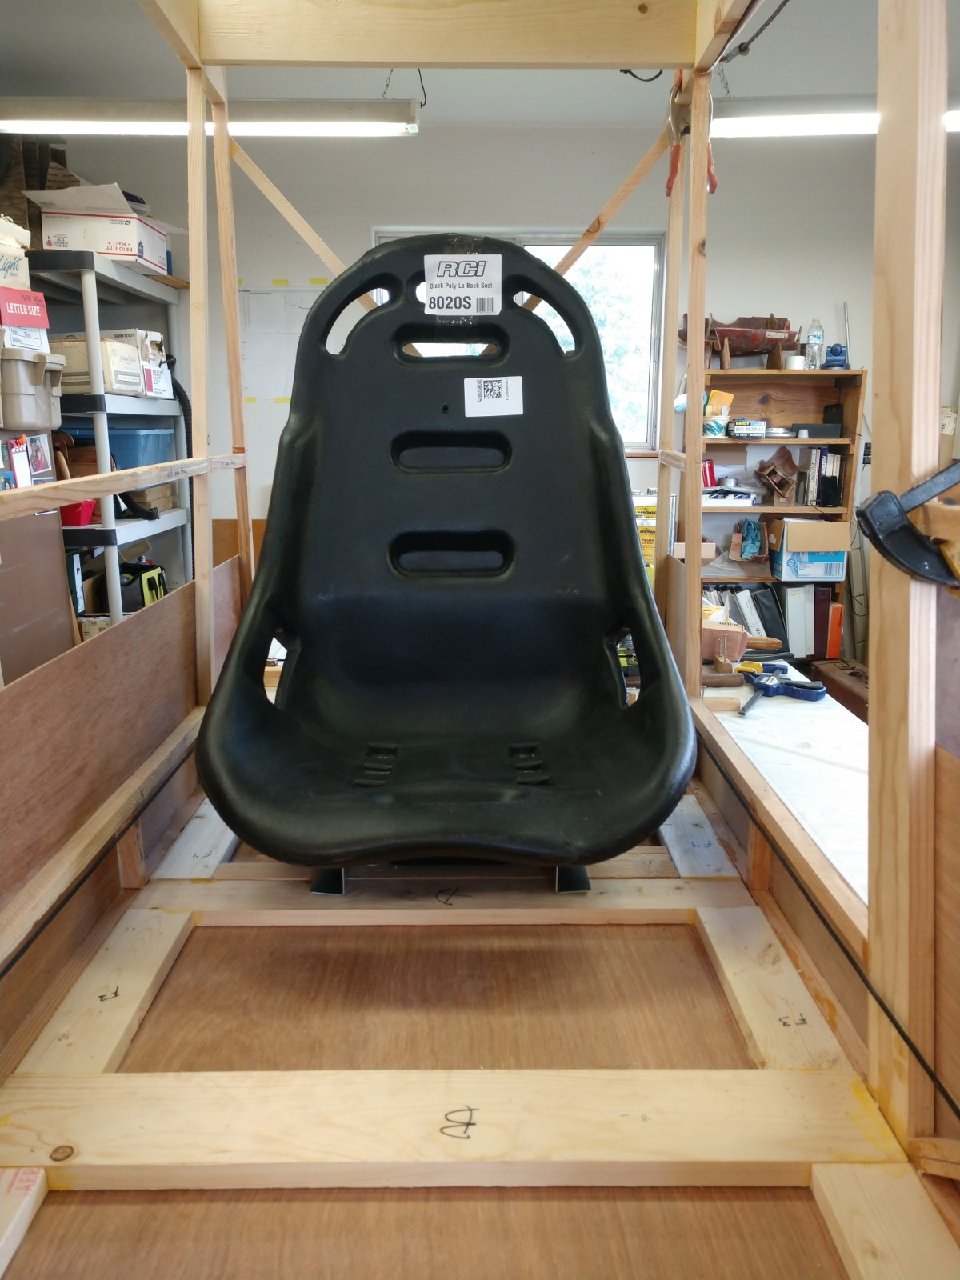
- RCI seat arrived today; it might work
Practice notching the wing chord "N" rail for the WAFs. And yes, the 2nd one
is always better. That's why we practice...