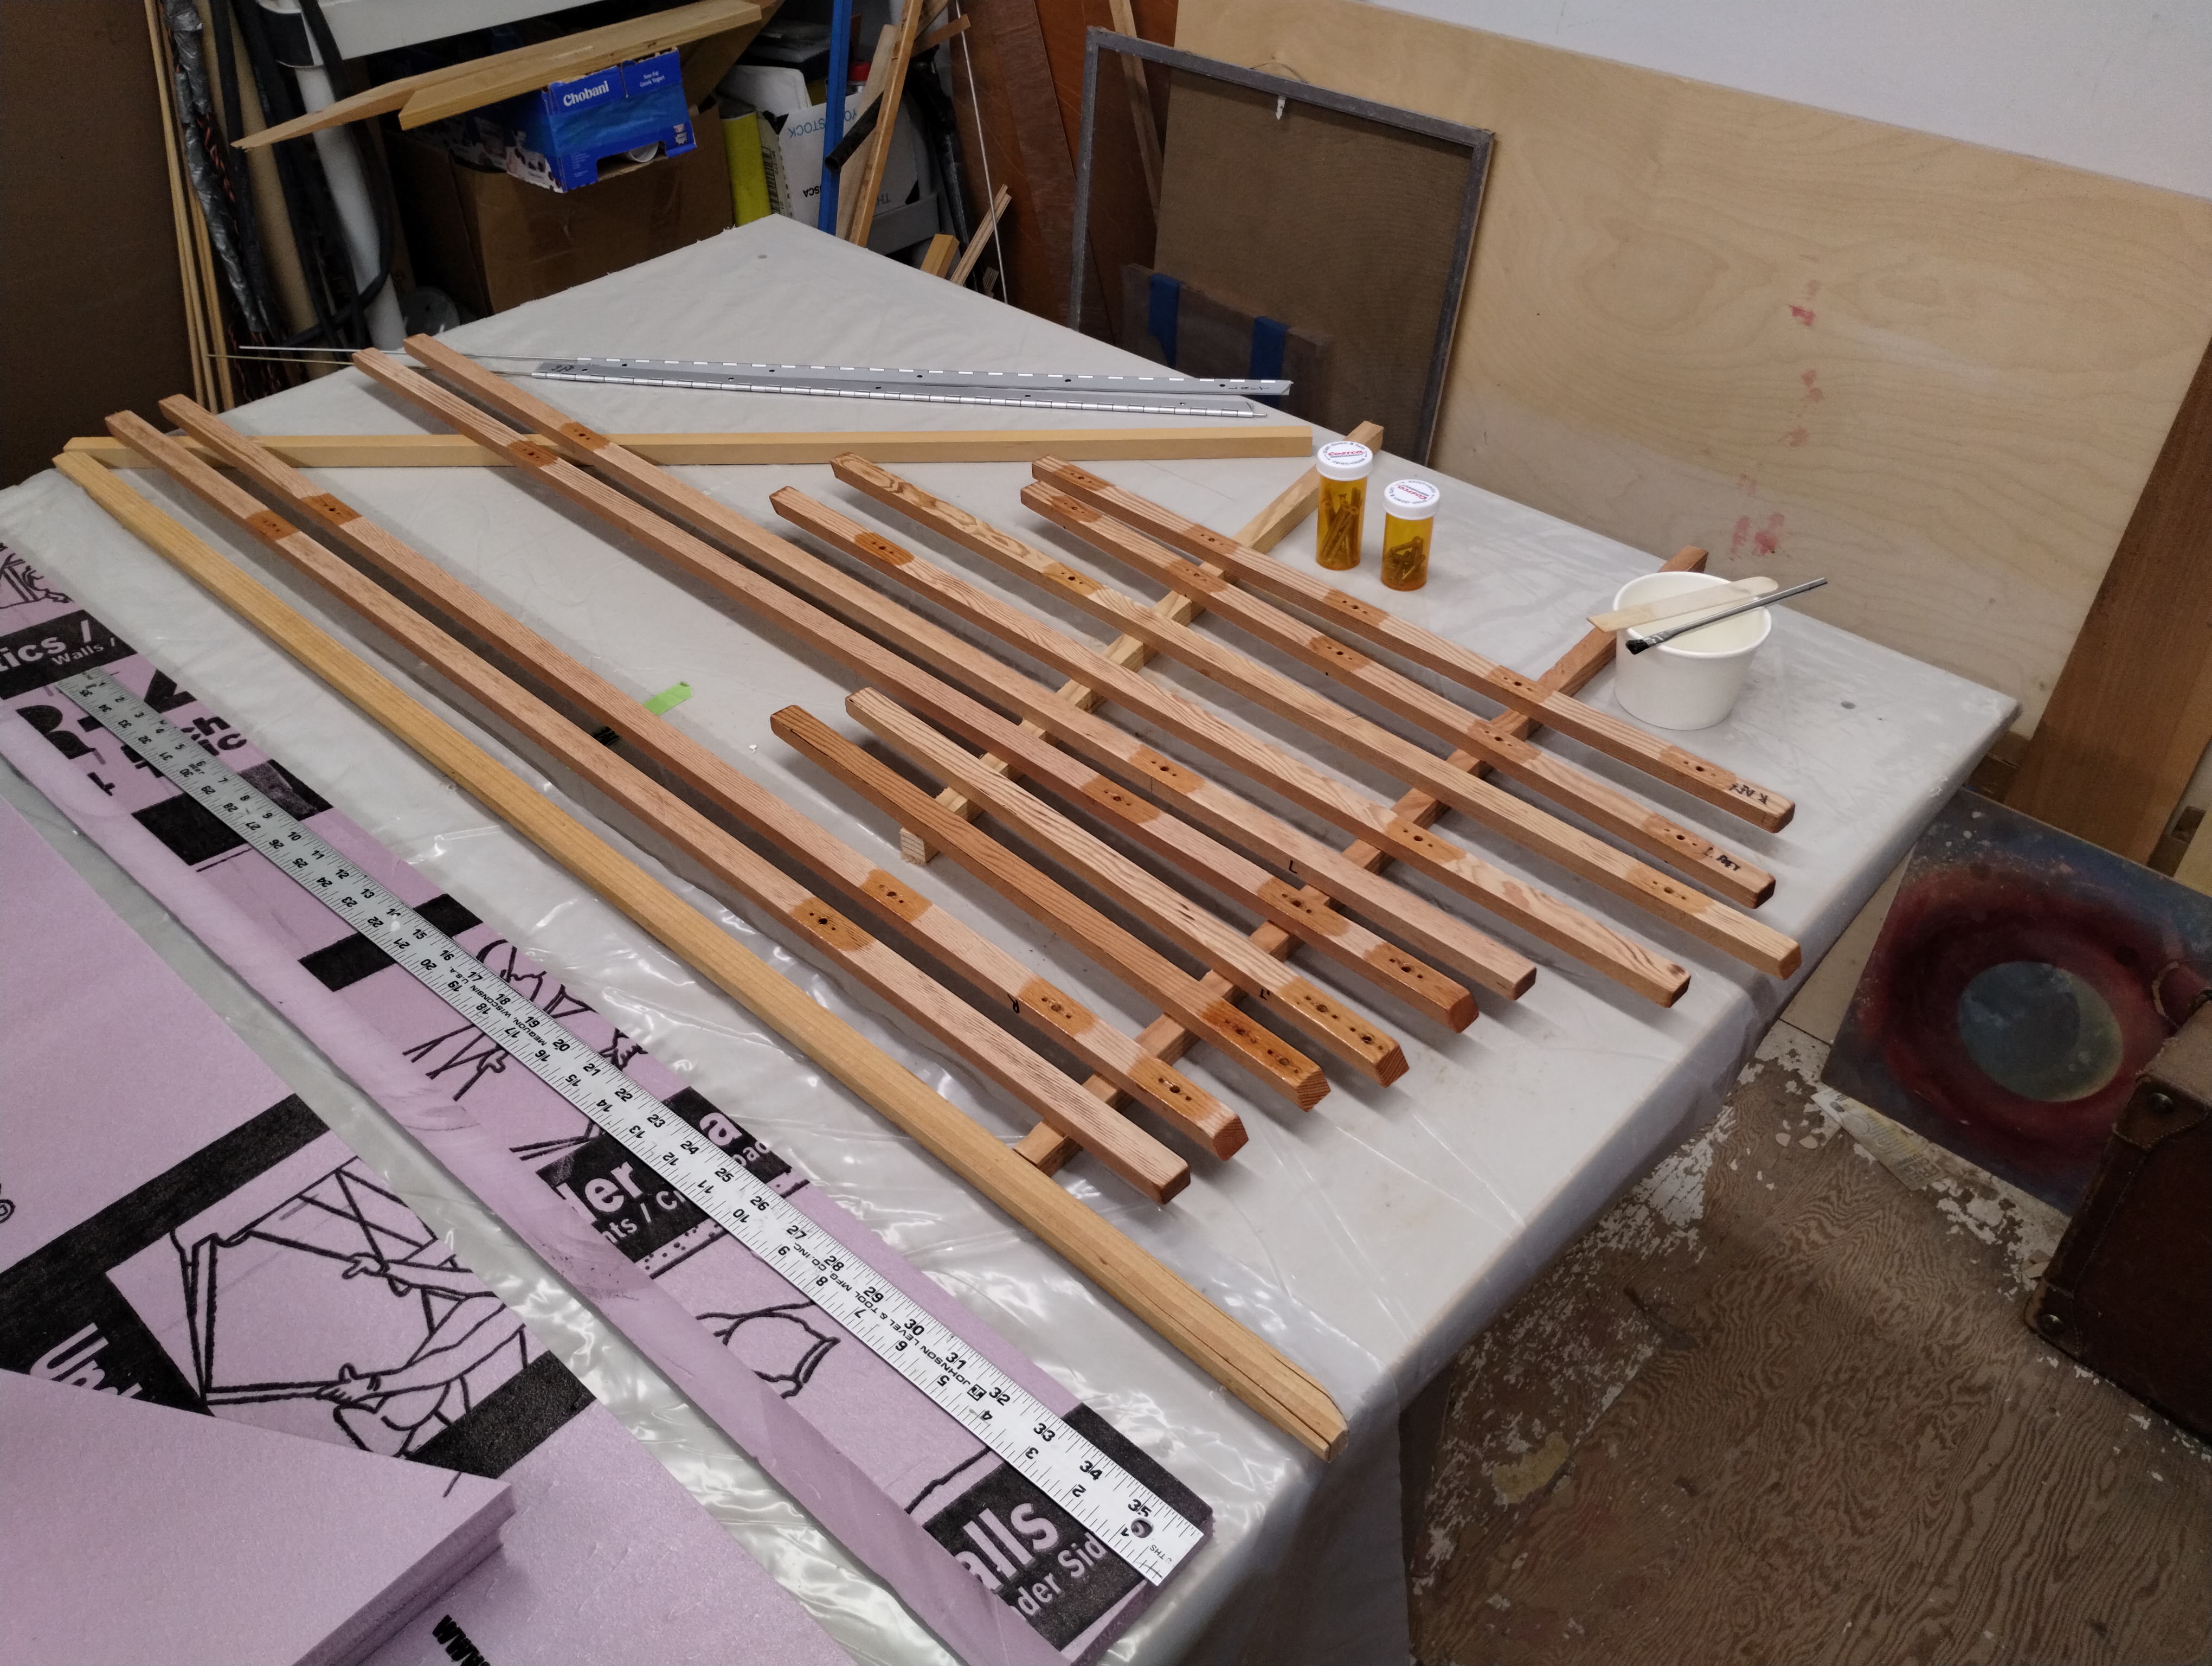
Cut the fixed spars & movable spars to length; all good.
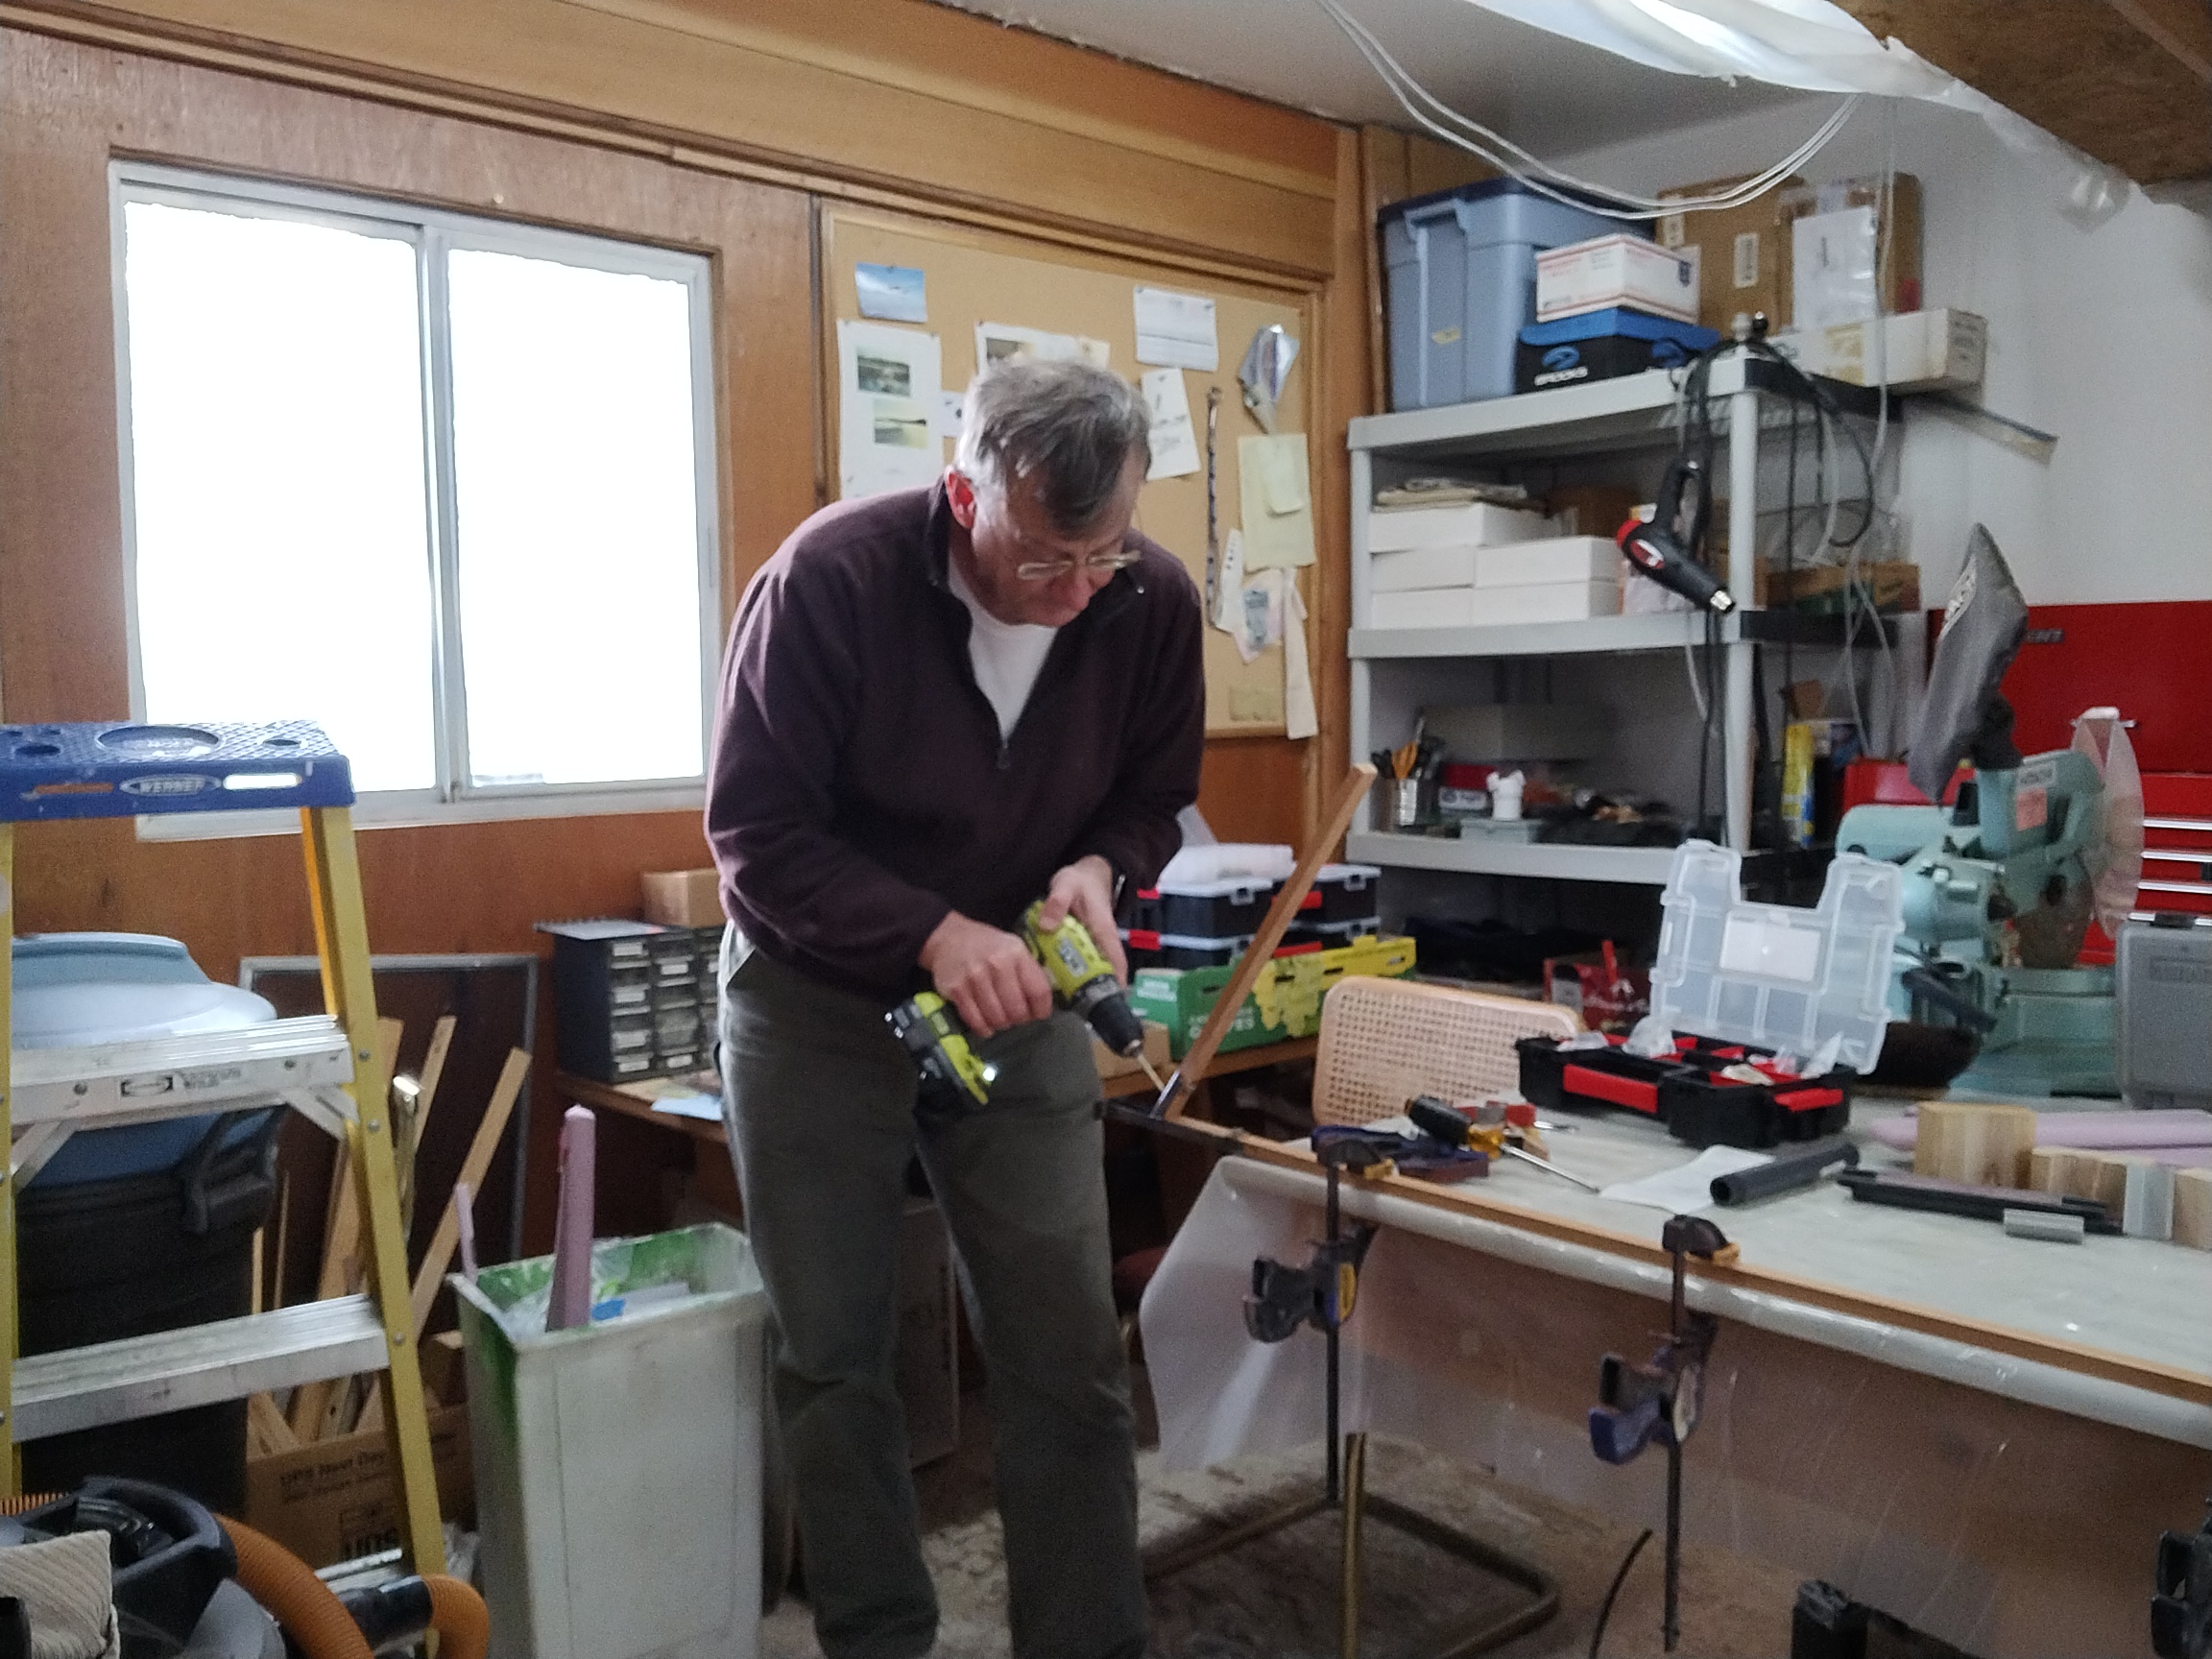
Typically the tail feathers are built after you've almost finished with the rolling fuselage. I skipped that step and went straight into doing the rear control surfaces. My little shed shop is warm and the hangar is cold. It's easy for me to keep going on XPS shaping and fiberglass in the warm and under great lighting.
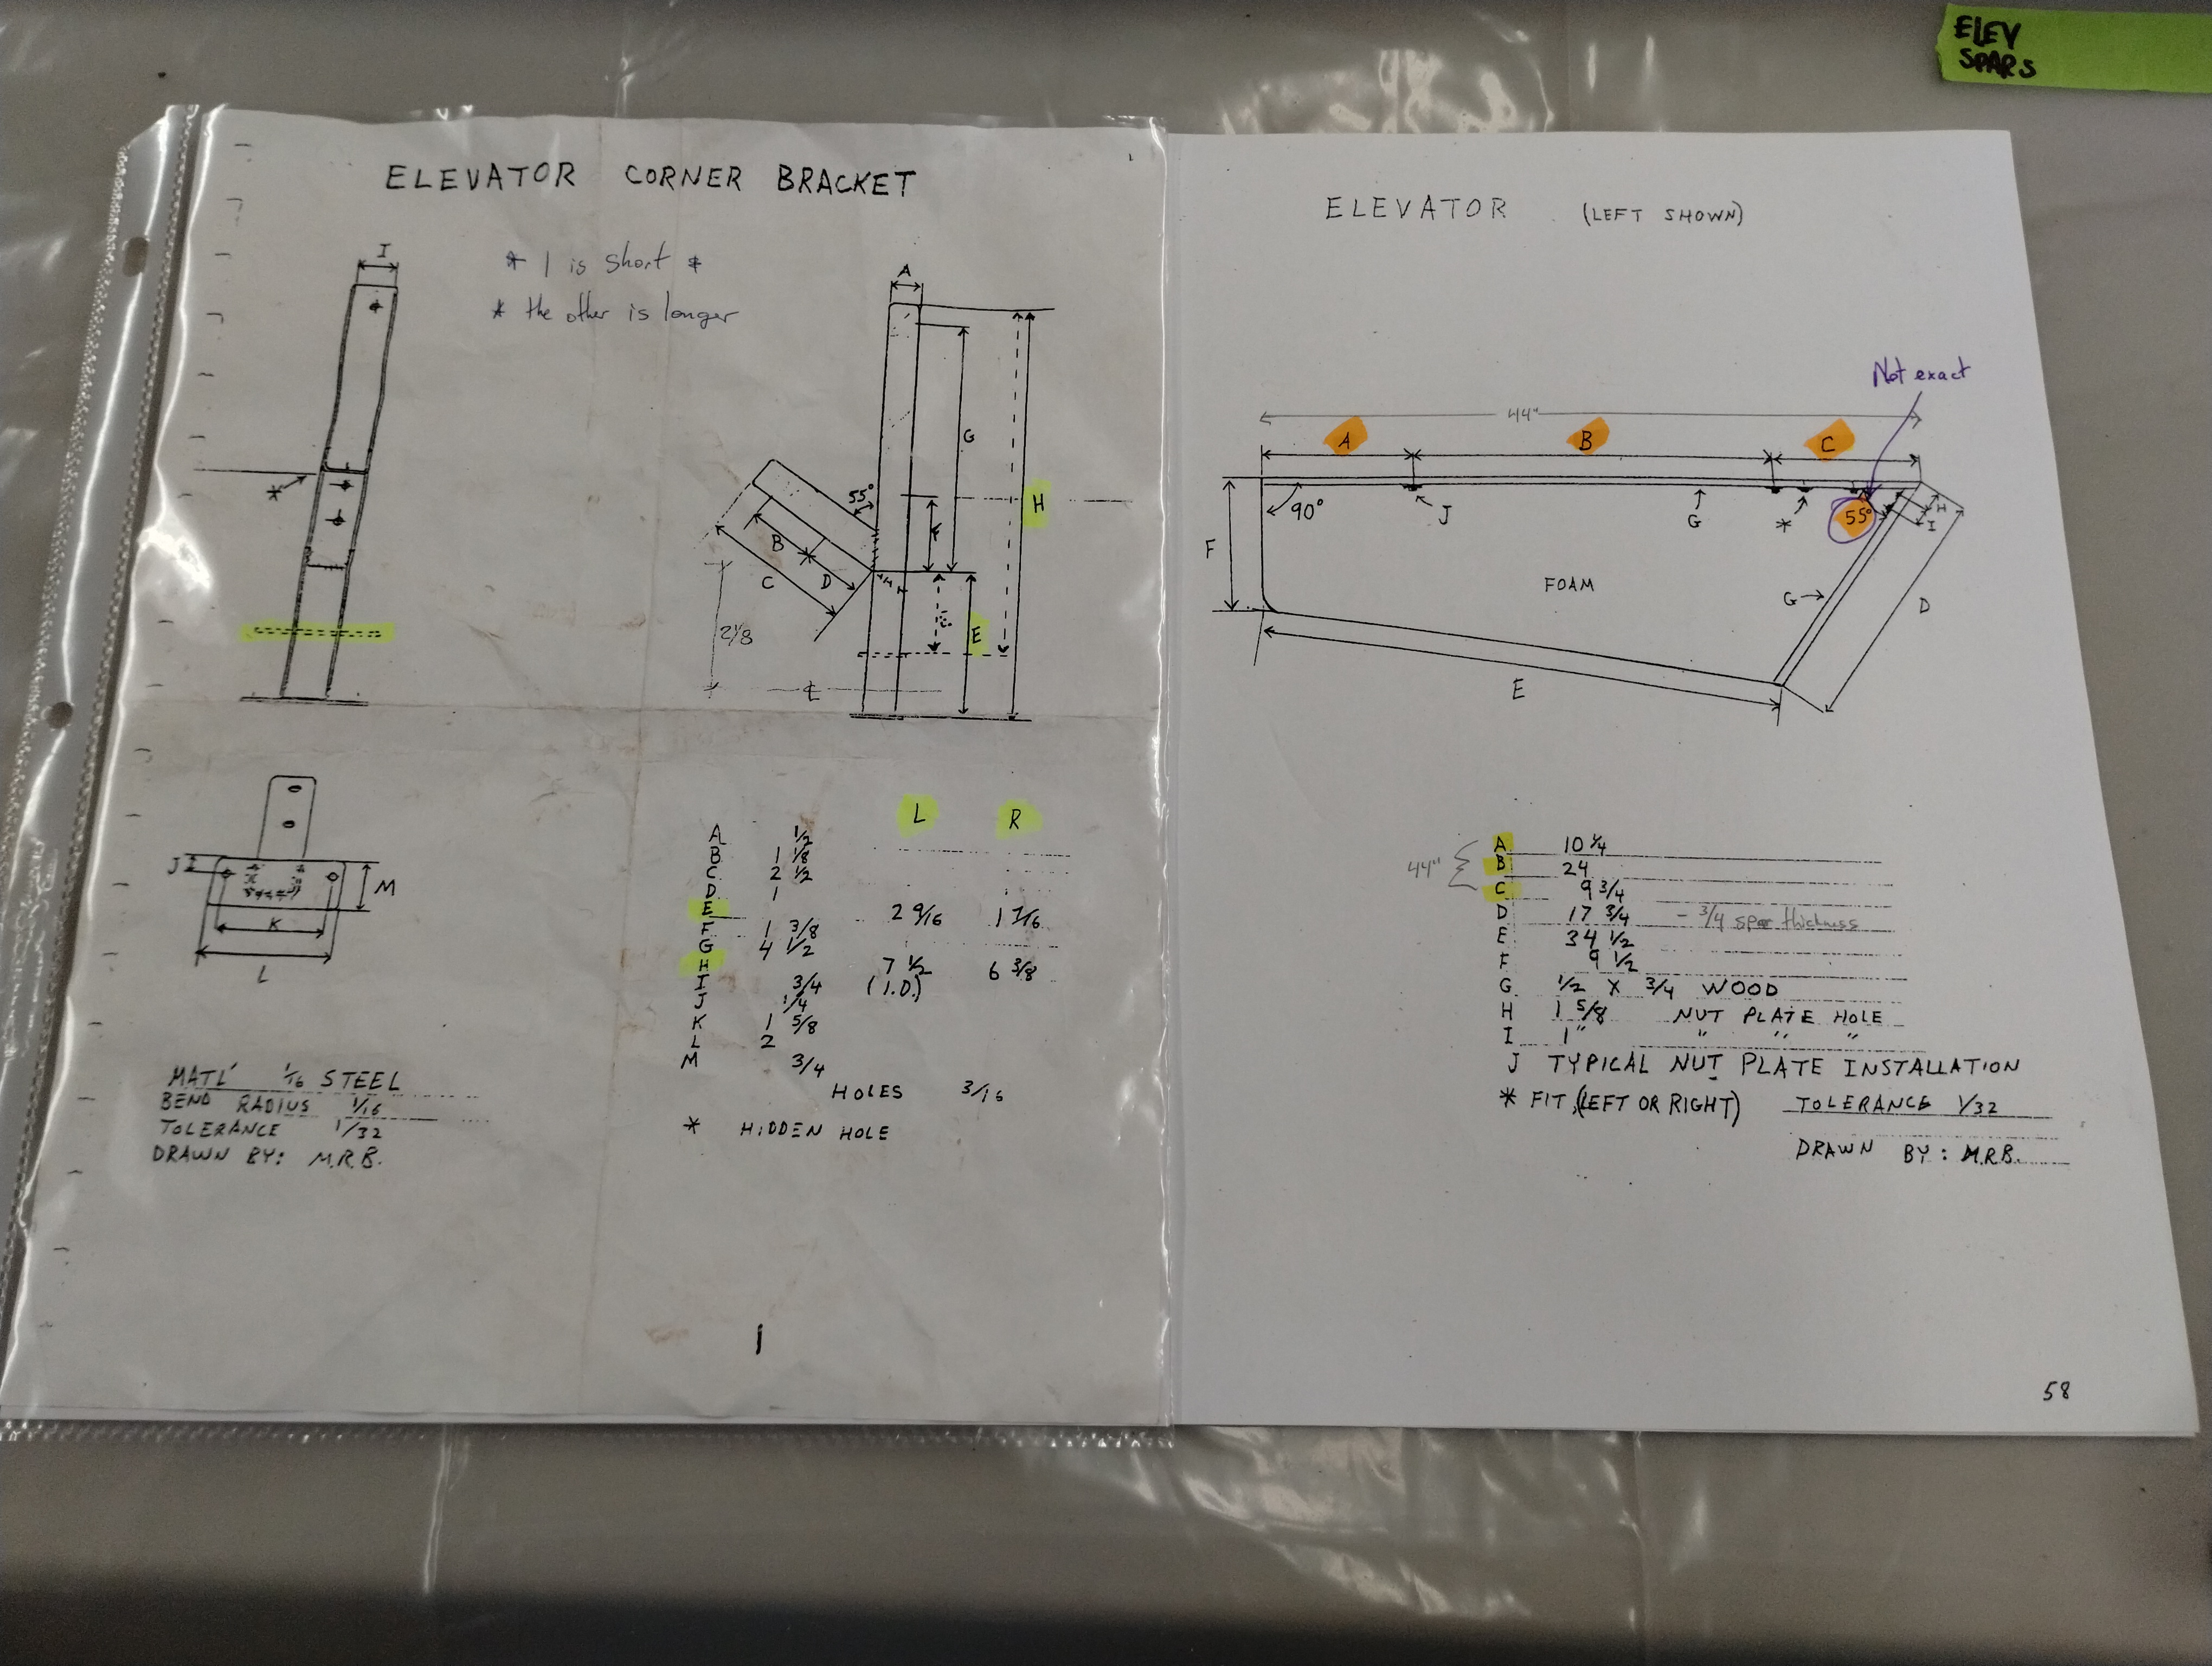
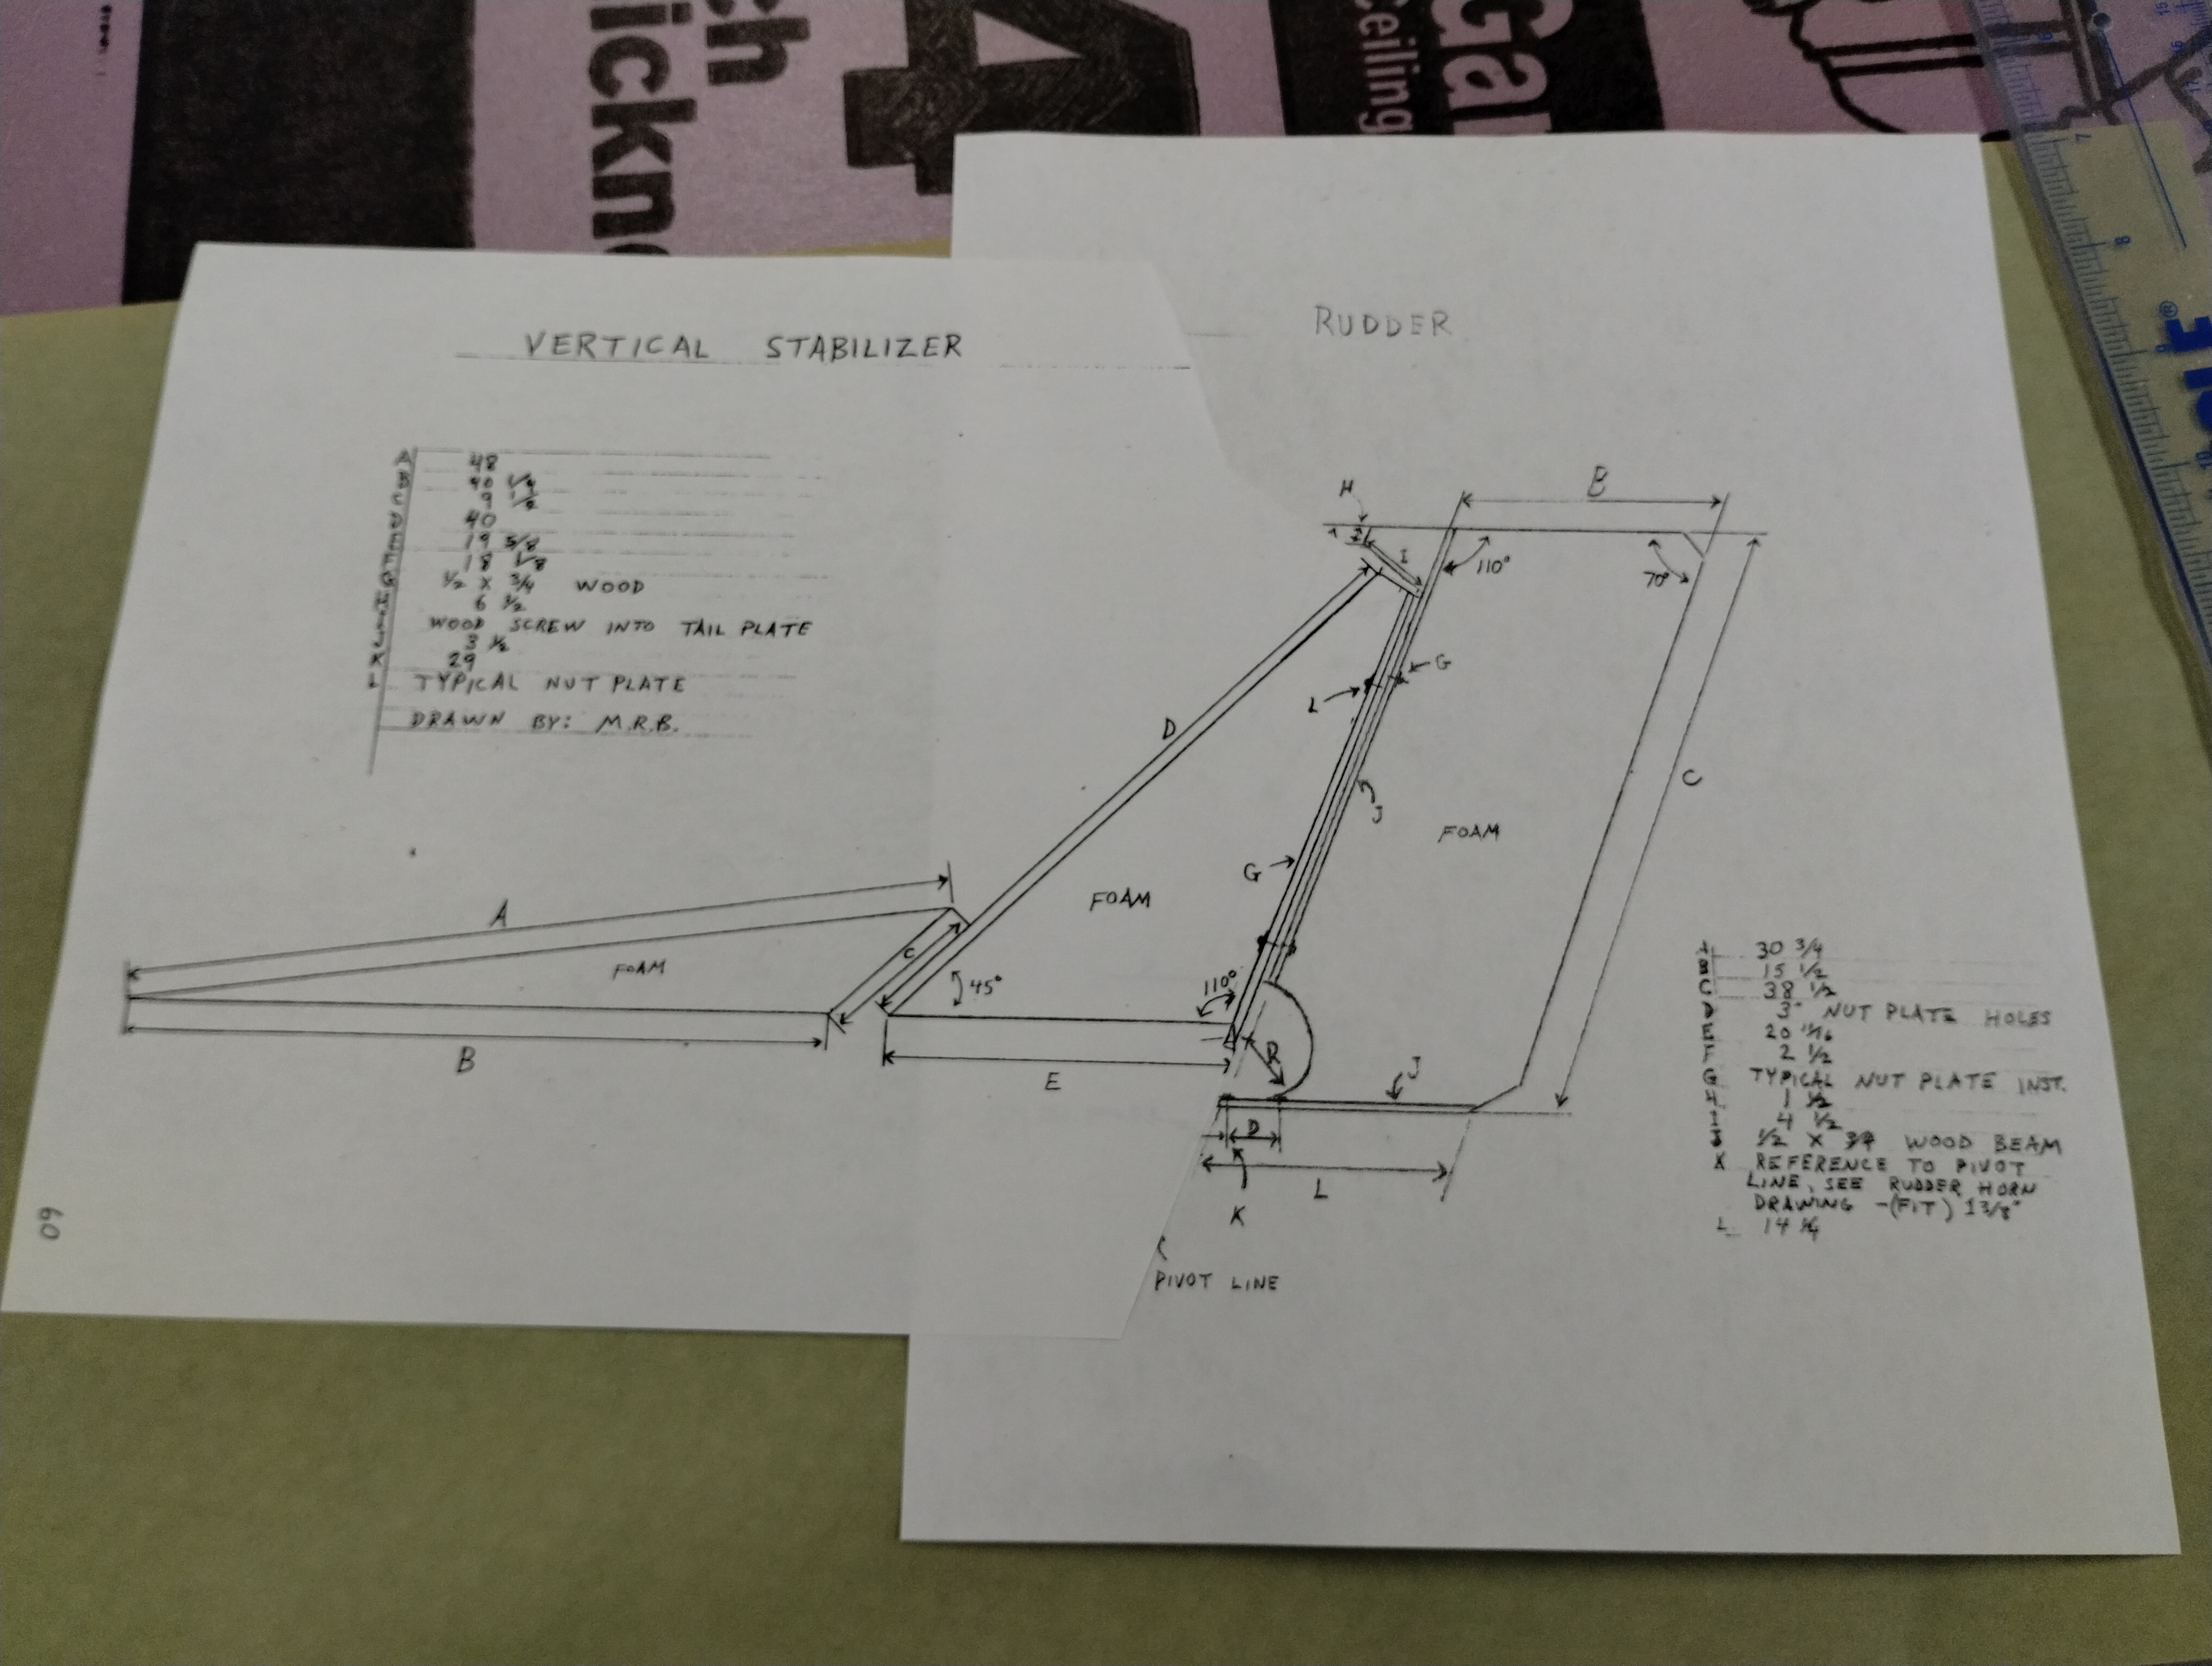
Starting off with Drawing 1 "Corner brackets" and Drawing 14 Elevator horn
parts already fabricated, I drilled the horn holes. Spoiler alert; that was
jumping the gun...
Cut the fixed spars & movable spars to length; all good.
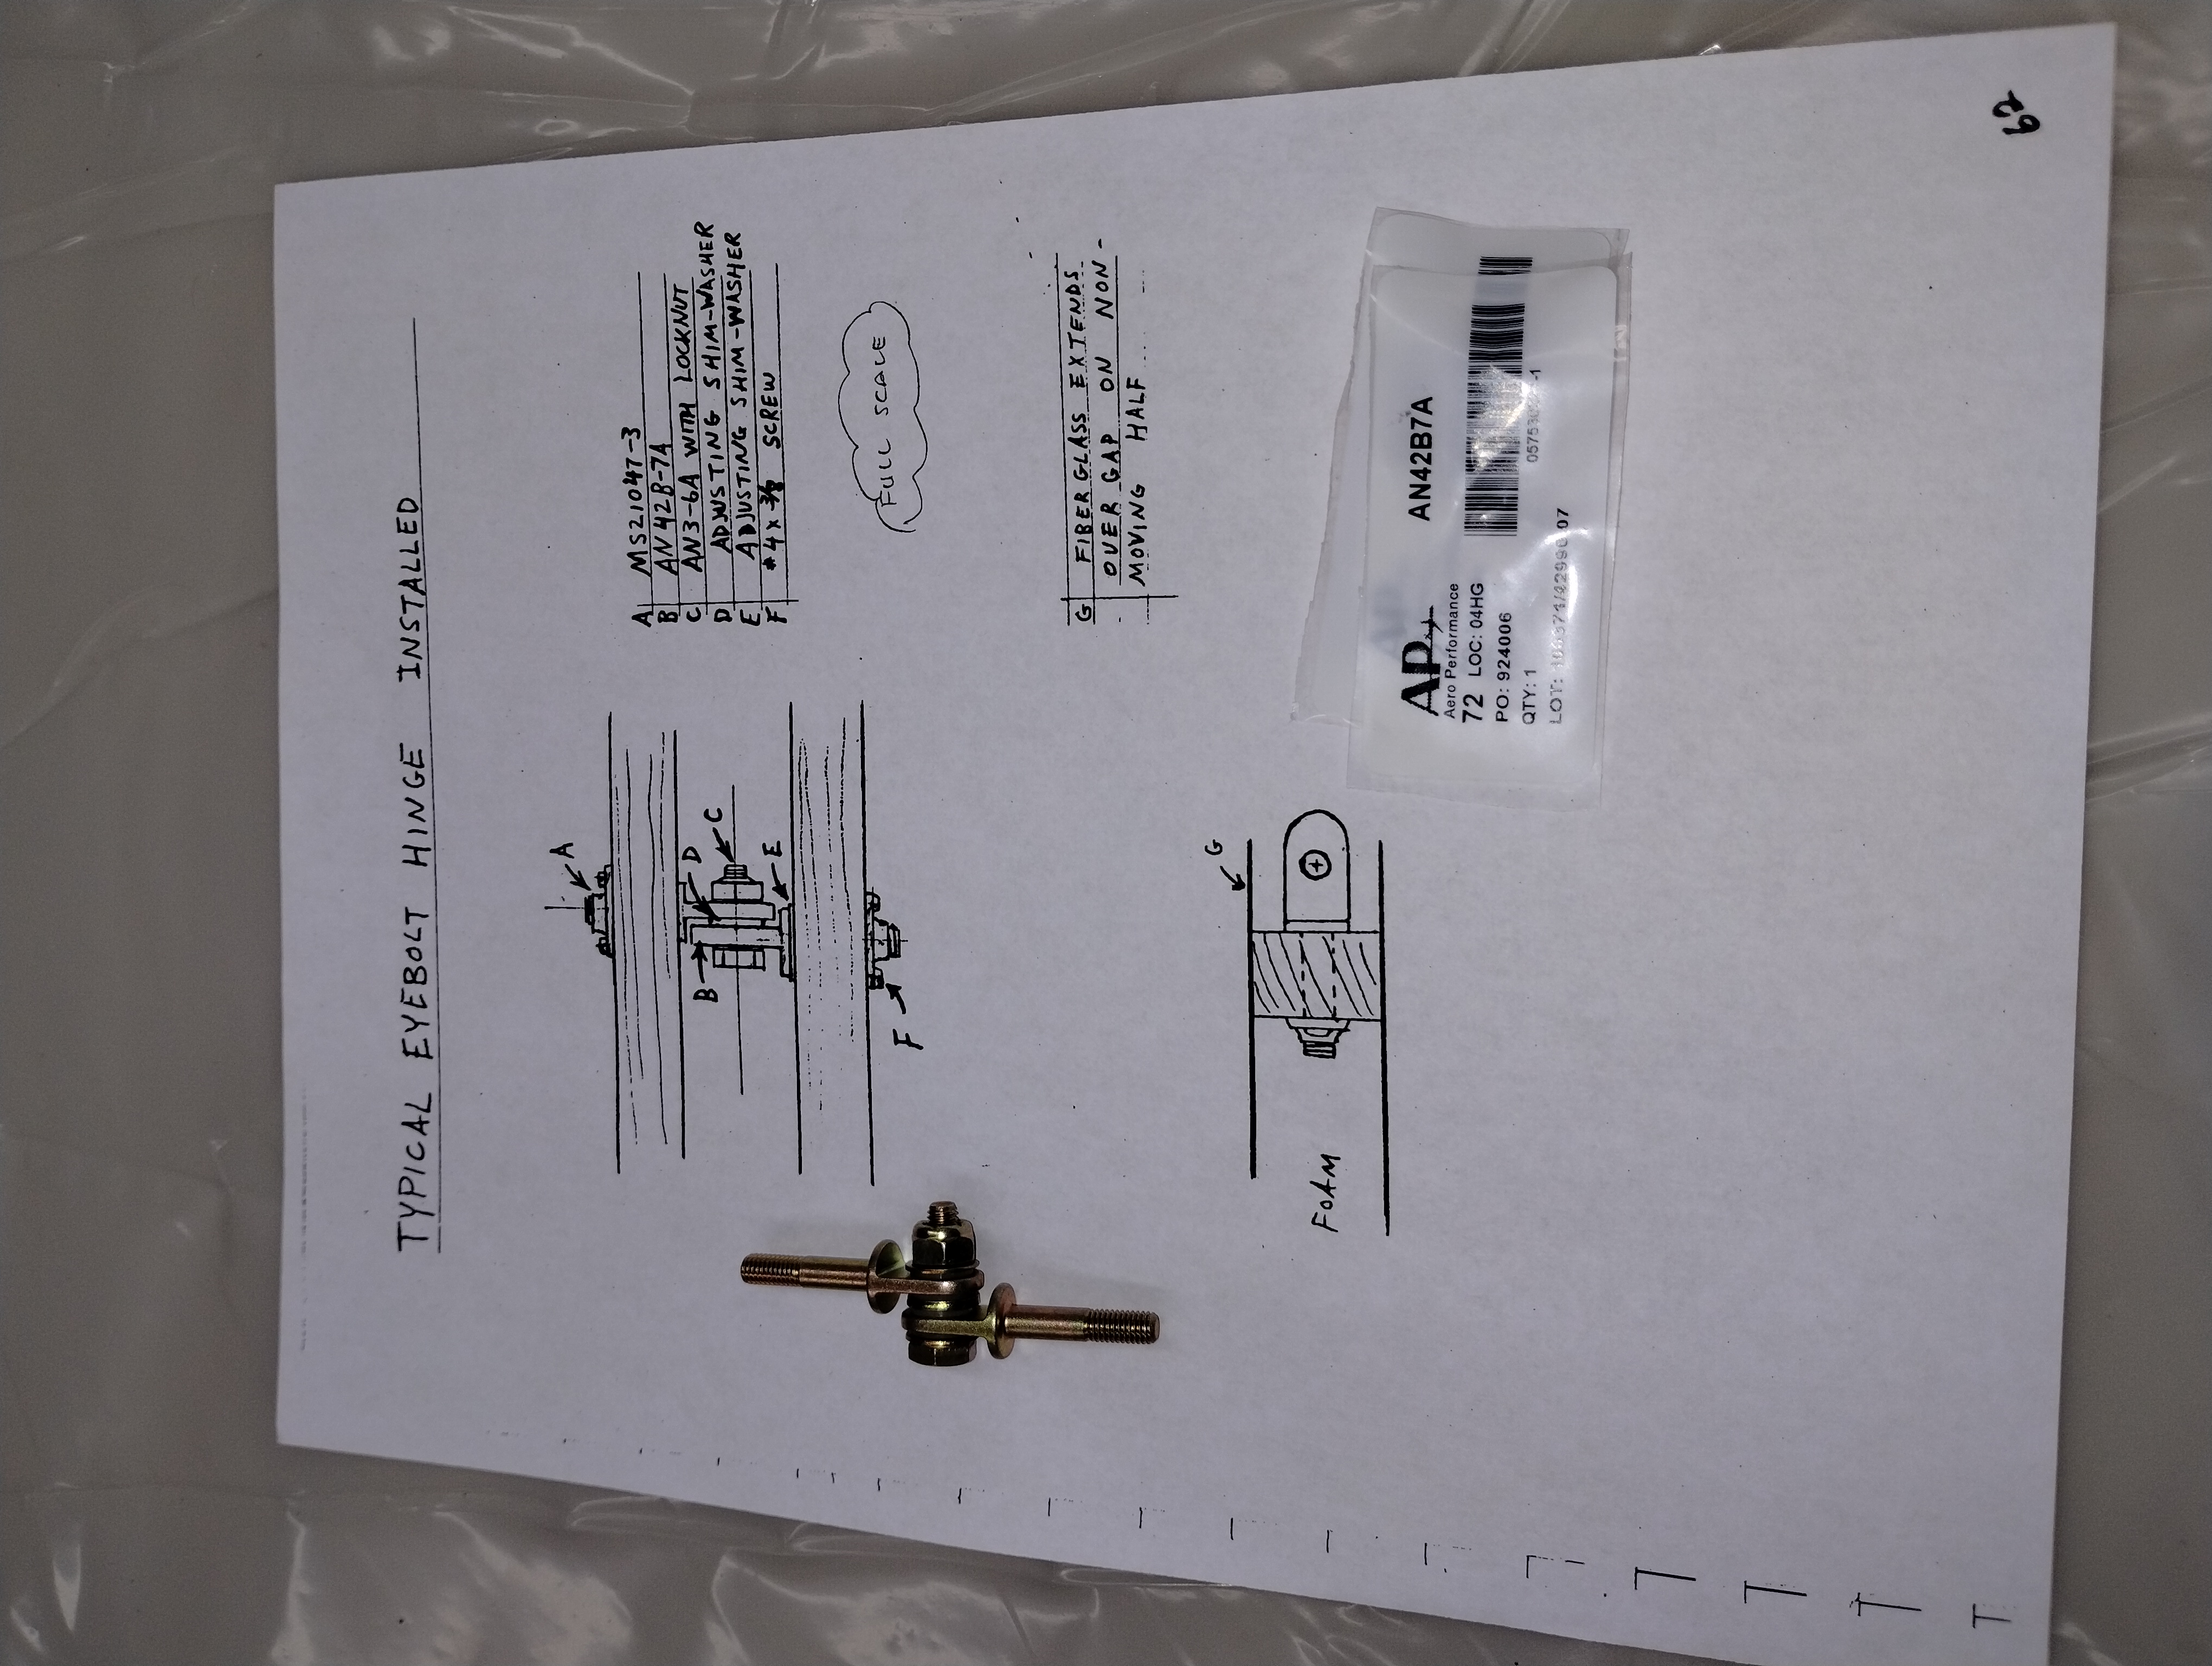
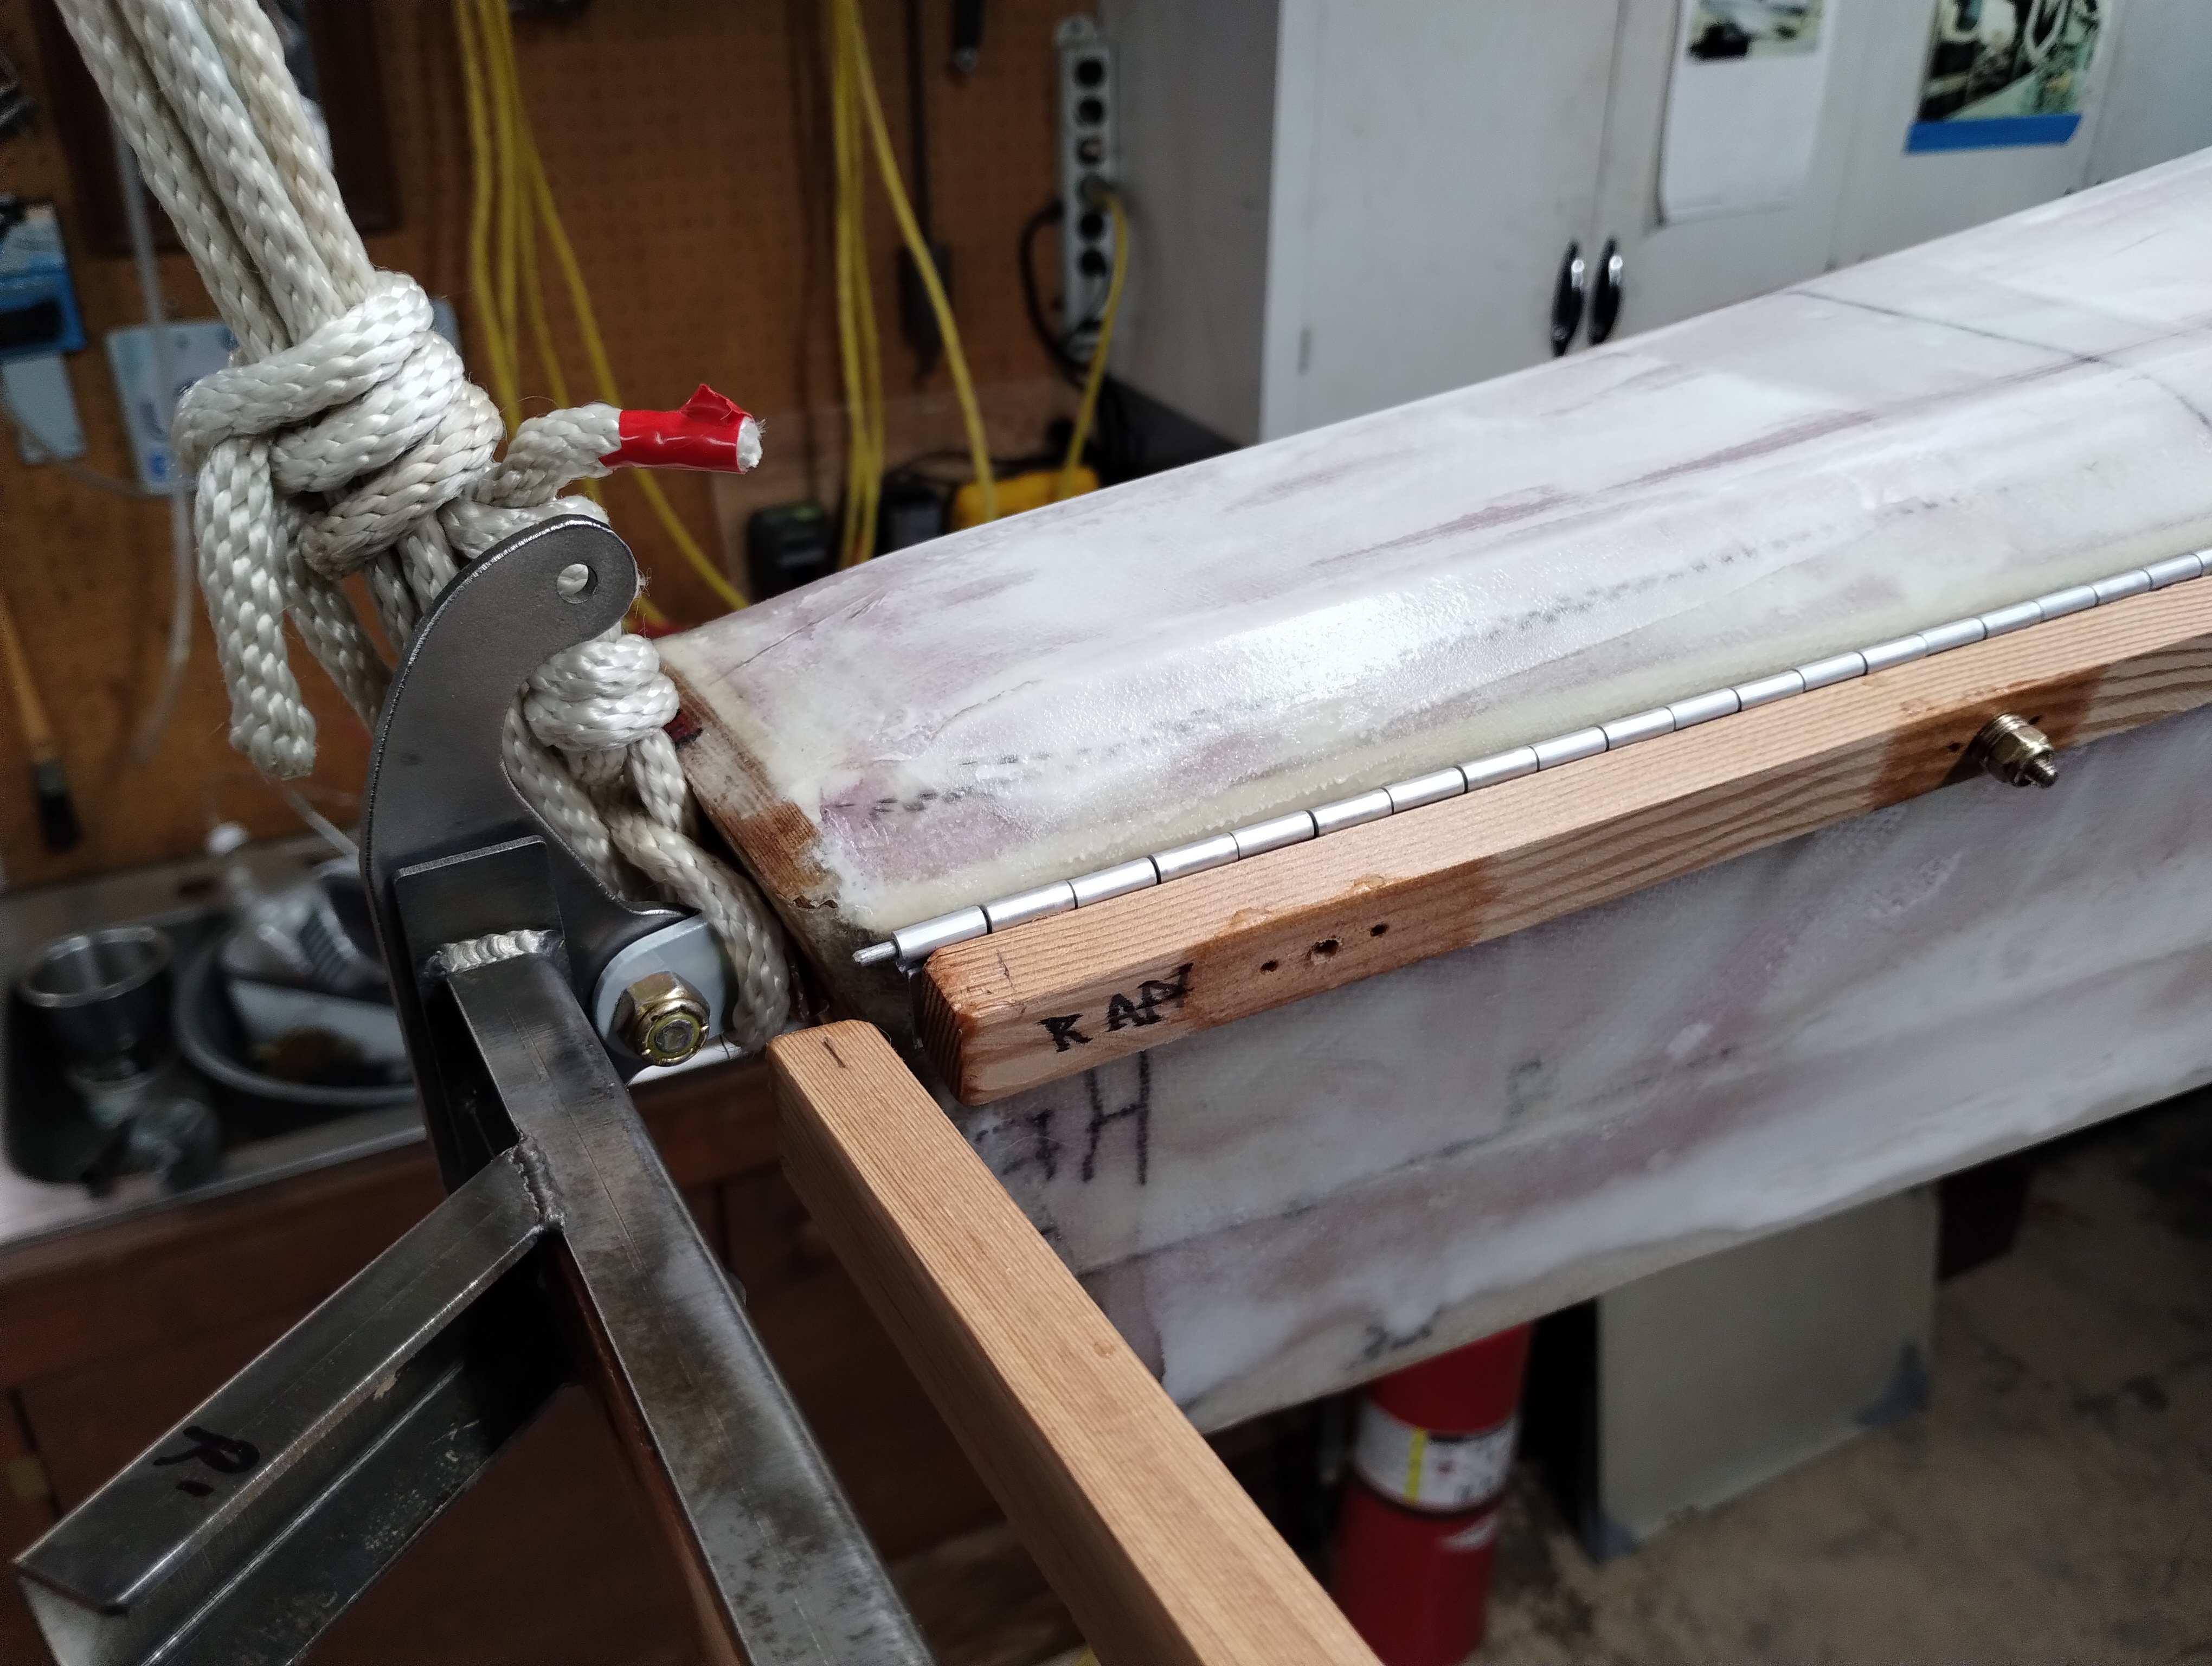
Assemble the AN42B eye bolts into the 6 hinge assemblies with nylon washers
(as wear surfaces) and AN960-3 & 3L washers for spacing; all good.
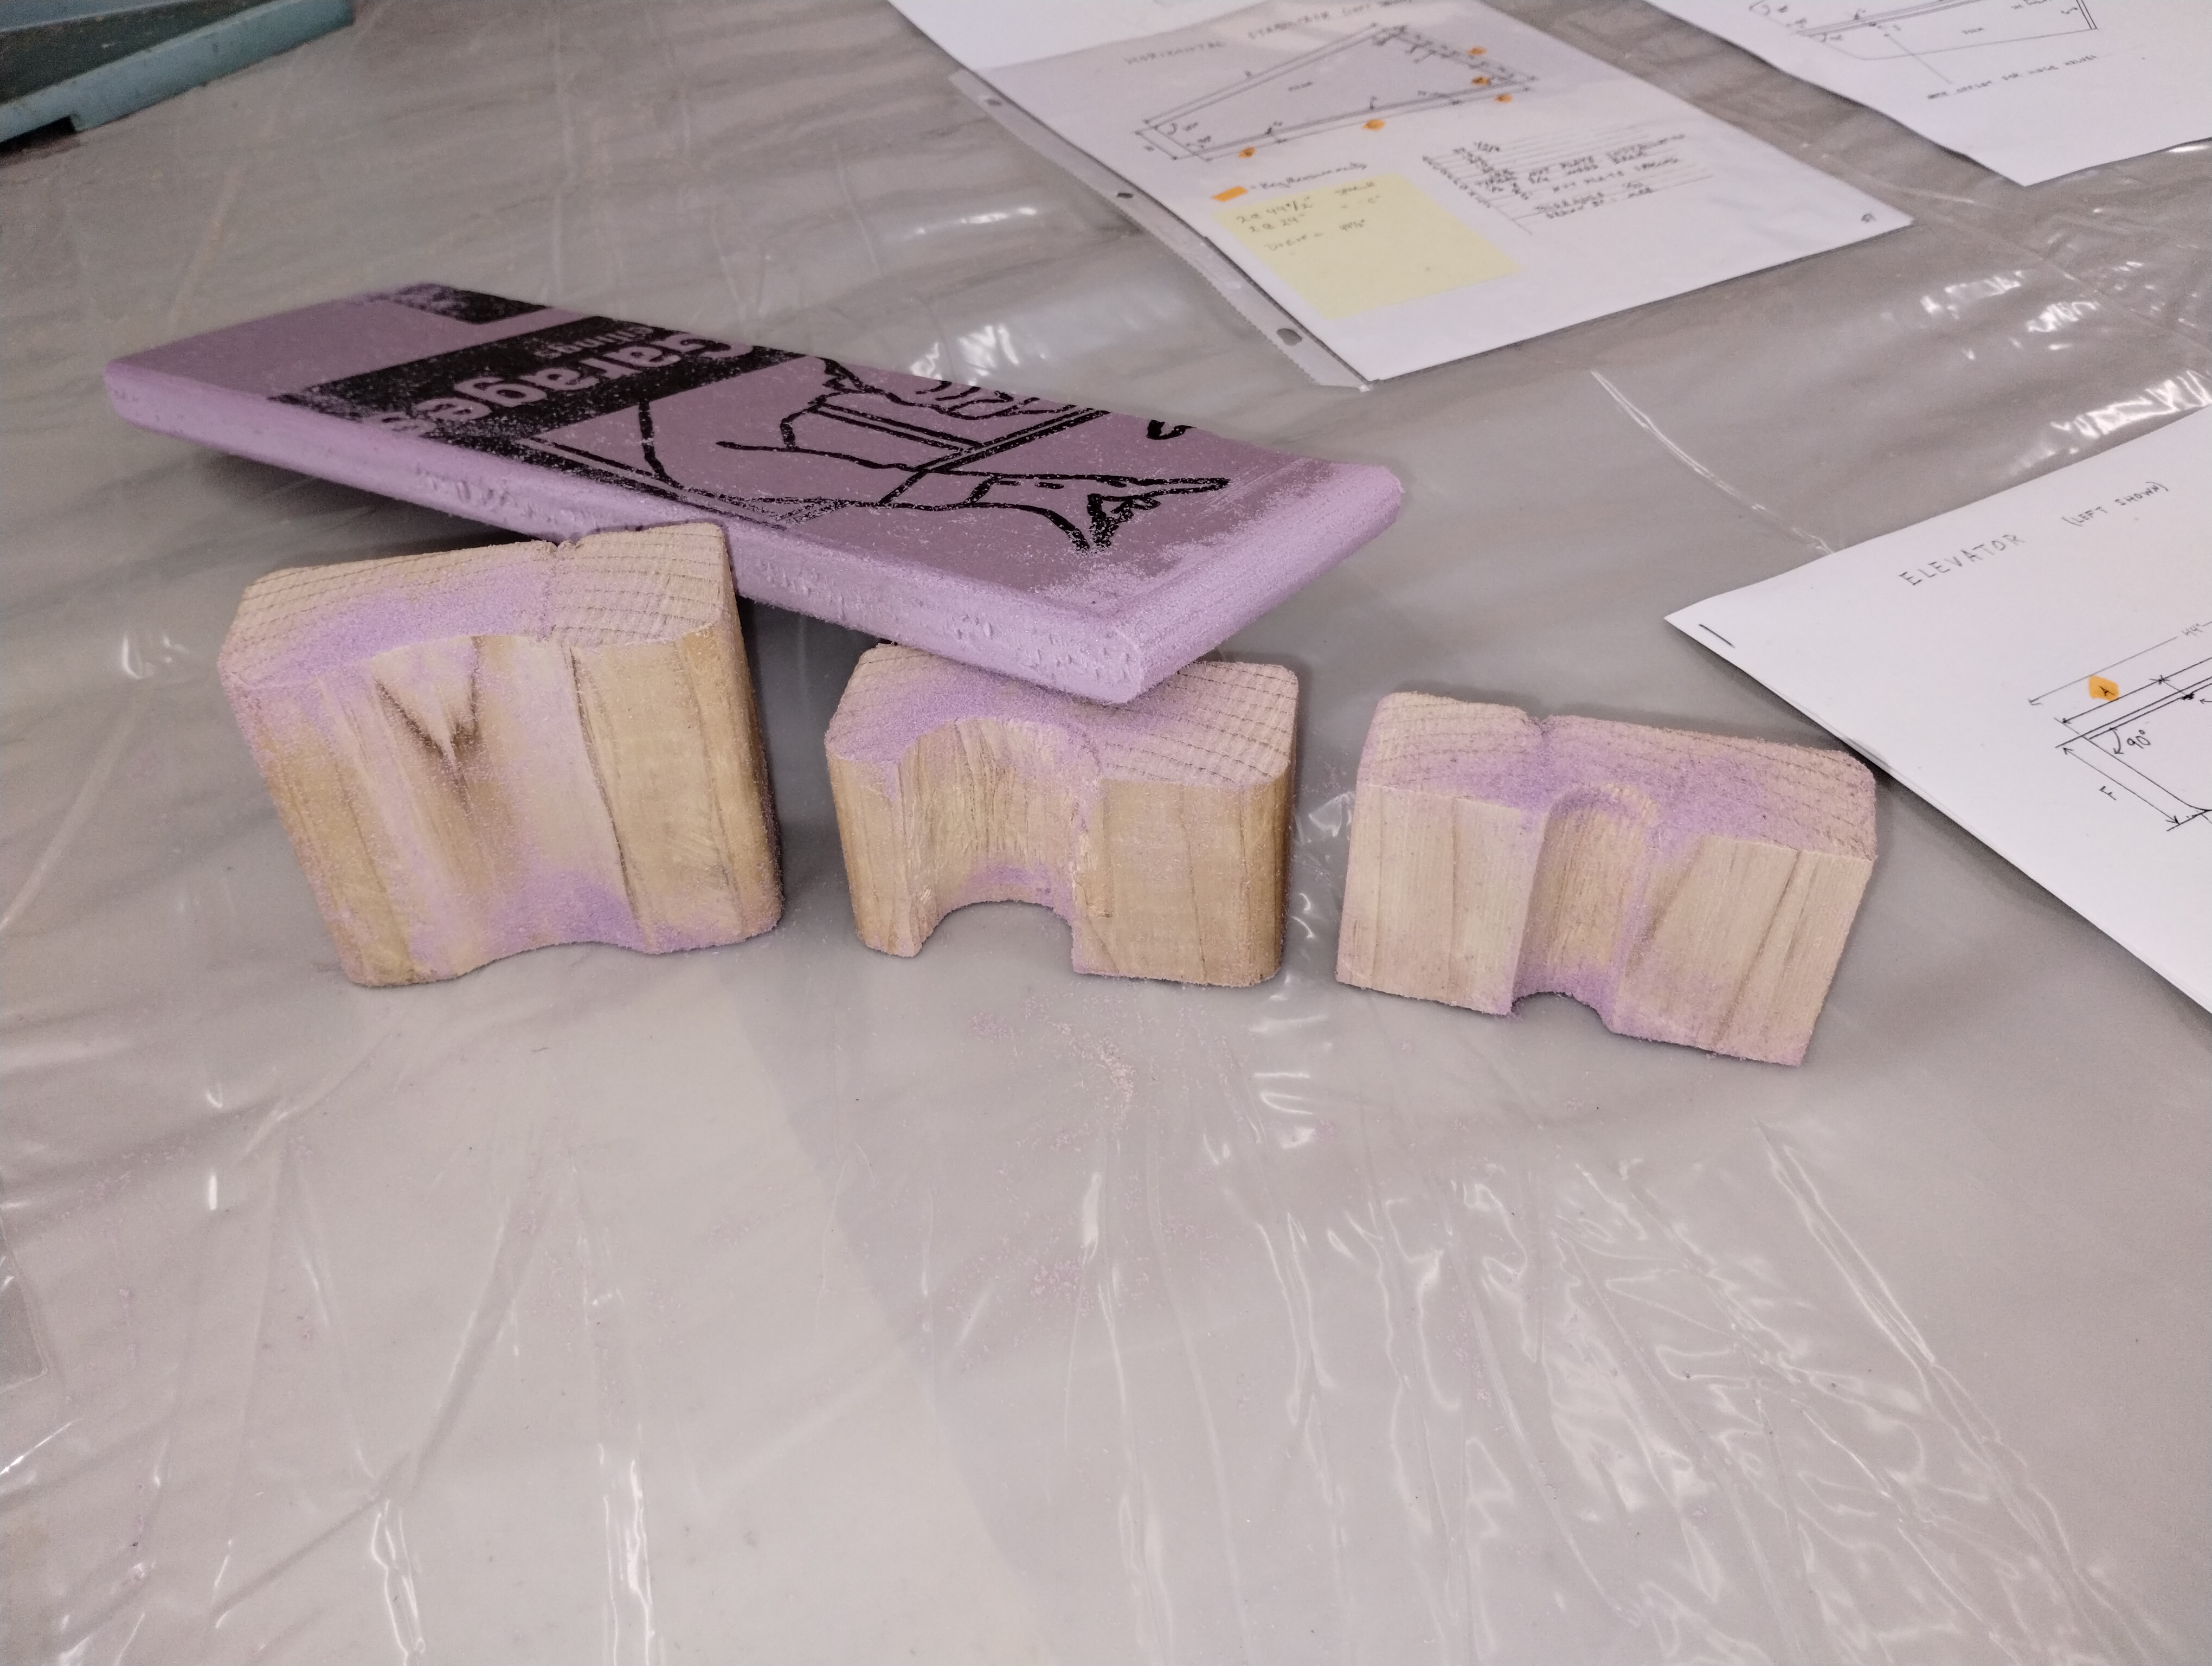
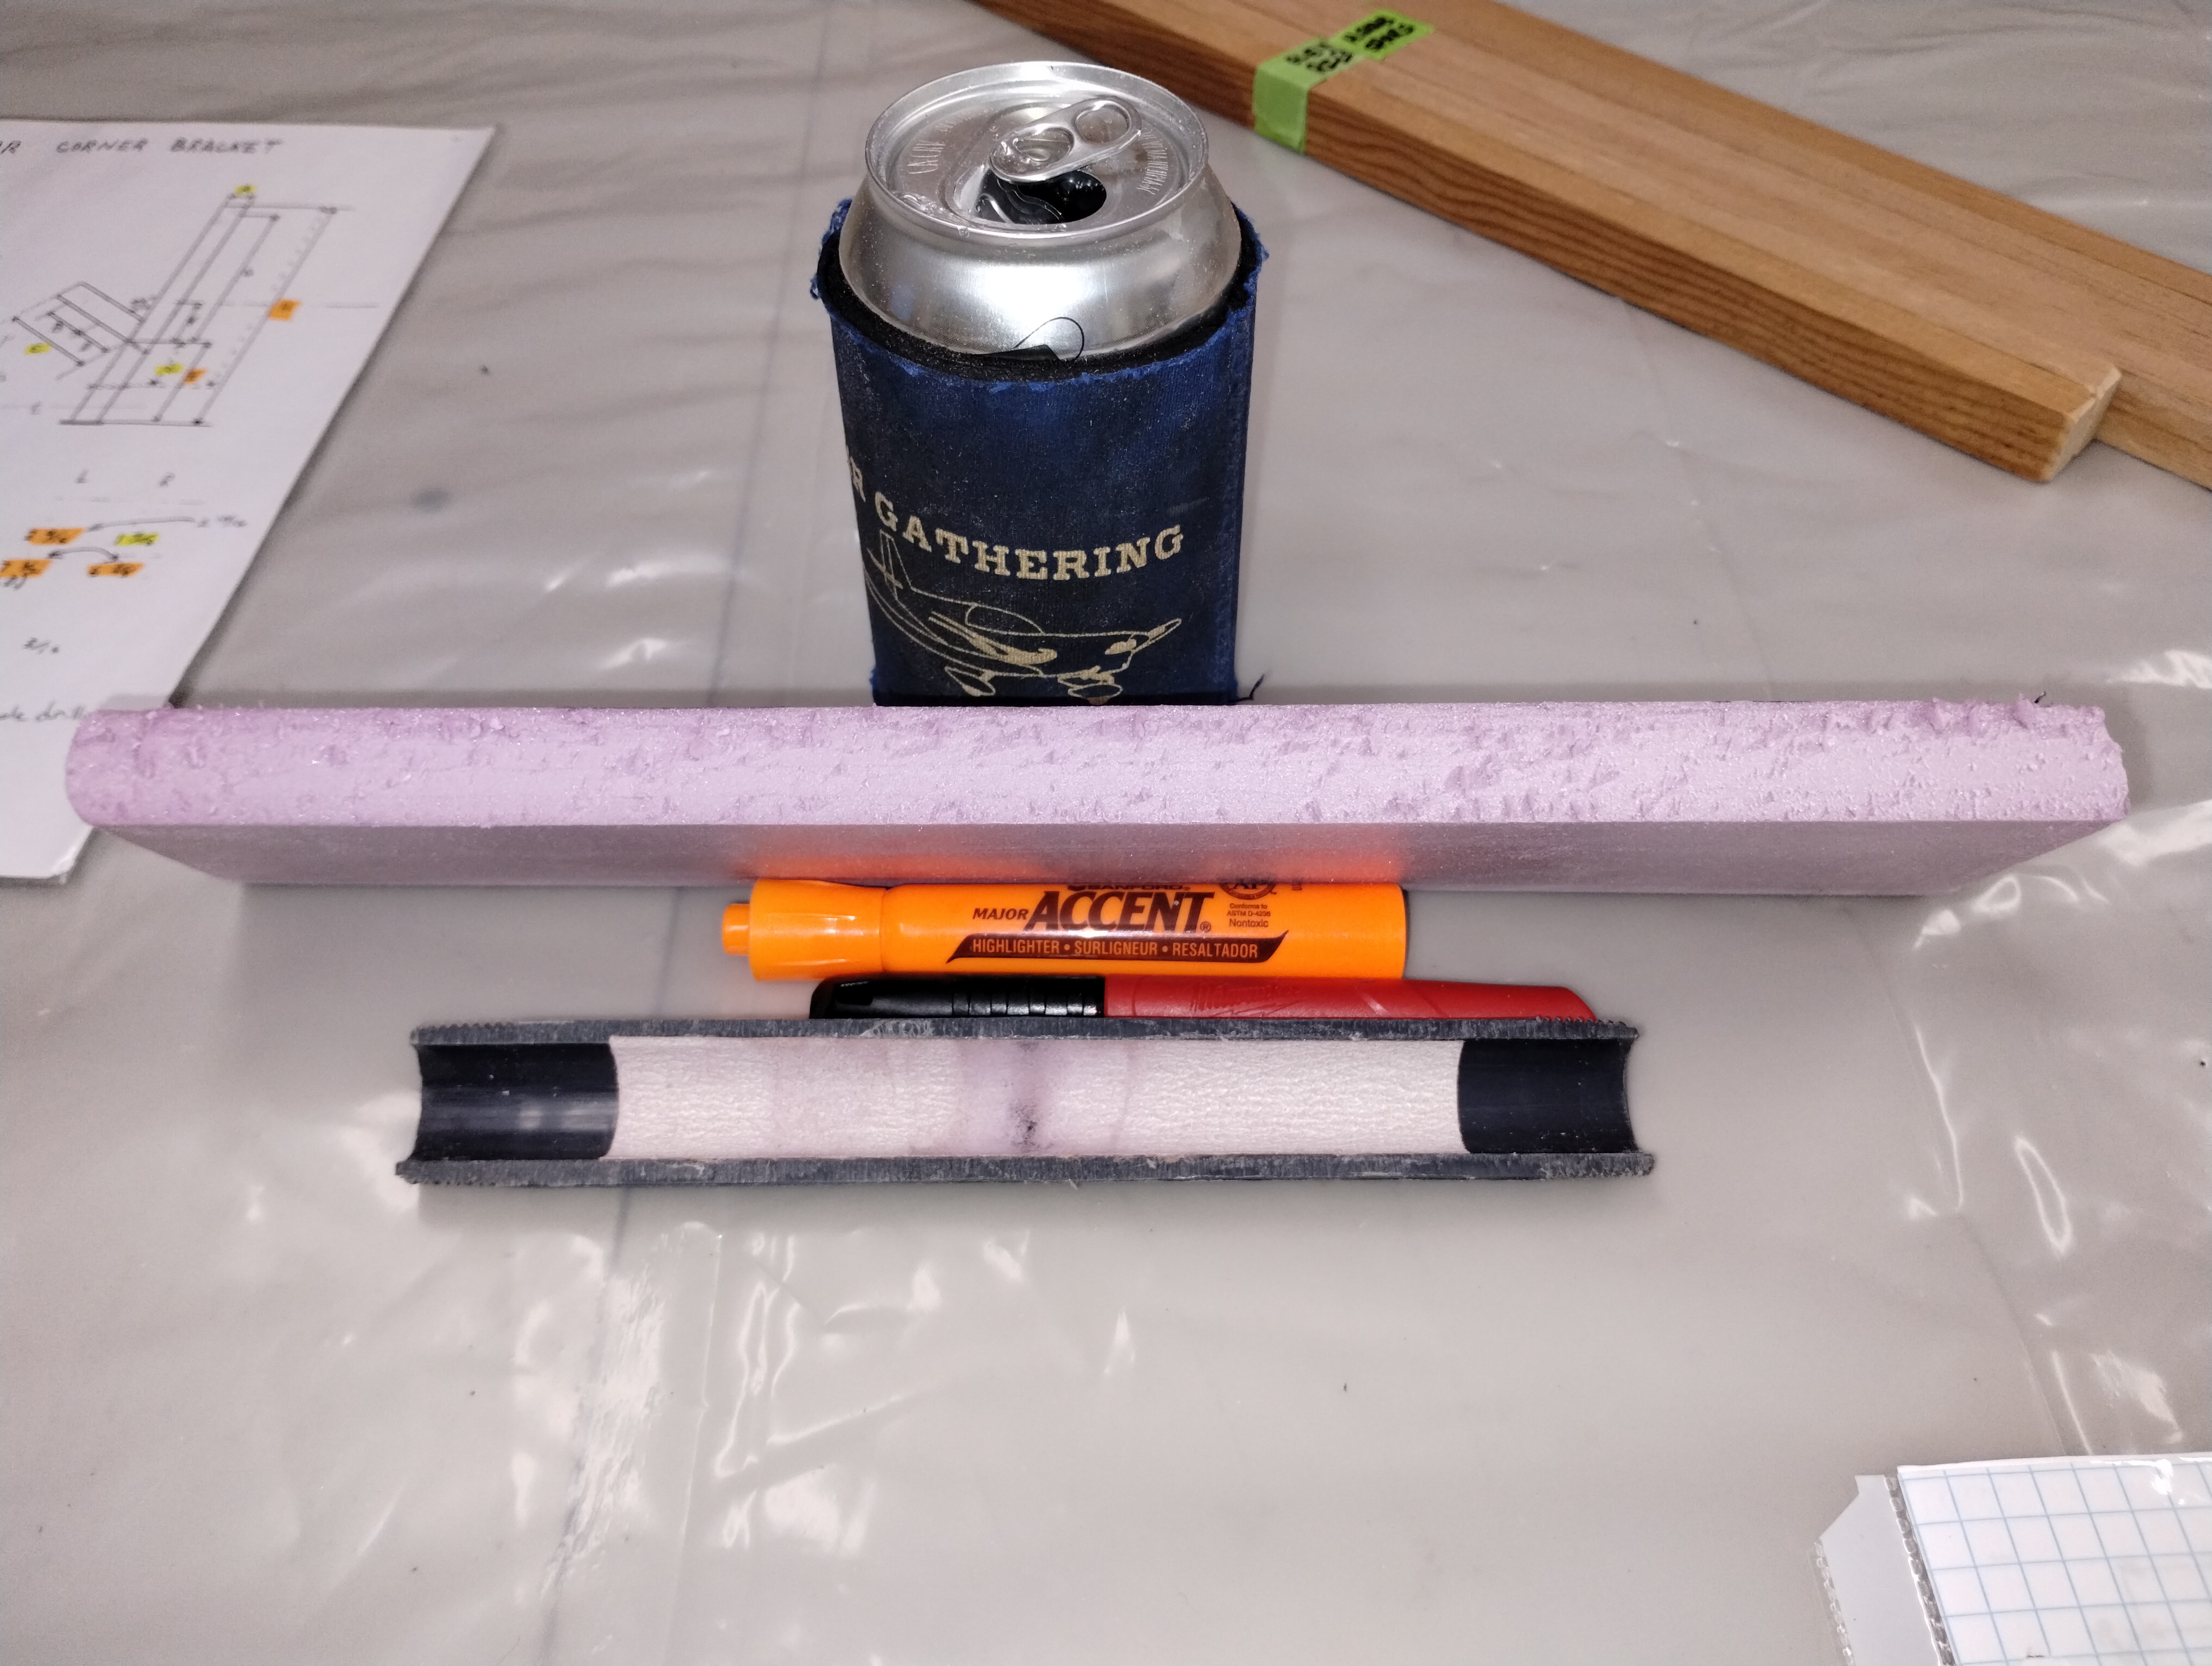
Trial different sanding blocks to shape the leading edges.
Turns out the simple way is the easy way. Slit a 3/4" PVC pipe nipple
lengthwise, spray glue some 80 grit in one piece and 120 grit in the other and
you're all tooled up.
Mark and drill all the spars for the hinges, mounting screws, nut plates &
their mounting screws; coat areas under the nut plates and holes with epoxy
sealer; all good.
Test fit assemble everything on the bench and check; all good.
Move the Hstab & elevator assembly to the elevator horn pivot bracket for
alignment and a couple of issues arose. First, to align the elevator hinge
centre of rotation to match the elevator horn pivot centre of rotation requires
moving the Hstab spar fore & aft. Ok, that shows the previously installed
Hstab "ribs" ended up being about 3/4" too short. We can always just remake
those so just set that issue aside for now. Where it gets messy is those
previously drilled holes in the elevator horn. Remember the spoiler alert? Well,
here it is. To align those centres of rotation, the elevator corner bracket
(what I call the "driven plate") has to fix its location on the elevator horn.
Dang, too close to the edge to drill the 3/16" bolt holes. Insert a choice of
foul words here...
The only solution is to remake the elevator horn? I'm not going to do that. Redrill the horn. It is 1/8" 4130 steel. Really strong. Relocating the holes 1 bolt diameter away actually allows the driven plates to get drilled (and just once!) closer to their optimal location. So, when you build yours, hold off on drilling the horns until you get to this mockup and alignment stage...

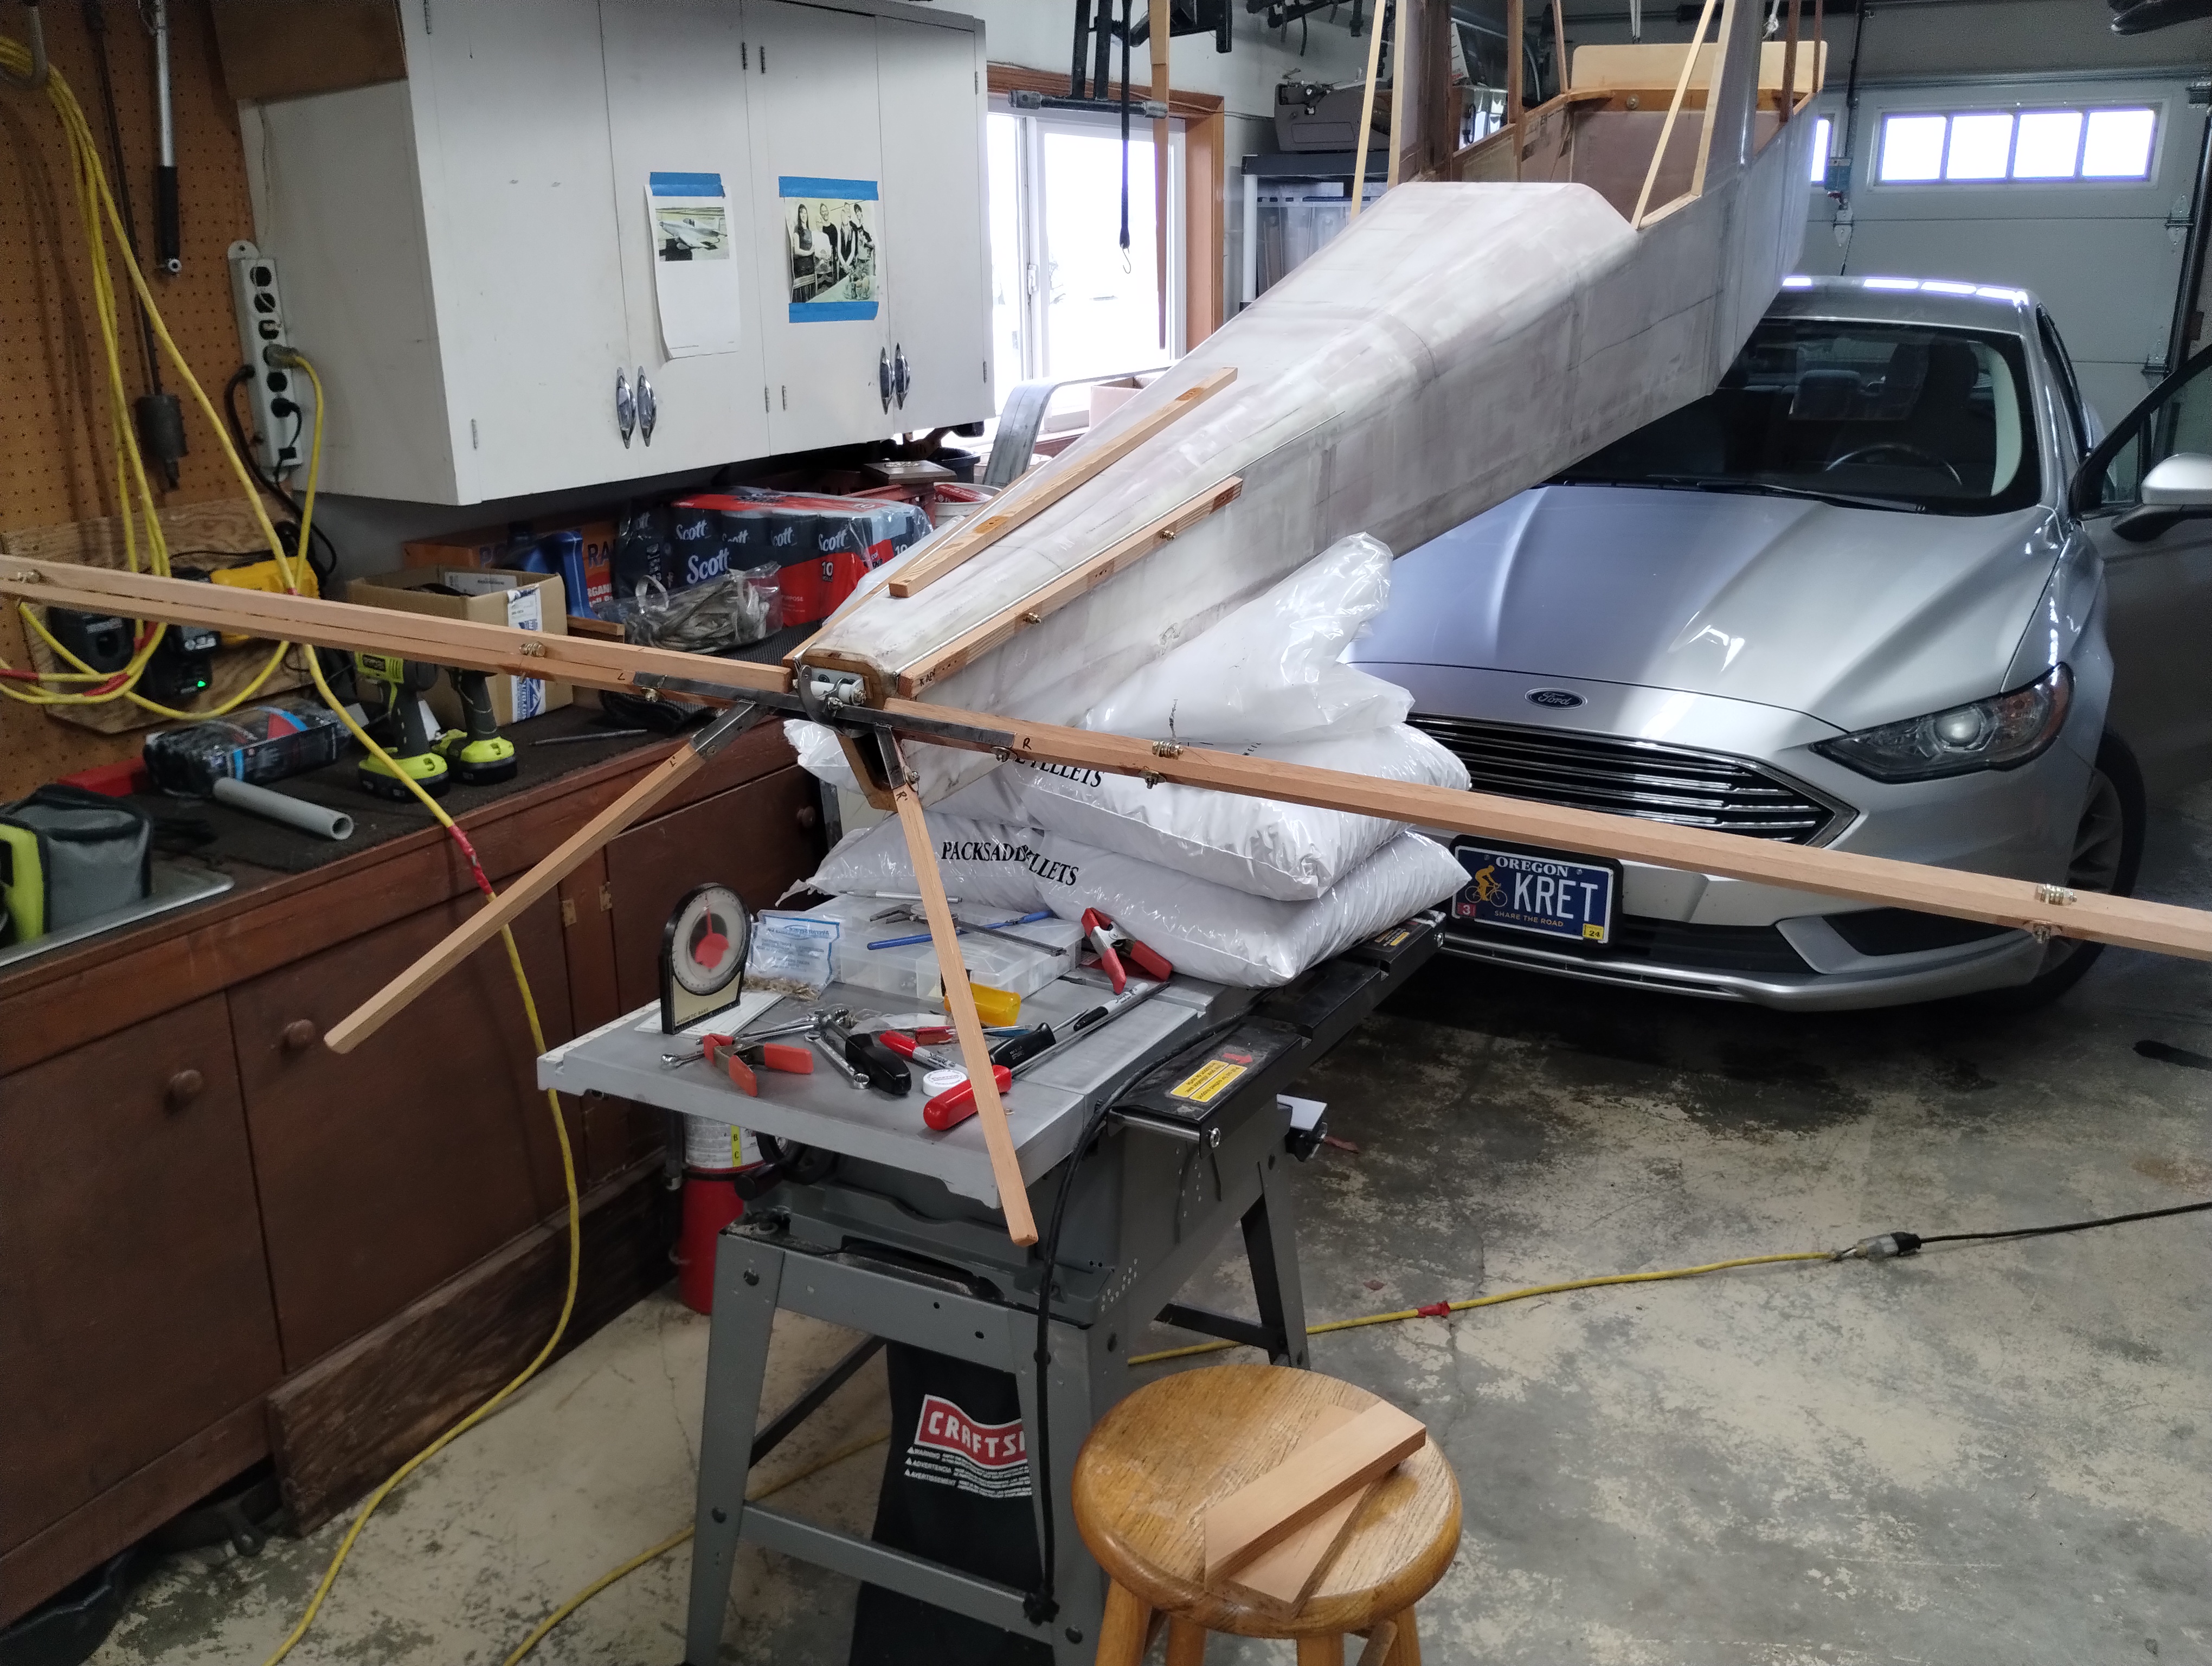
Time to align the HStab and elevator spars. Triangulate from the firewall
center to the end of the spar to get them perpendicular to the fuselage center
line. Don't forget to level the fuselage in roll and level the spars. This sets
the final HStab dimensions and measurements.
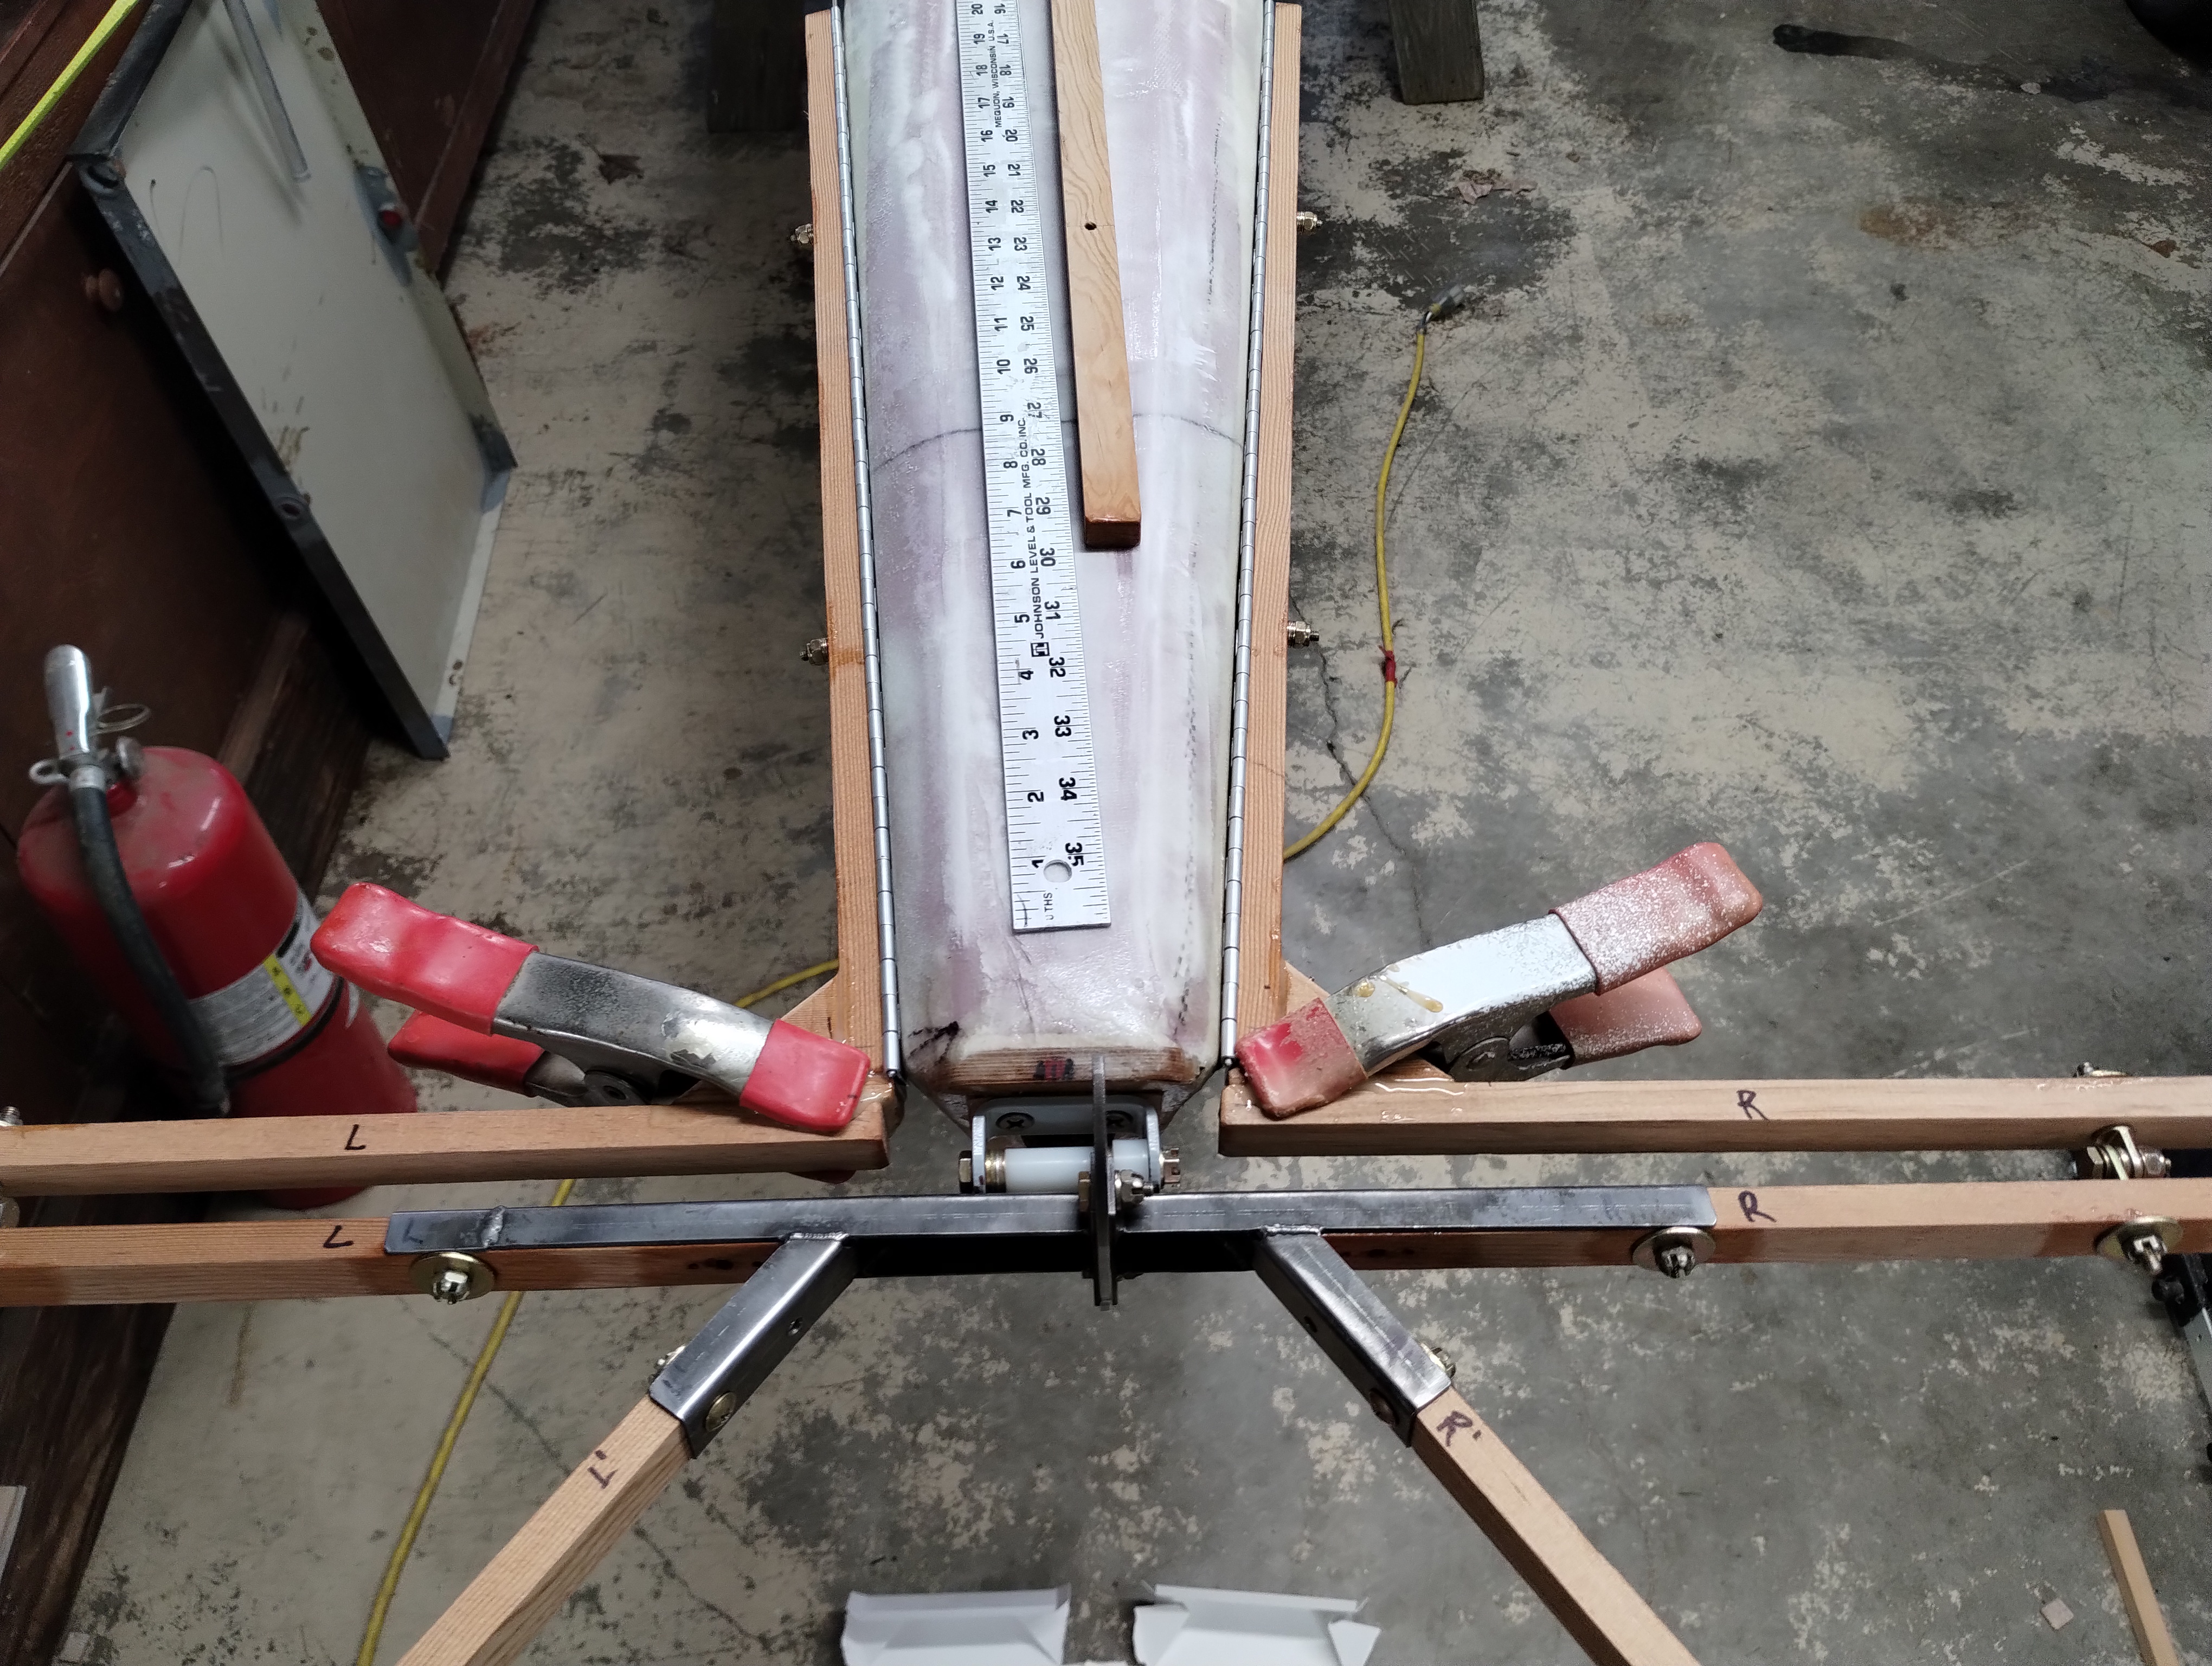
Temporarily mount the HStab-to-elevator spar hinges and bolt them into the
corner brackets. Temporarily mount elevator control horn to the elevator horn
bracket and the corner brackets to the elevator control horn. Level the fuselage
in roll attitude and confirm the HStab spars are level too.
Measure from the firewall top center to the tail plate top center; should be
168.5”. Measure from the outboard end of the HStab spar to the tail plate top
center; should be 46” on both sides. To confirm the HStab spar is 90 degrees to
the fuselage center line, follow the math of 168.25”(A squared) + 46”(B squared)
= (C square root) HStab sweep position of 174.66”
Place a straight edge across the tail when everything is right. The straight
edge should now be 90 degrees to the fuselage symmetry center line. This will
ensure the elevator spar is absolutely parallel. Now fit and structural glue a
corner gusset between the HStab spar and the wood beam (or HStab rib) locking
these into position.
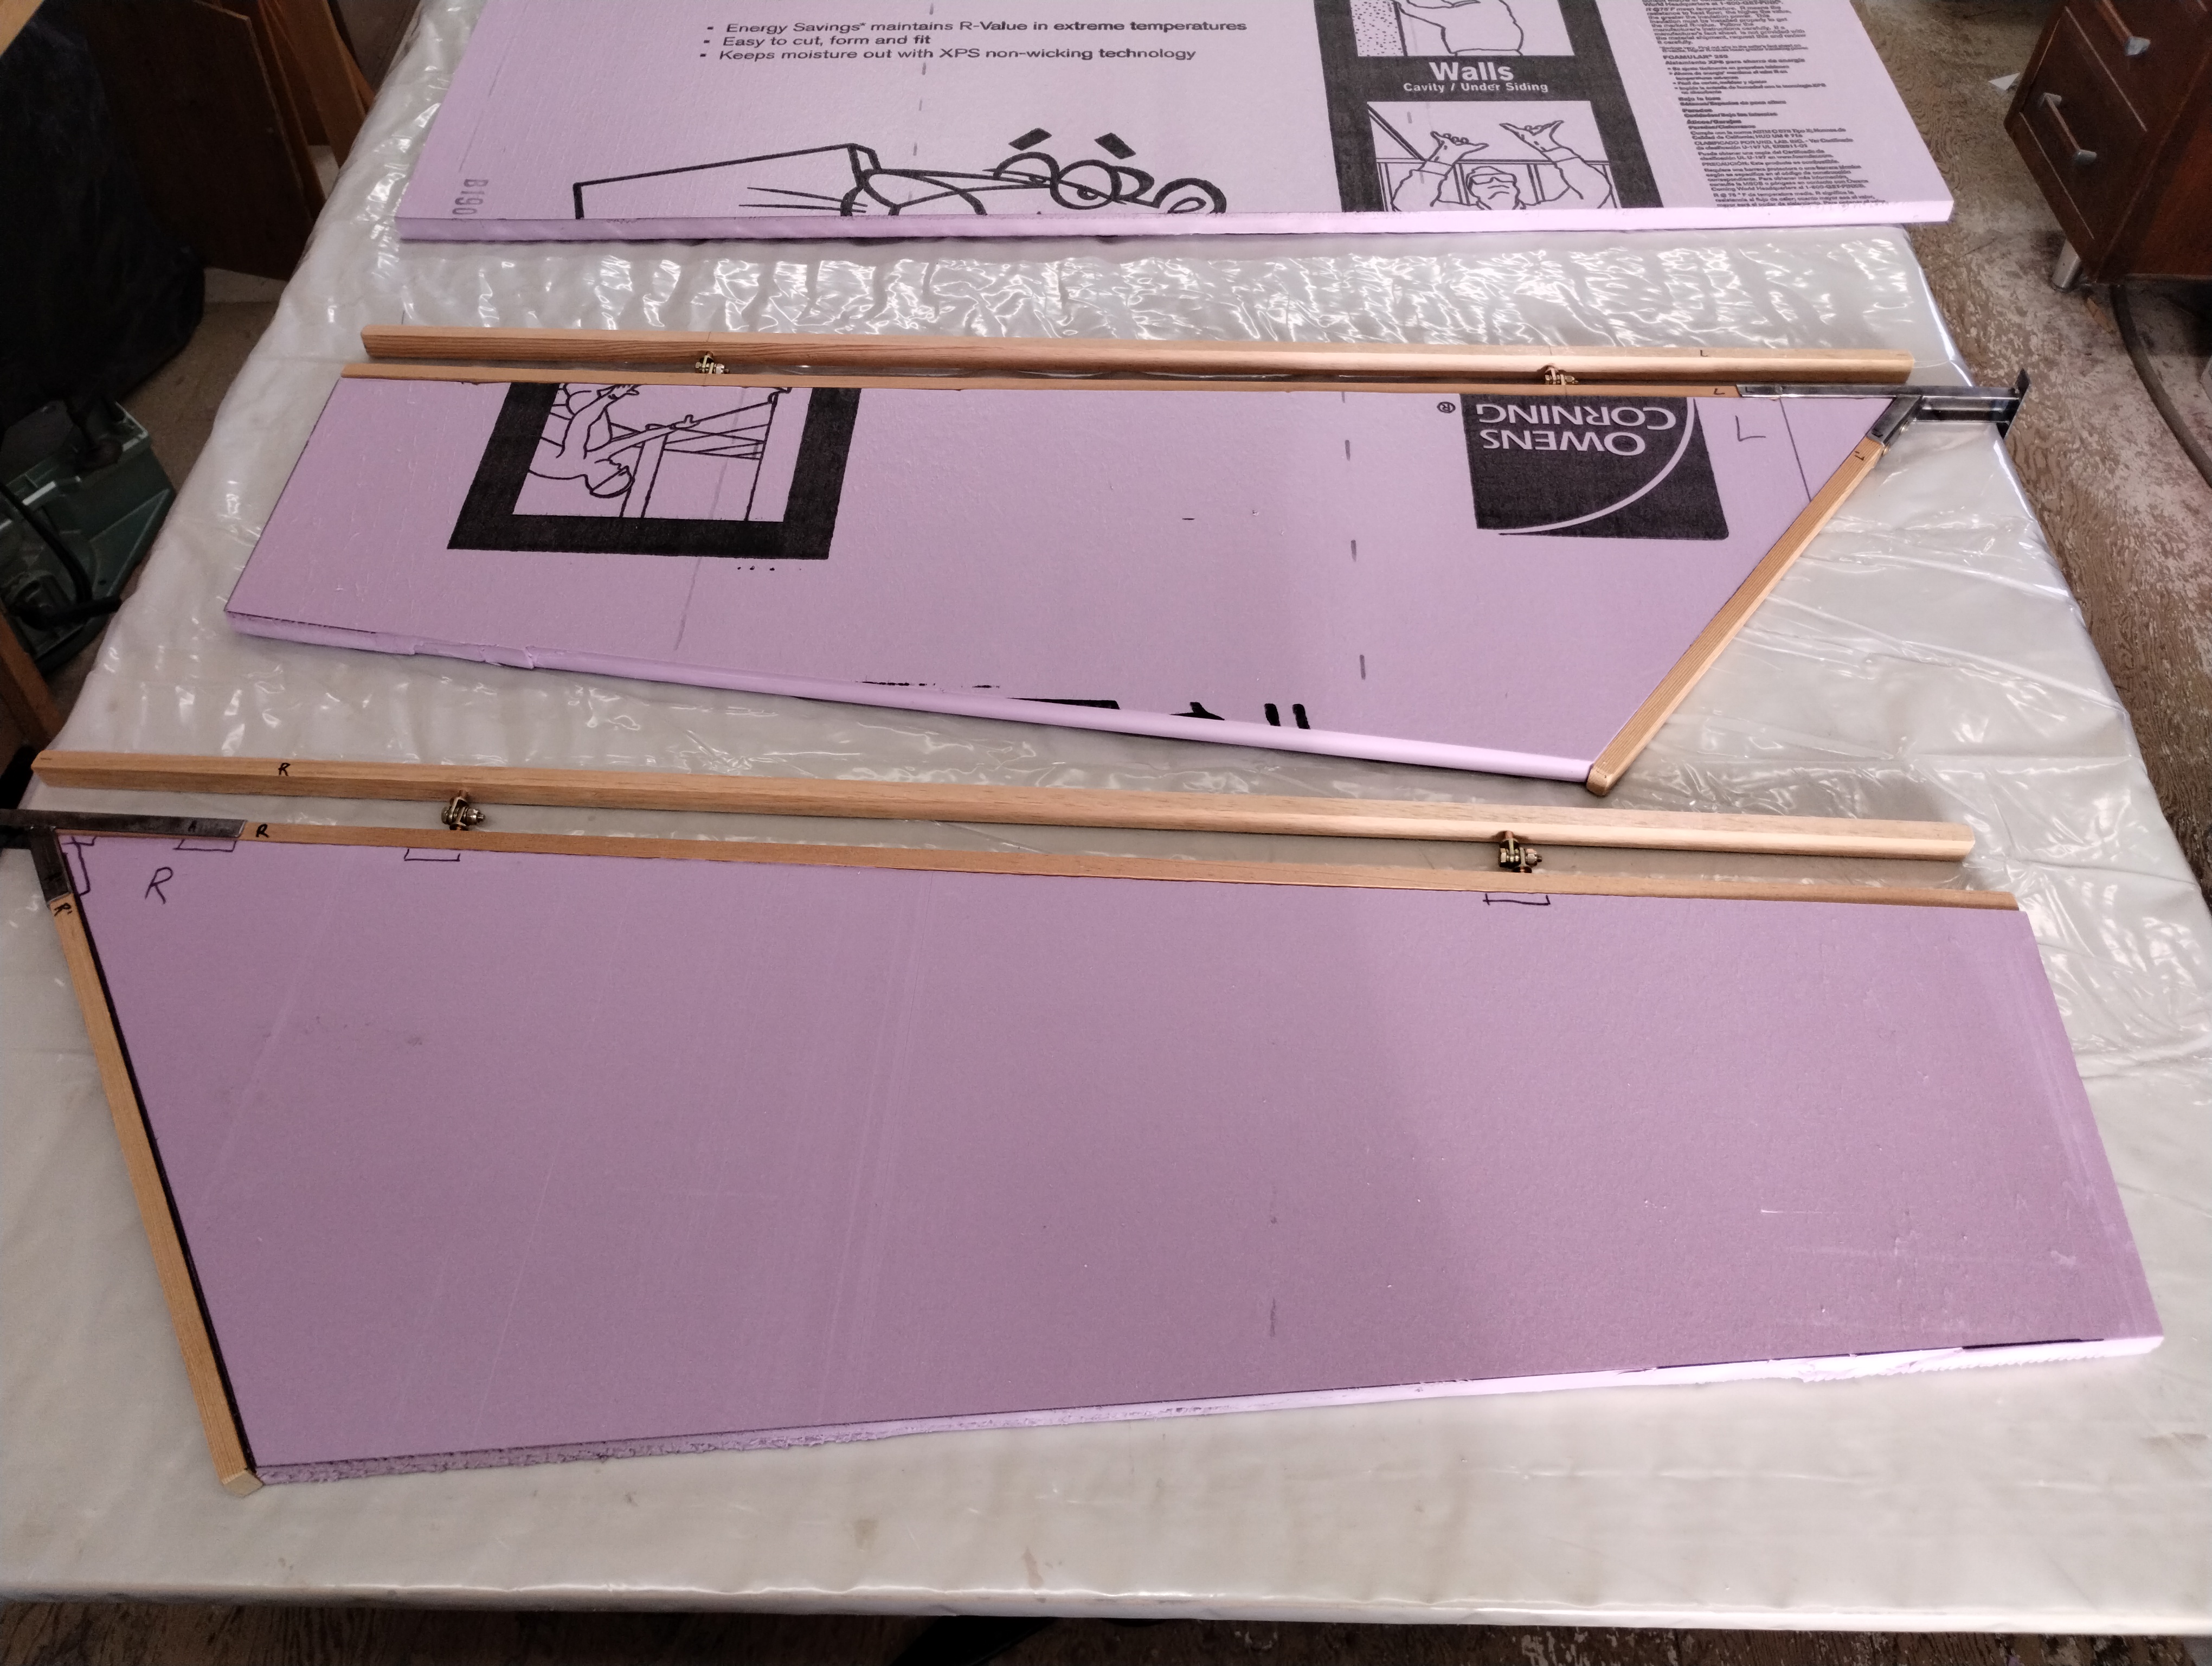
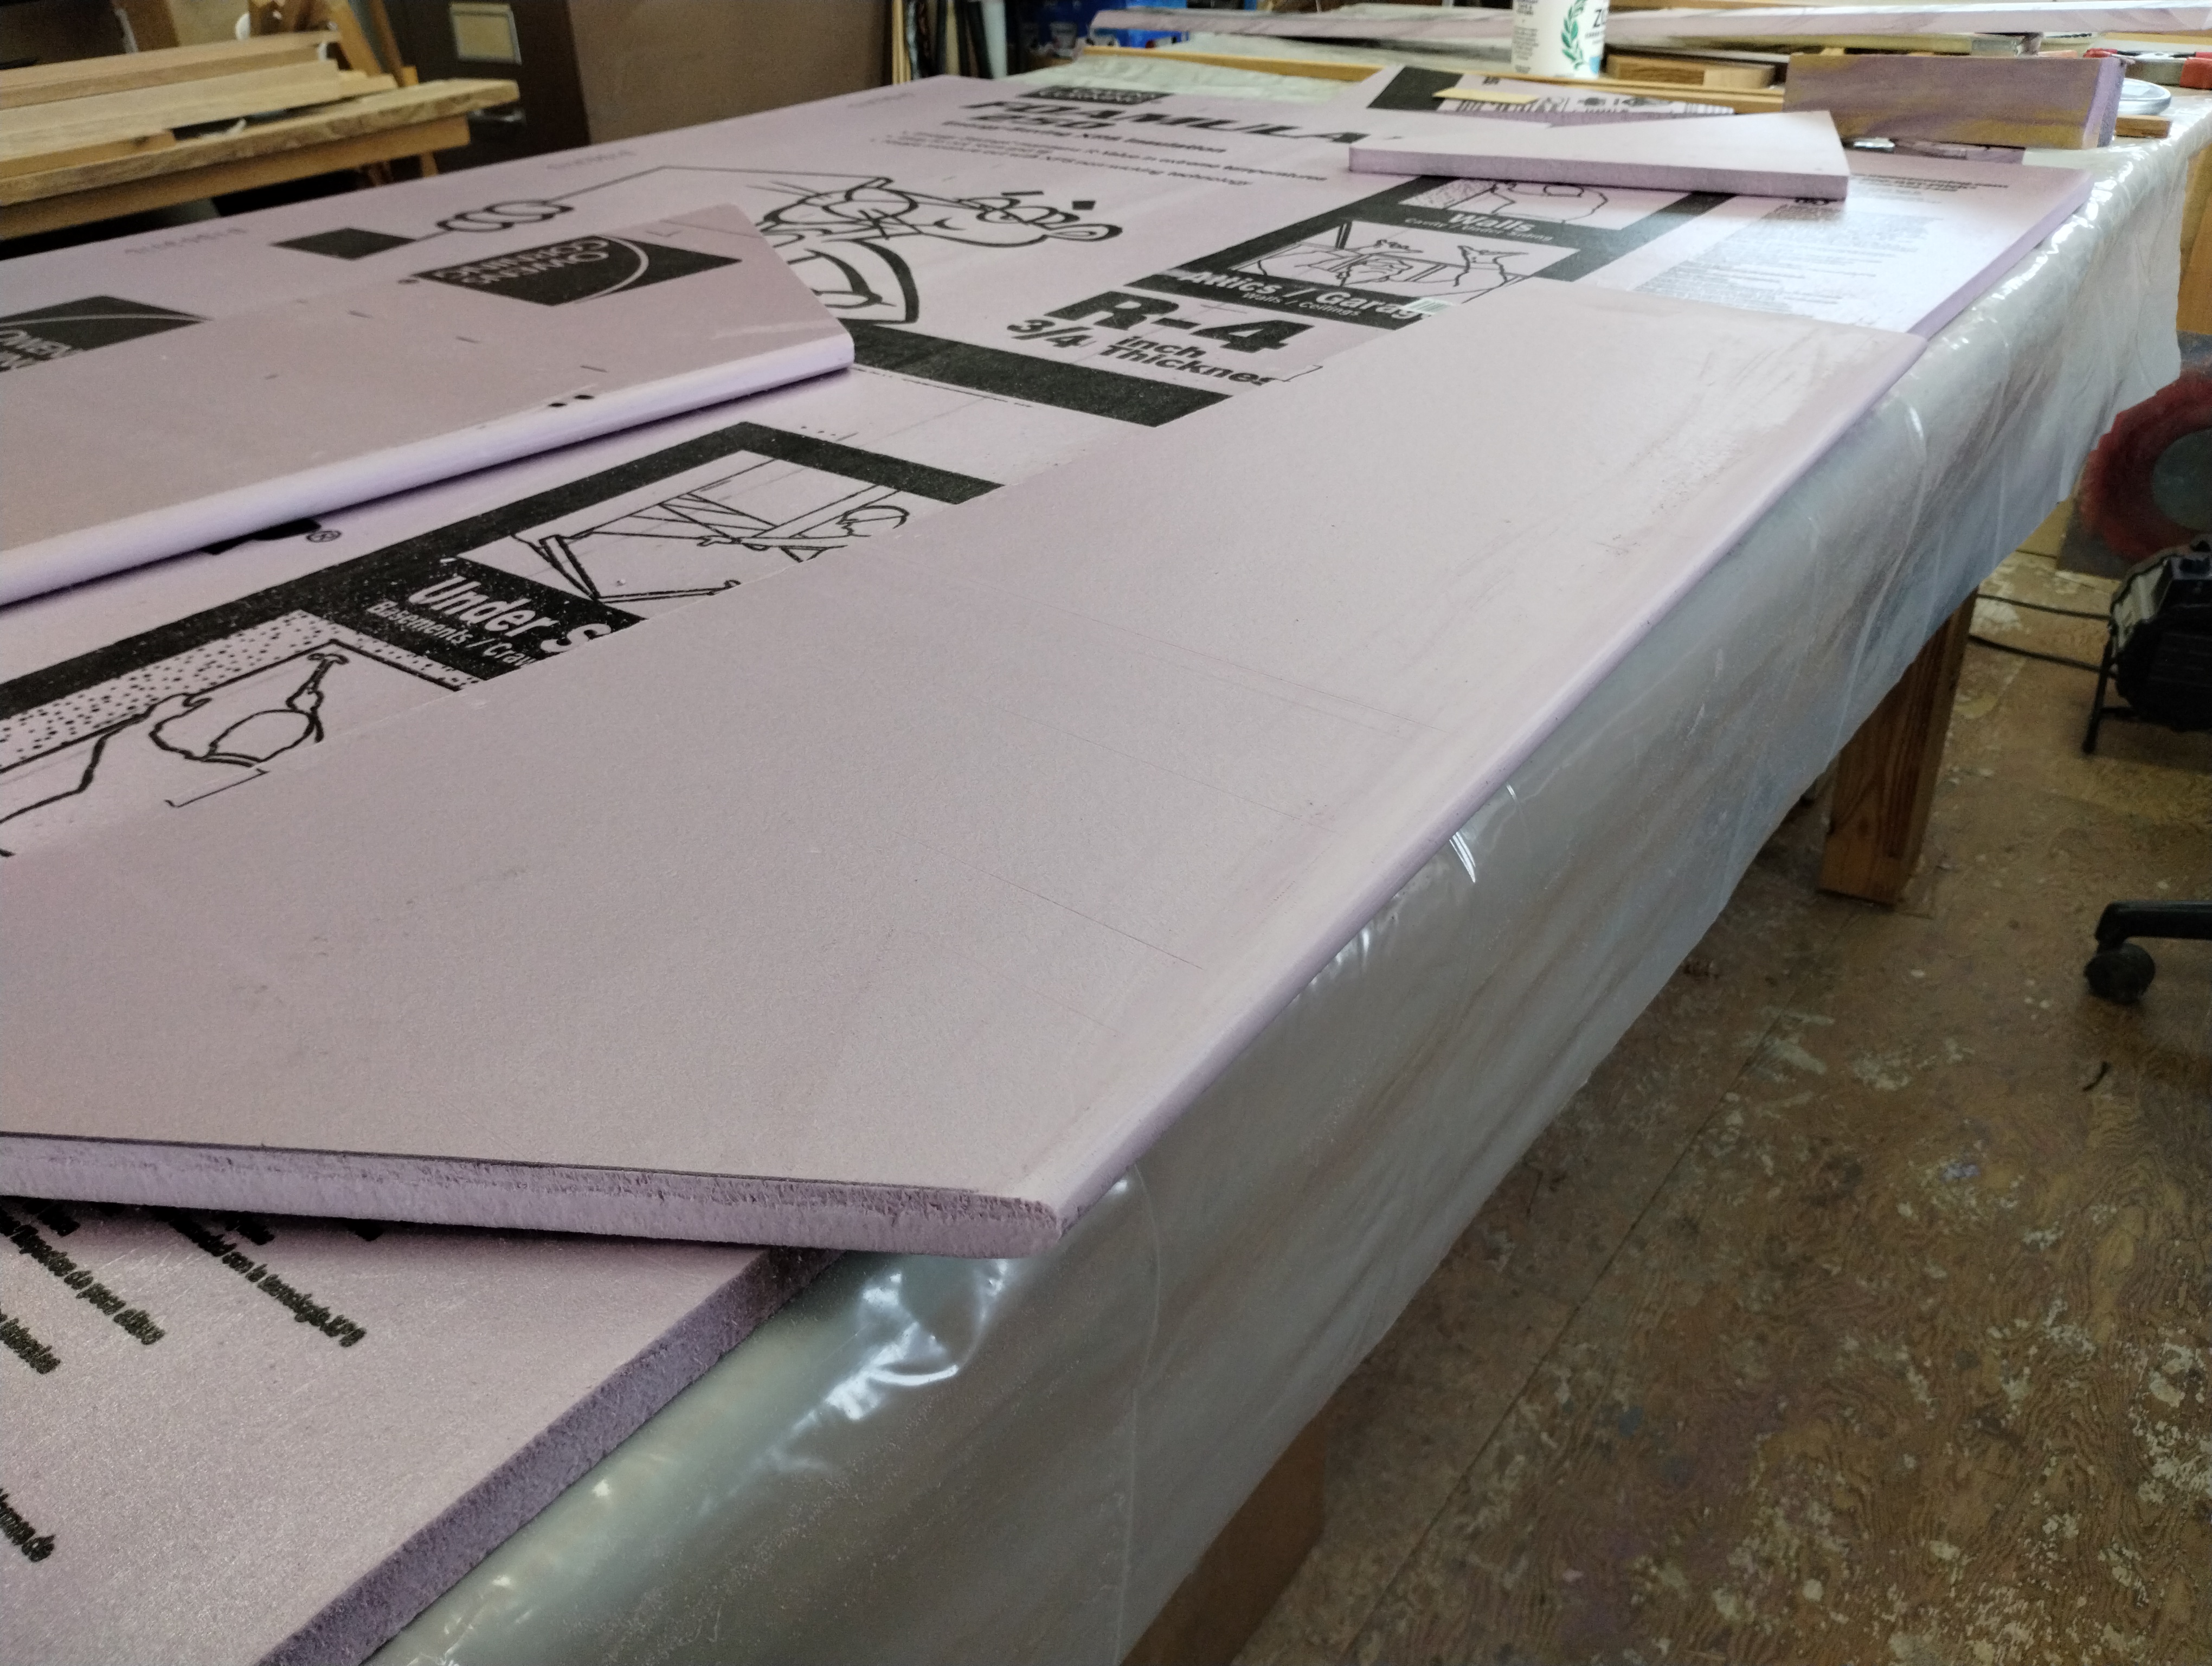
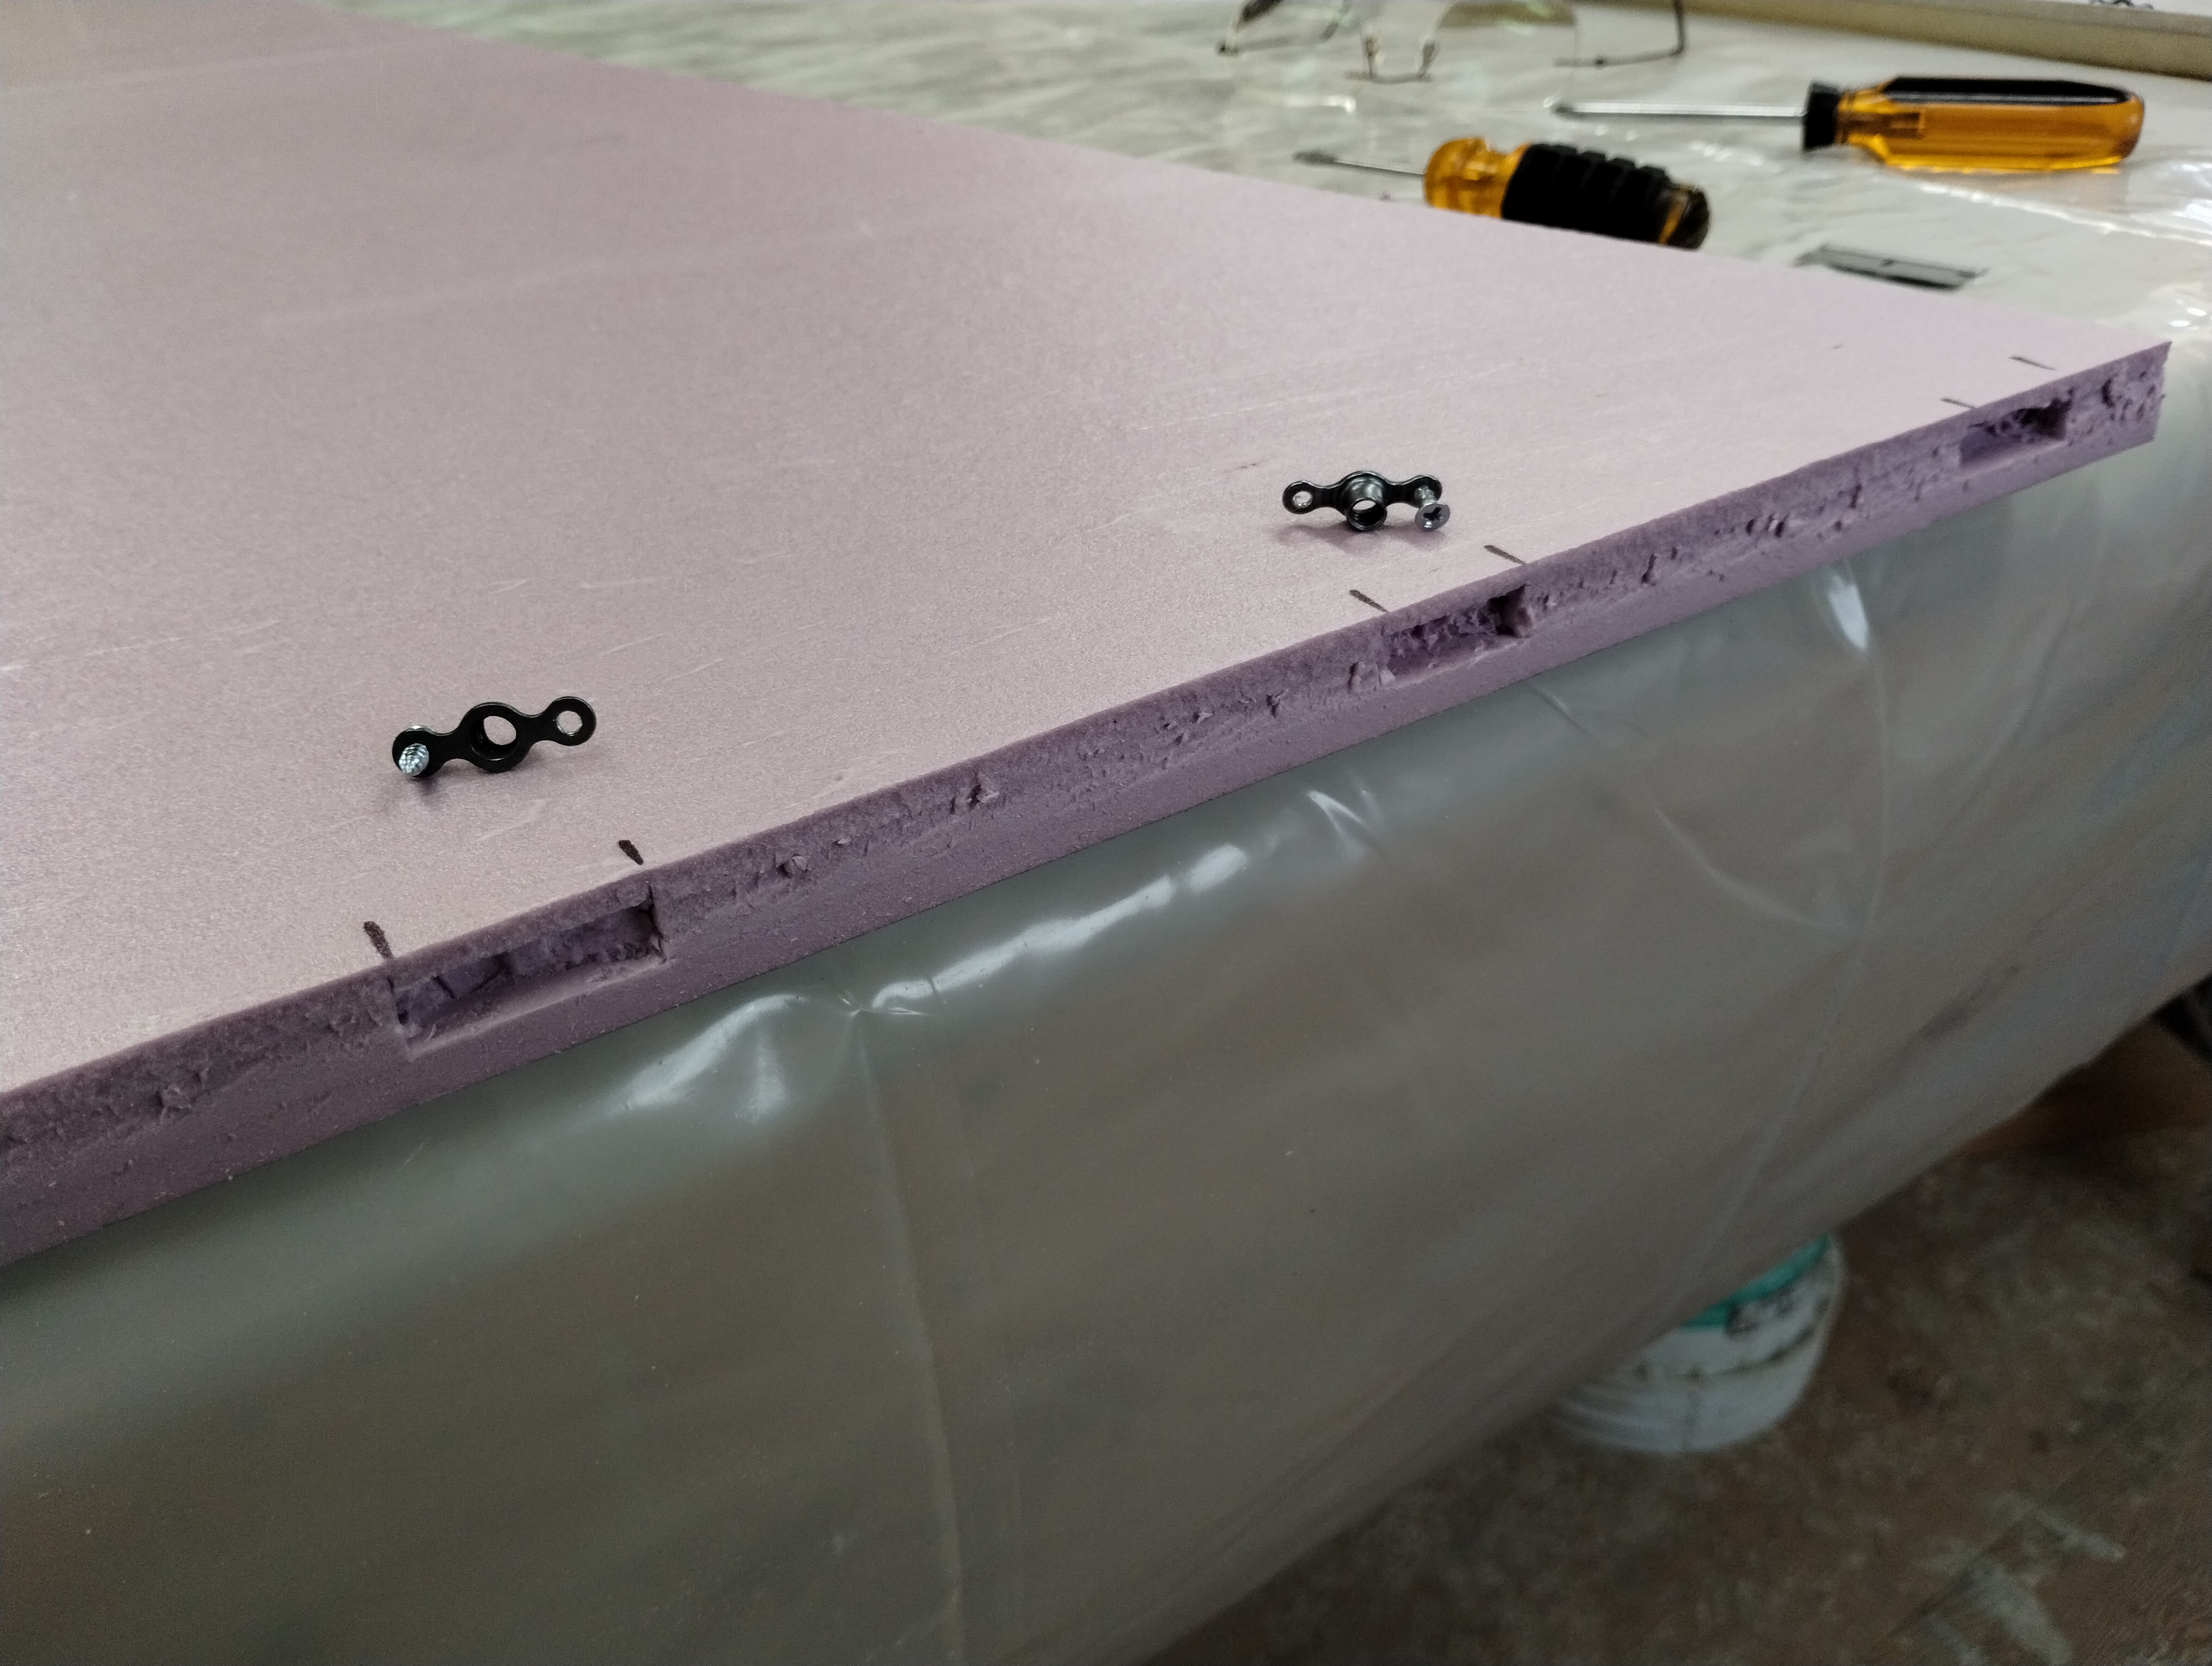
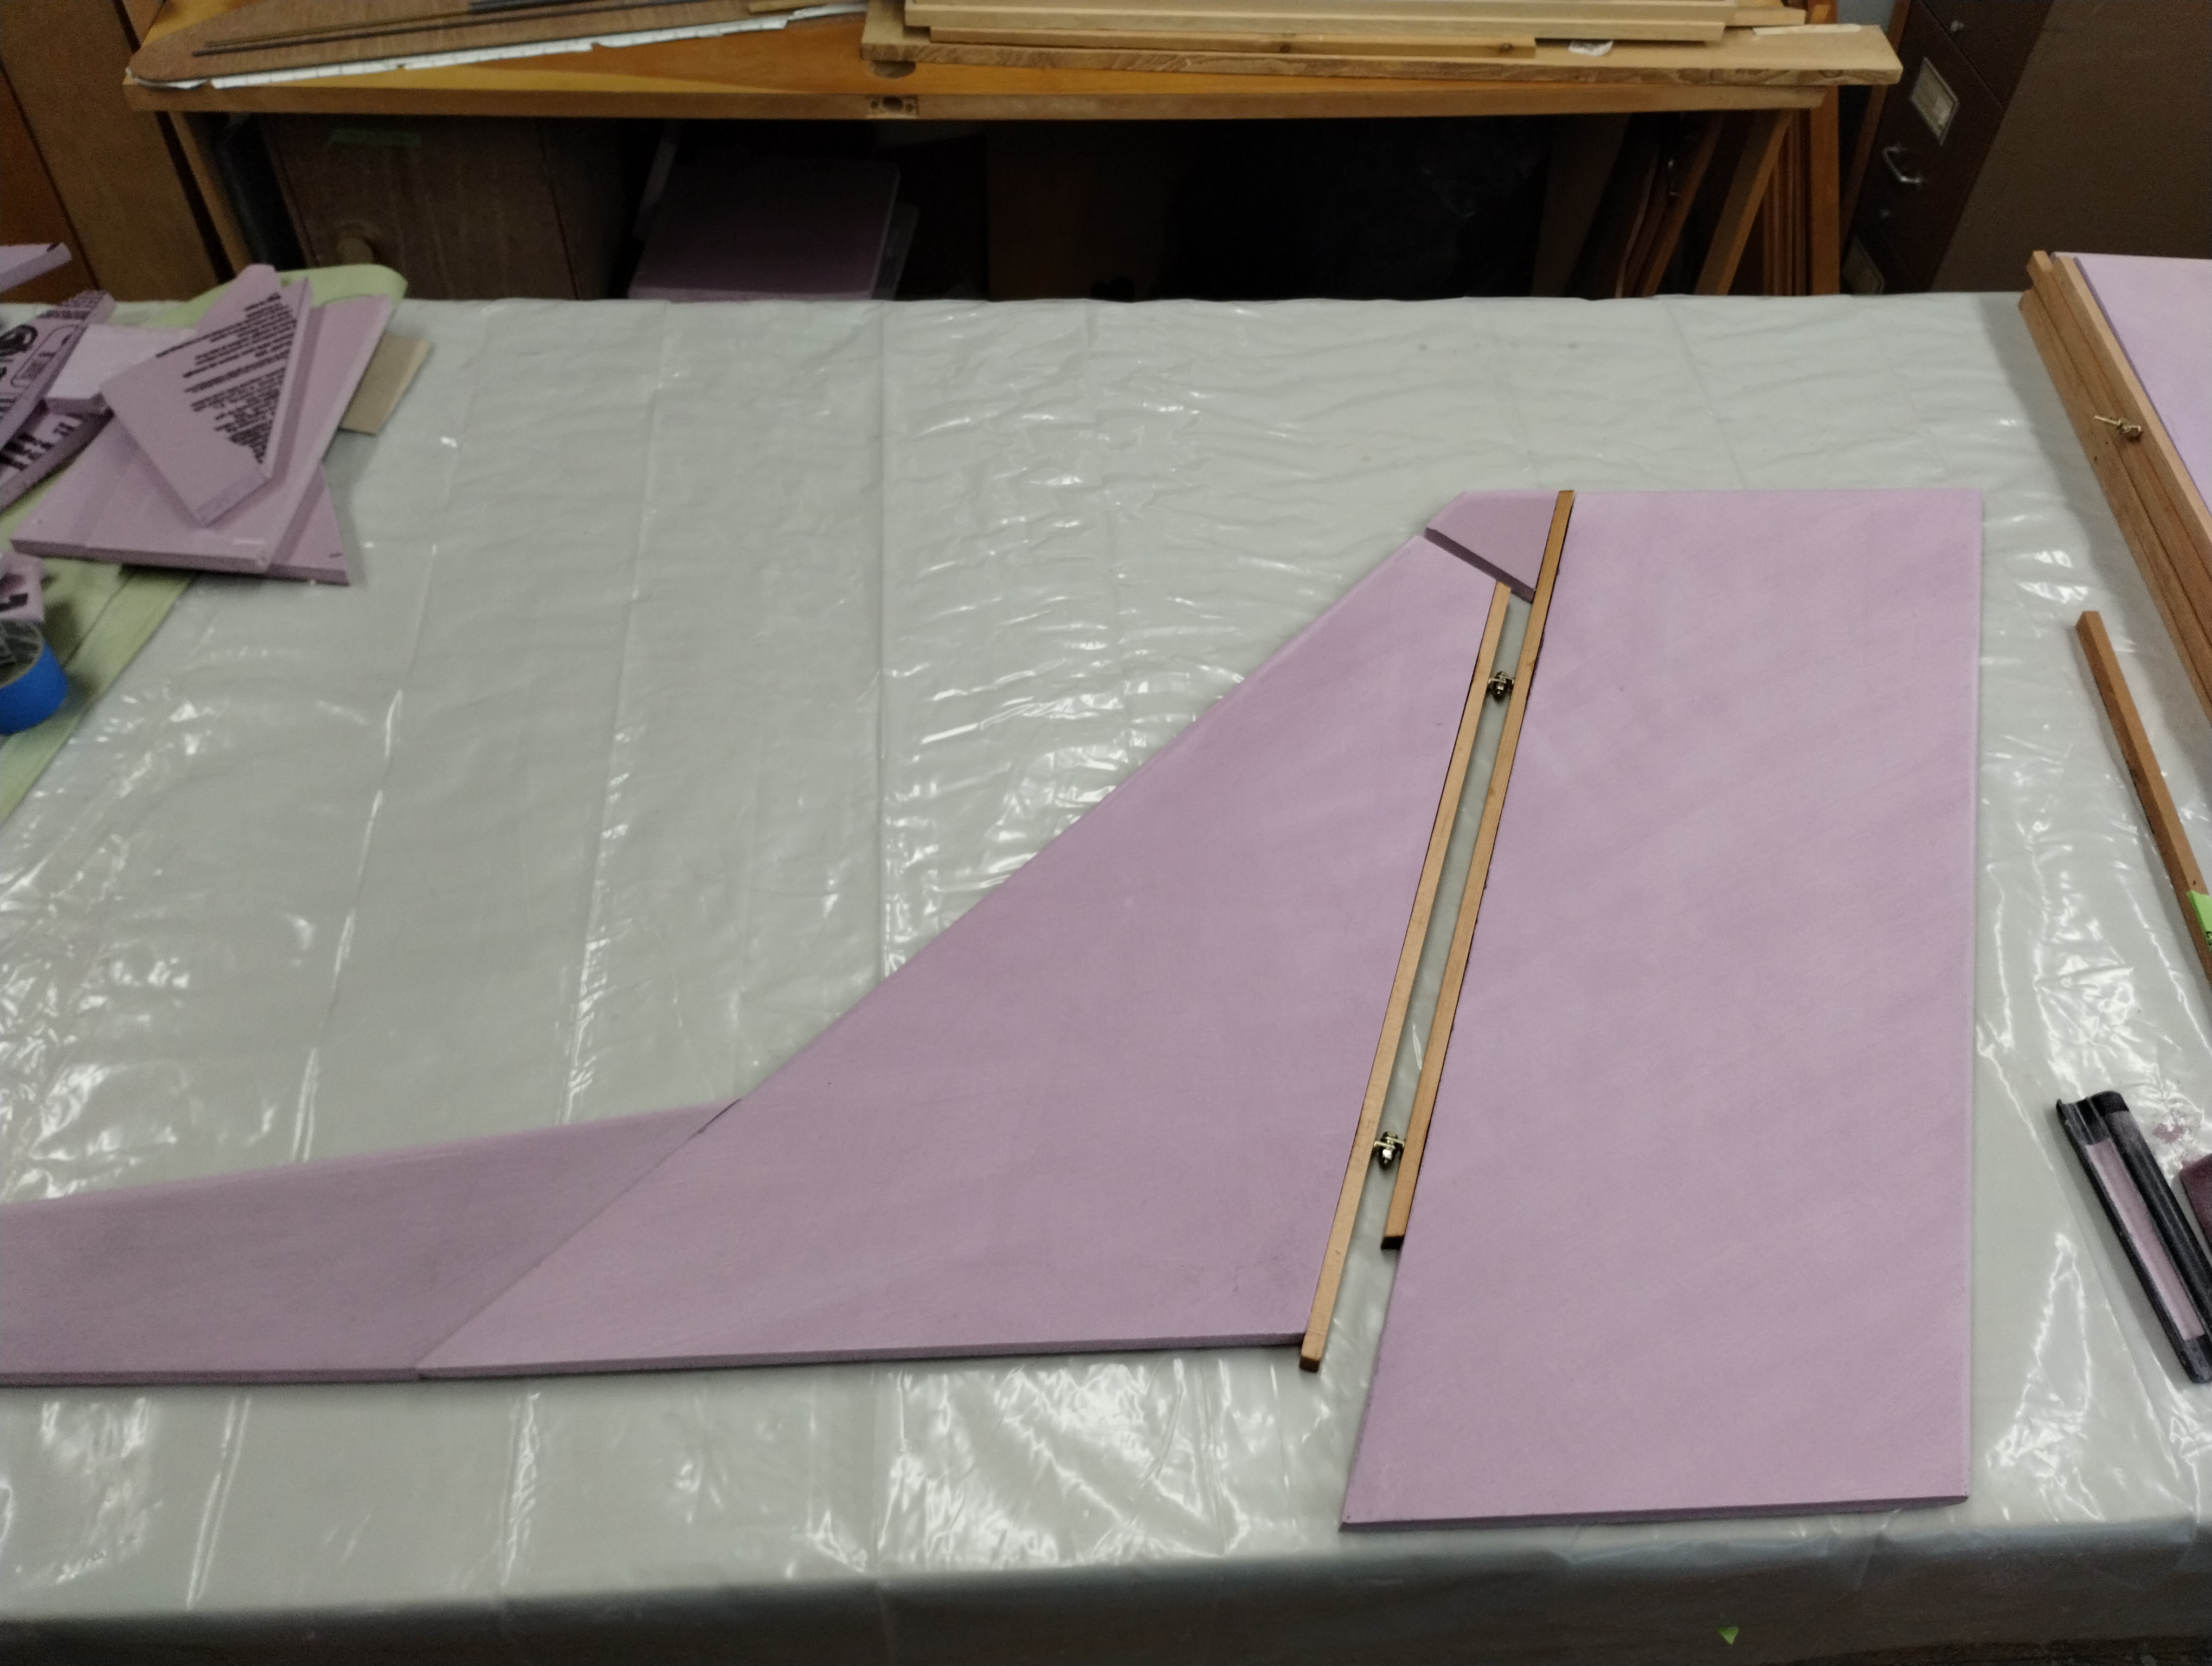
Layout the XPS foam and cut the elevators. Round the trailing edges. Slot the
spar edge of the elevator XPS for the nut plates.
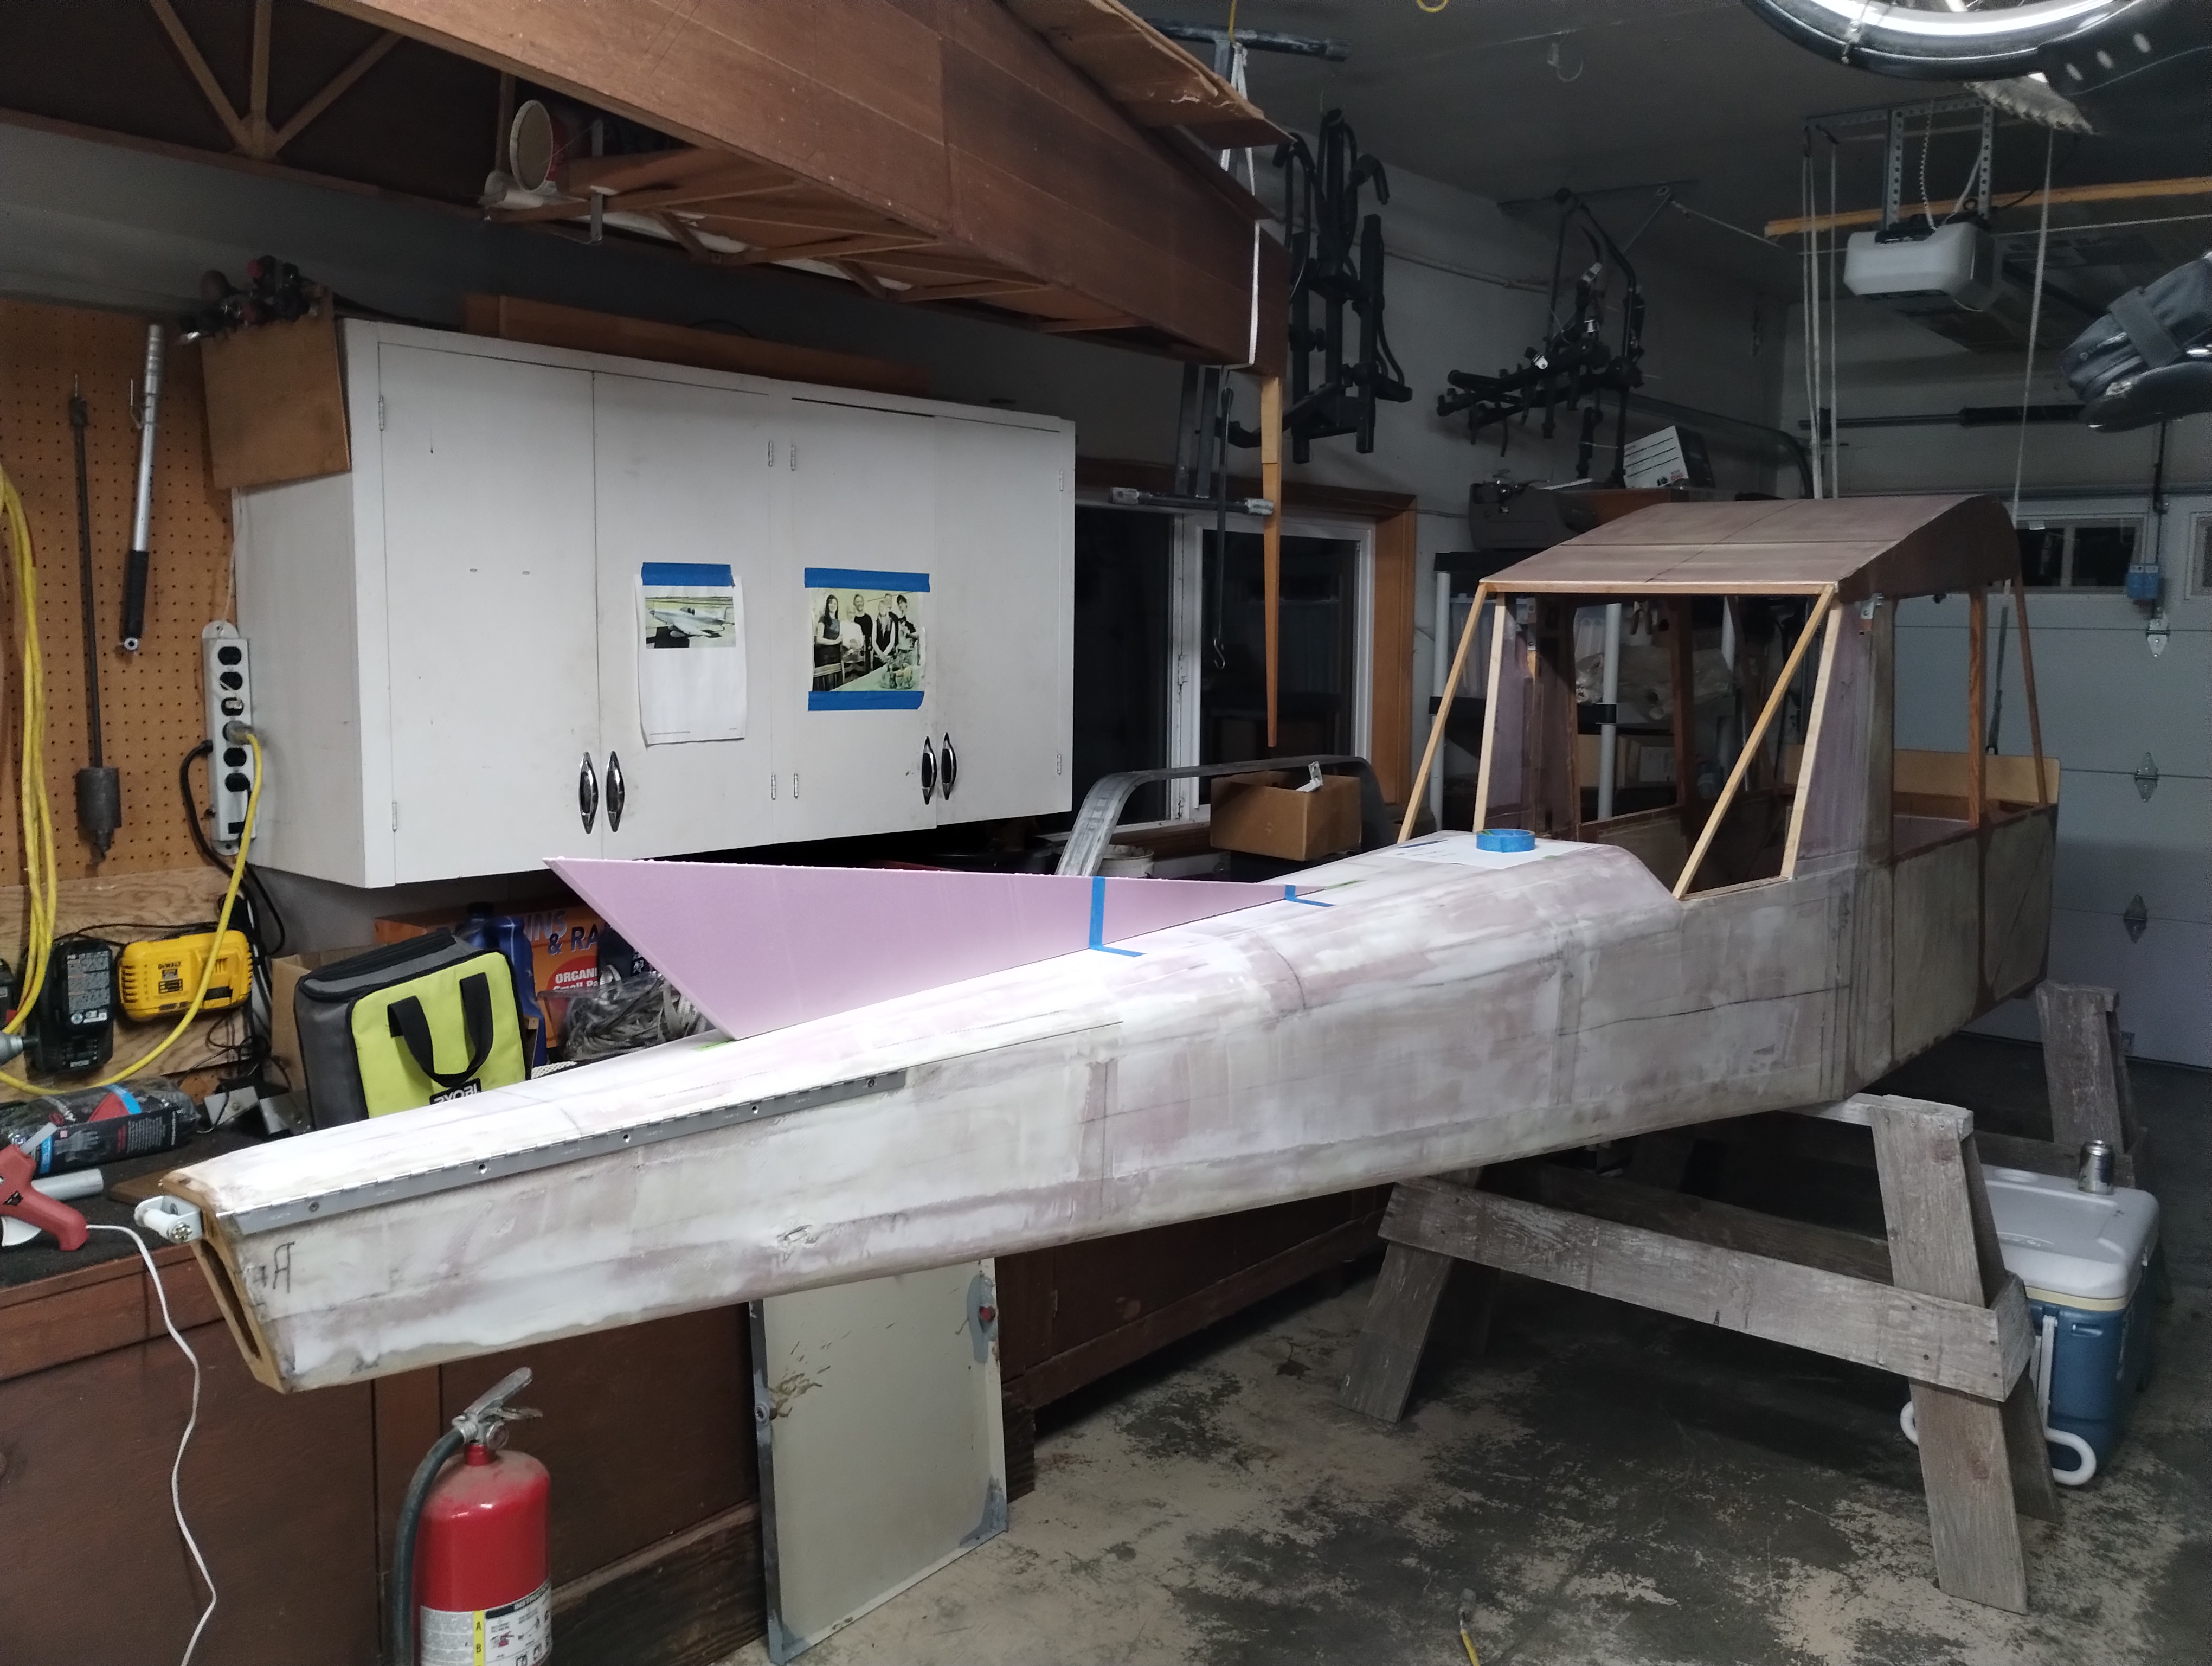
Repeat these steps for the horizontal stabs. Mount the assembly just for the
fun of seeing an airplane appearing in your garage!
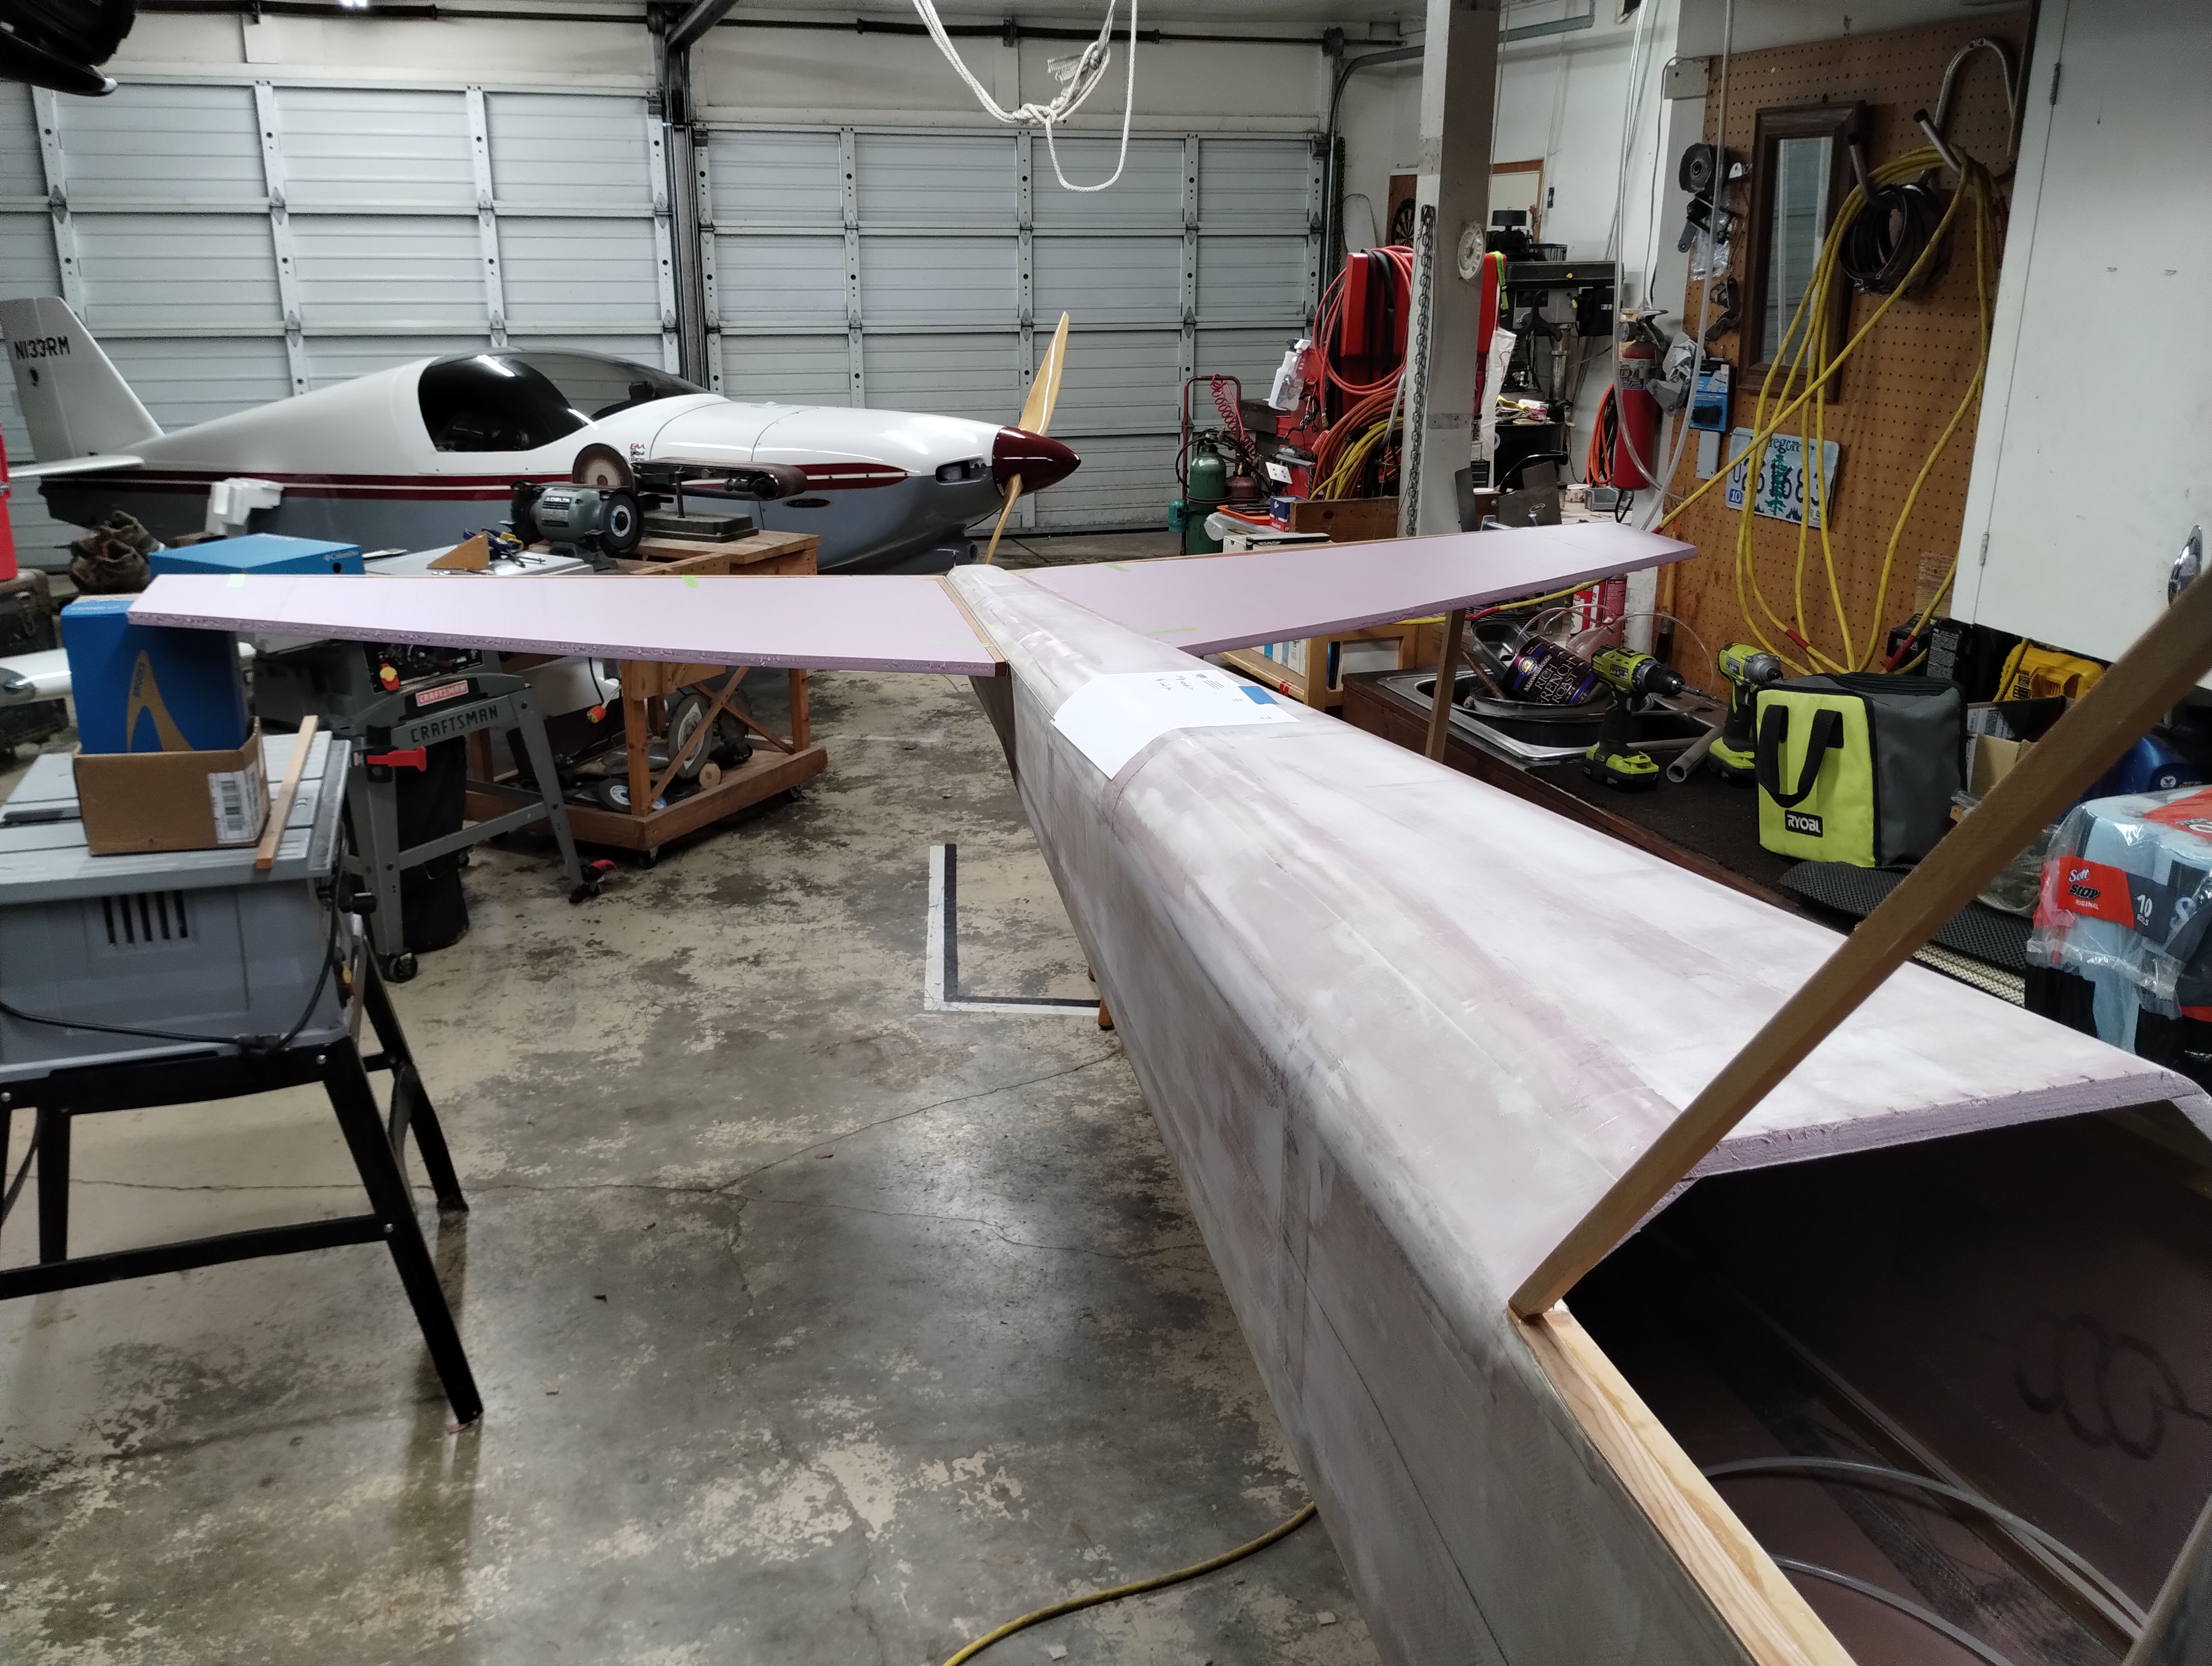
Start on the vertical stabilizer. I started with the VStab strake. Yes,
that's a KR2S fuselage hanging up there. I hope I get back to that someday...
And at this point I'm almost ready for fiberglass.