General History Kit Planes Feature Article Prior Owners History Importing an Airplane Working with the FAA Repairs after Receipt Learning to Fly N133RM N133RM Cockpit Checklist.pdf
Learning to Fly N133RM
I had very little tailwheel time (.6 in a Cub in the 80's and
.9 in a P-51 at Oshkosh 2006) before getting
133RM aloft. I was fortunate to get instruction and a tailwheel signoff from
Mike Seager in Vans RV14 transition program. That is a handful of
an airplane! Mike said after training in the RV14 with 200 HP, he thought the KR
would be less challenging. Spoiler alert: he was right. N133RM with the 80 HP
Revmaster 2100DT is a pussycat by comparison.
![]()
First departure from our 2000' grass
strip
First landing on our 2000' grass strip
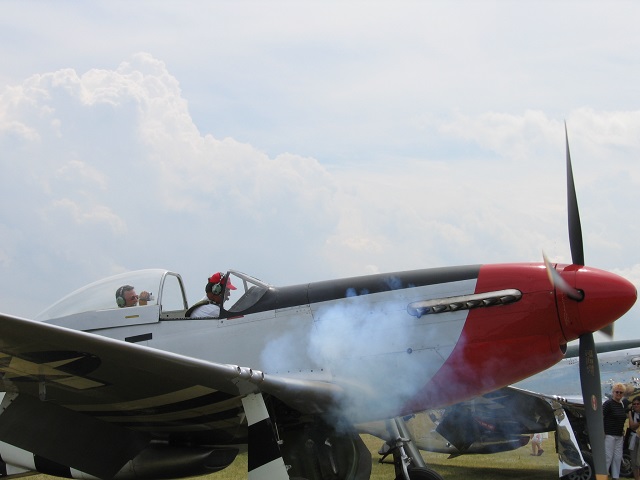
Clint, a neighbour is a drone owner & pilot. He filmed my initial departure from our 2000' grass strip with Ken, another neighbour flying chase in his RV-9A.
I flew to KSPB nearby for my first landings. Ken paced me to give me initial confirmation of my indicated airspeeds. The airspeed indicator Roy installed looked good with the 40-300 MPH range but it didn't offer much resolution in the lower airspeeds. It was nice to know that the "approaching mushy stage" was pinned somewhere around 70 MPH range.
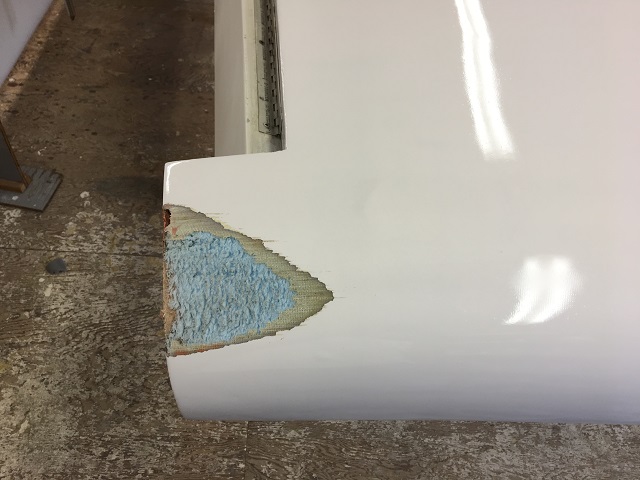
I got in 6 landings and touched the left wing tip on the last one. I could have
flown home but decided with just the 6 landings in a tail wheel KR, our 2000' of
turf could be a more of a challenge than I wanted. The damage was superficial. So we pulled the wings off
133RM and trailered it 15 miles home.
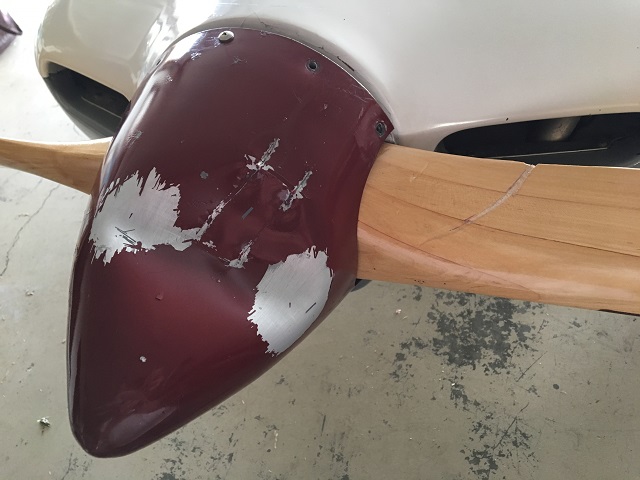
Getting it off the trailer, I made a mistake and
didn't have someone dedicated to handling the tail. It went over onto the nose,
bent the spinner and dinged the prop tip.
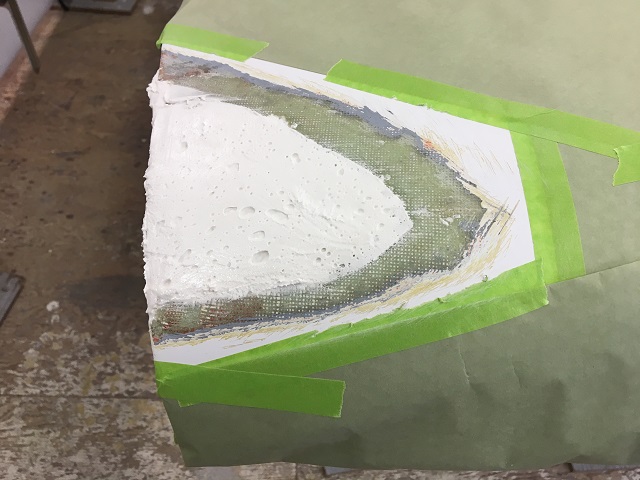
Fixing the wingtip was quick. I feathered out the damaged area, filled the
scrape with micro-putty and laid in a single piece of carbon fibre cloth
.

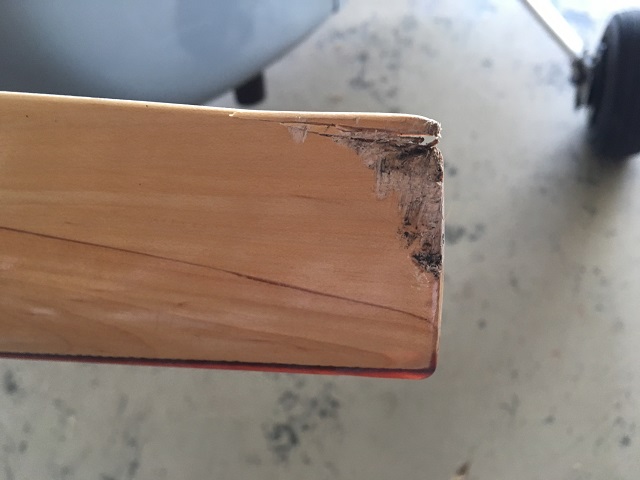
I spoke with Ed Sterba and he said I could trim 1/2" off each prop tip and reduce the 54x54 prop to a 53x54. That was easy enough using a "Japanese pull saw" and feathered the cuts with sandpaper. I used a lawnmower blade balancer to check and adjust the balance successfully. I left the bent spinner on the workbench.
The next flight was to KMMV McMinnville, the site of the 2015 KR Gathering. I
got a substantial vibration over 3400 RPM after committing to continue the takeoff so I
limited the flight to 3000 RPM. I made another 6 landings and felt pretty
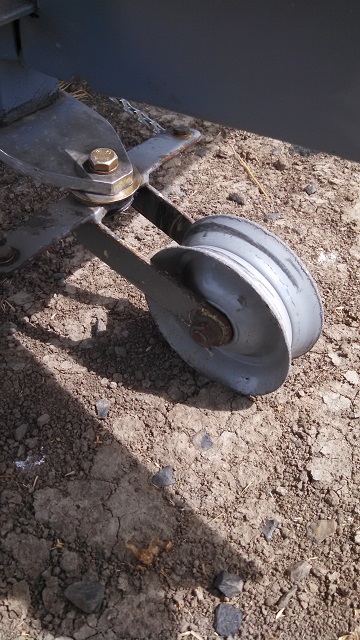
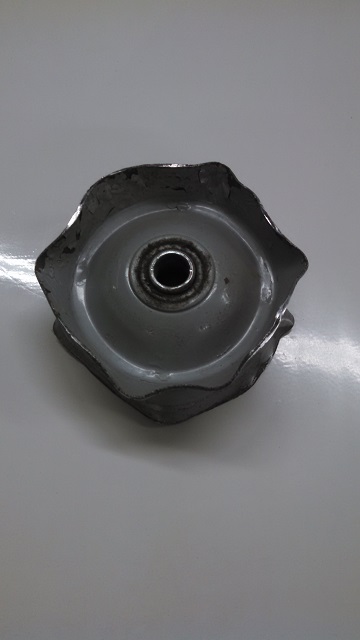
comfortable to get 133RM back to my home field. On the last practice landing, the tail wheel
shed the rubber tire. That's the round wheel below.
The day was getting short so I launched for home and our grass runway.
The landing back at home was uneventful as captured by Ken, my first flight chase
pilot, on his iPhone. That's the "not round" wheel above.
That flight happened 2 days before I needed to depart for the 2018 KR
Gathering in KMVN. No tail wheel or spinner so I went commercial to the event.
Upon returning from the Gathering, I bought the tailwheel Langford recommended and replaced the axle with a centered pin style. So that part was done.
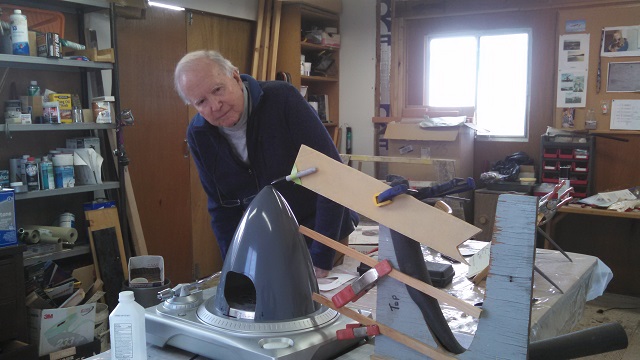
When I looked more at the spinner backing plate, I found it had been welded and repaired twice before. I searched all over for a spinner in the same size and with the same profile Roy installed when he built 133RM. Then I tried building a spinner with techniques from Mark Langford & Jeff Scott. The results were "not so good." I'll spare you the picture of that mess. My enthusiasm waned for a while.
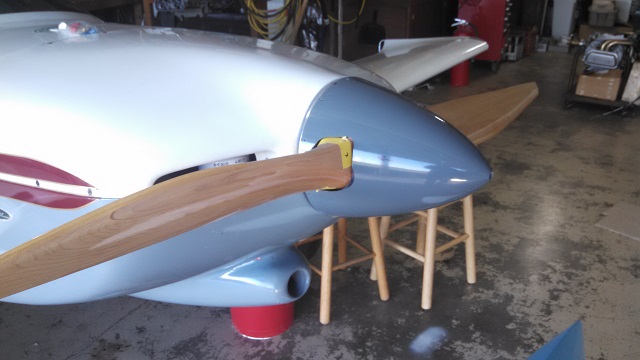
In passing, another neighbour told me the profile looked a lot like the spinner on his RV12. Sure enough, the RV12 spinner is a very close match. The spinner on 133RM had a forward-facing mounting flange for the dome. The RV12 spinner has a aft-facing flange. To make up the difference, I had to install a 3/4" spacer between the prop flange and the prop extension. That meant longer bolts. The expression "Change one thing and that makes you change something else" was never more true.
My IA/ A&P Neal helped with machining new bolt holes in the backing plate.
Ken helped with mounting the nut plates. Finally in March 2019 I was ready to fly again.
Another part of learning to fly (and land) a tailwheel airplane is rudder
control. I went back to KMMV for more practice and had a landing that was going
towards the left side of the runway. I kept applying right rudder and wasn't
getting sufficient correction. I eventually got off the runway with brake and
power. Stopping on the taxiway I found I'd bent the original rudder horn. It was
built from 6063 "architectural grade" angle and flown for 690 hours just fine. I
guess I "dumb-footed" it to the failure point.
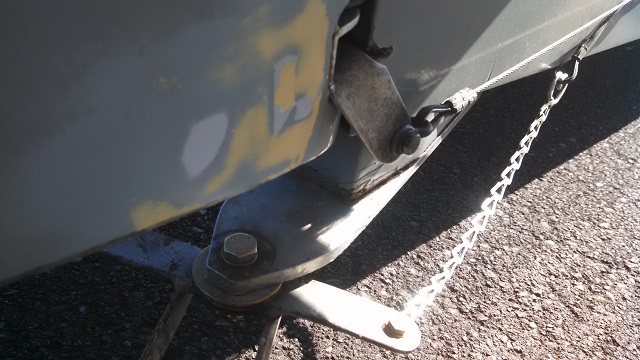
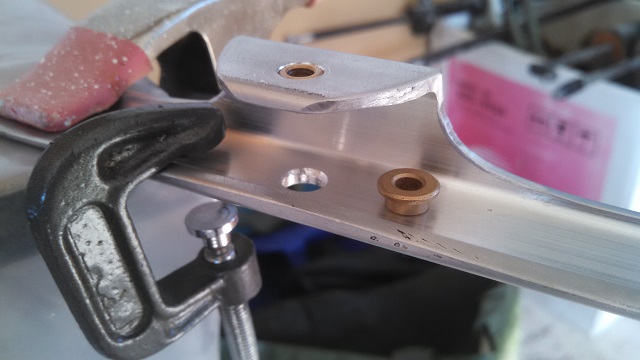
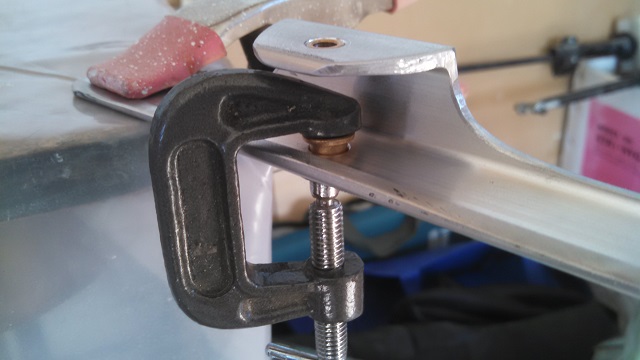
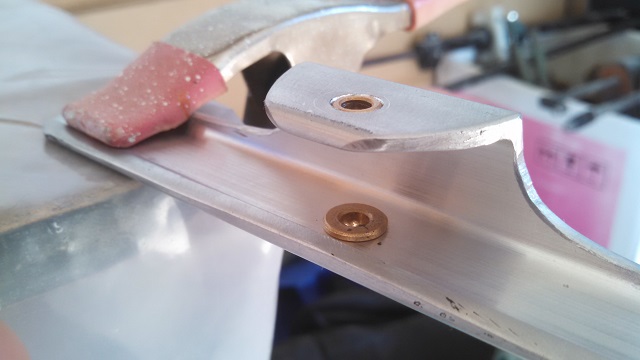
I fabricated a new horn from 6061-T6 square section tube with radiused
interior angles that should be stronger. I installed Oilite bushings for the
hinge and rudder clevis bolts.
I'm working to becoming more proficient with tailwheel skills. I plan to run through the complete set of Test Cards from Rick Junkin to break me into the airplane. Obviously it flies just fine and learning the airplane in a series of controlled steps makes sense to me.
The tailwheel axle failed. The fork scraped upon a concrete runway and ground
off the mounting holes.

I had to replace it so I bought a more sturdy tailwheel assembly from
Aviation Products, Inc.

The wheel is larger diameter and wider and works much better on our grass
runway.